To make Sweet Home 3D designs stand out, don’t underestimate the power of adding textures. Textures make things look more realistic, and also they’re an essential part of creating depth, personality, and visual interest in your designs.
With over 400 textures available in Sweet Home 3D, you have an incredible array of options to customize your designs to perfection. In this article, we’ll walk you through how to add, modify, and use textures effectively to enhance your Sweet Home 3D creations.
What Are Textures and Why Do They Matter?
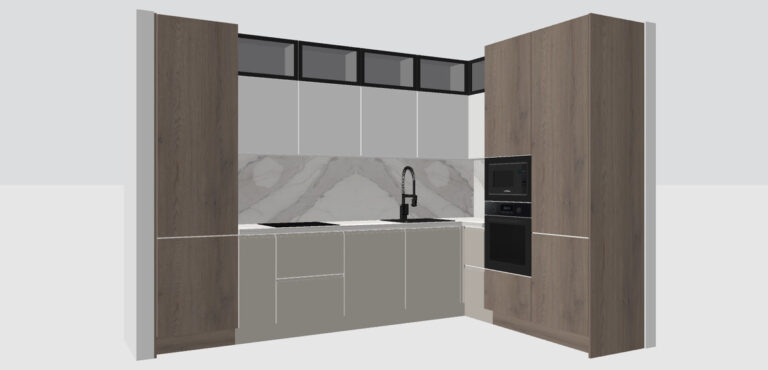
Textures are images that are applied to the surfaces of 3D objects, walls and flooring in Sweet Home 3D. They can be anything from wood, marble, and fabric to more intricate designs like wallpapers or brick patterns. By applying textures to different surfaces, you can simulate real-world materials, making your designs more realistic and immersive and playing around with different styles.
Textures are crucial for:
Adding realism to walls, floors, and furniture
Customizing the look of your interior design based on personal preferences or themes
Creating depth and highlighting specific design features (like textured walls or patterned floors)
How to Add Textures to Your Design in Sweet Home 3D
Select the Surface You Want to Customize
In Sweet Home 3D, textures can be applied to walls, floors, ceilings, and objects. To start, double click on the surface you want to change. You can double click on anything from a wall to a bed.
Open the Modify Dialog
The “Modify” panel will show up, which can be a “Modify Wall” or a “Modify Furniture” depending on what you’re working on. With this dialog box you’ll be able to customize pretty much everything – including textures.
Browse the Available Textures
There are over 400 Sweet Home 3D custom textures! From simple wood grains to intricate tile patterns, the options are vast. You can browse through categories such as:
Wood
Stone
Carpet
Tiles
Fabric
Marble
Animalier
Wallpaper
And many many more…
We also have different kind of skies to choose from and natural flooring like lawn and ground, so your outdoor areas are also covered.
By the way, in the dialog box you can also browse through your recent applied textures, it can save a lot of time!
Adjust the Texture
After applying a texture, you can fine-tune its properties to get the exact look you want. If you’re more advanced, you can define:
Percentage of X offset
Percentage of Y offset
Angle
Scale
Didn’t find what you were looking for? Import your own textures!
We have a lot of textures to choose from, but we’re open to new possibilities! That’s why you also have the chance to import your own textures to the app, for the ultimate 3D design personalization. The process is very easy and just involves a few quick steps. Now you really have no excuses!
Tips for Using Textures Effectively
Match Textures to Your Theme: If you’re designing a modern home, go for sleek, minimalist textures like polished stone or glass. For a rustic cottage, natural textures like wood or brick are perfect. Consistency in texture choices helps to create a cohesive design.
Don’t Overuse Textures: While textures can enhance your design, using too many can make a space feel cluttered. Use them selectively to highlight focal points (such as a feature wall or unique flooring) while keeping other surfaces neutral.
Play with Scale: Textures can look drastically different depending on their scale. Make sure to adjust the size of textures to match the space. Large textures might look overwhelming on small surfaces, while small textures might get lost on larger walls or floors.
Layering Textures: Don’t be afraid to combine different textures for added depth. For example, use a textured wall as a backdrop for a solid-colored floor, or mix different patterns for your living room’s furniture upholstery.
So, what are you waiting for? Dive into the world of textures and start customizing your Sweet Home 3D designs today!