Exciting news! We’ve decided to start a series of home design tutorials. Today, we’ll see how you can design a kitchen!
Creating a kitchen design with Sweet Home 3D is a great way to visualize and plan your dream cooking space. This tutorial will guide you through the essential steps to design a functional and stylish kitchen using Sweet Home 3D. Before starting, it’s helpful to take a moment to think about how you use your kitchen daily: do you cook often, need extra storage, or prefer an open and social layout? Defining your priorities will help you make better design choices throughout the process.
Design your dream kitchen in 4 steps
Step 1: Setting Up Your Project
- Open Sweet Home 3D and create a new project.
- Set up walls by using the “Create Walls” tool, ensuring accurate placement of doors and windows. This step is crucial because proportions matter a lot in kitchen design. Proper wall measurements ensure that cabinets, appliances, and work areas fit perfectly without feeling cramped.
- Define your kitchen space: Sweet Home 3D can serve as a powerful kitchen layout software! Use the “Create Rooms” tool to outline the kitchen area, and you could even put a little visible label on it. Labels help keep track of different zones, especially if you’re working on an open-plan layout that includes dining or living areas.
Step 2: Adding Essential Kitchen Elements
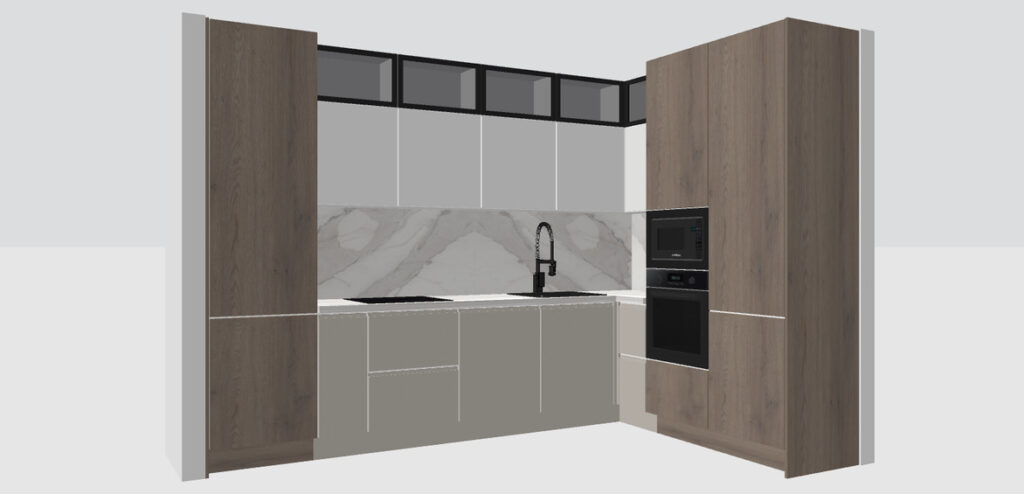
- Insert Kitchen Cabinets: Browse our furniture catalog for base and wall cabinets. Adjust their size to fit your layout. Try experimenting with different cabinet styles, flat panels for a modern look or framed doors for a more traditional feeling.
- Place Countertops: Position countertops over base cabinets to create a seamless workspace.
- Add Appliances: Sweet Home 3D is a powerful kitchen planner tool with lots of kitchen items to choose from: refrigerators, ovens, dishwashers, microwaves… And you can also make it even more realistic by adding food items here and there. Don’t forget to maintain the “kitchen work triangle”: the ideal distance between sink, stove, and refrigerator for optimal workflow.
Step 3: Customizing the Design
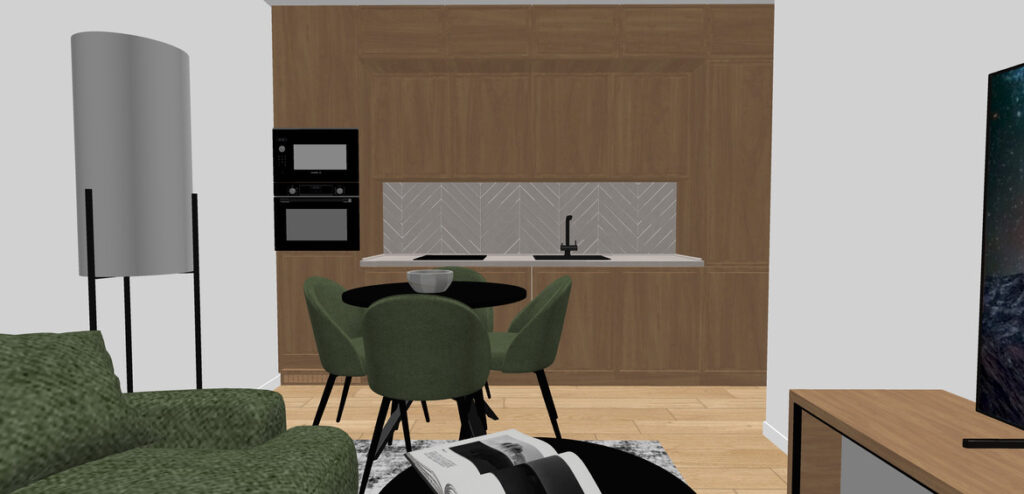
- Modify Colors and Materials: With our 3D interior design software, you can truly customize anything! Use the “Modify Furniture” option to change textures and colors of cabinets, walls, and flooring. Your kitchen design could everything from wooden to marble, from shiny white to very dark tones. Try testing multiple combinations before deciding, the 3D preview helps you instantly see what works best.
- Adjust Lighting: Place ceiling lights or under-cabinet lighting to create a well-lit space that fits your preferences. Good lighting can dramatically improve the way your kitchen looks and feels, especially in smaller spaces.
Step 4: Finalizing the Kitchen Layout
- Use the 3D View: Preview your kitchen in 3D to make final adjustments.
- Take a 3D picture or shoot a 3D video : By using the virtual visitor mode, you can choose the best angle and take a 3d photo that will showcase your hard work. Or if you want to have a little kitchen tour, you can take a 3D video and move around to show every single detail of it! This final step is also great if you want to share your creation with friends, family, or clients.
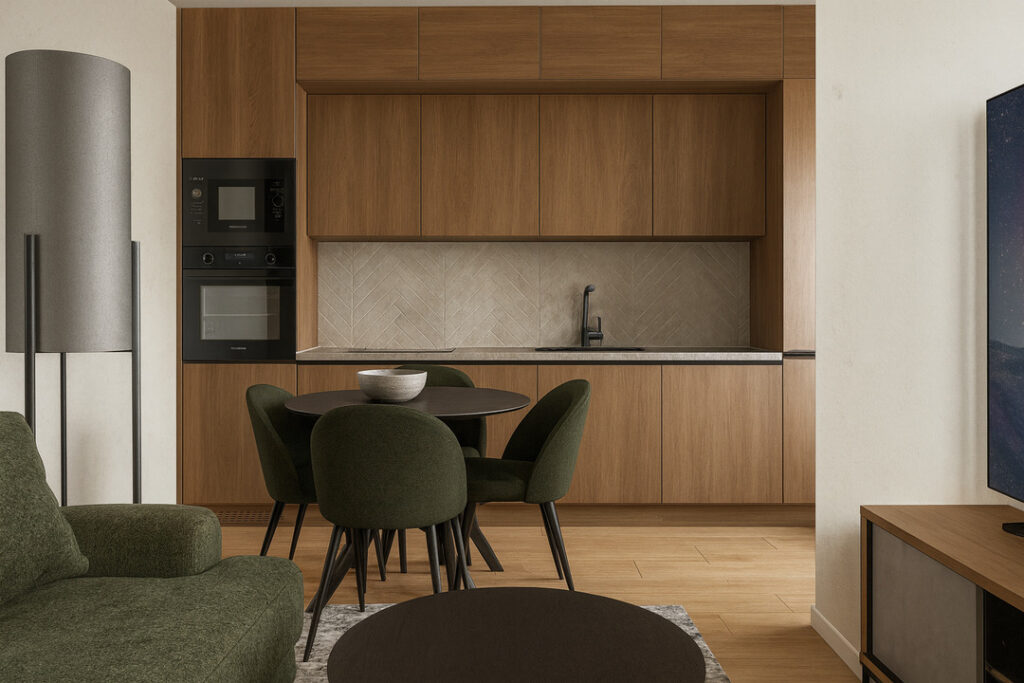
By following these steps, you can create a customized kitchen that meets both aesthetic and functional needs.
So what are you waiting for? Start experimenting today and bring your dream kitchen to life! Remember that even the smallest adjustments—like repositioning a cabinet, adding a decorative element, or testing a different lighting setup—can completely transform the atmosphere of your space and help you discover new ideas you hadn’t considered before.