Part four ( A)
In school I learned that nature will never produce a straight line.
It will never produce rectangles, hexagons or cylinders, and it will never produce neon tubes.
I learned that whenever something “unnatural” is introduced, nature will not recognise its existence in its basic form.
It will immediately start the process of forcing it to adapt.
The forces of nature: Wind – dust – sunlight – rain and so on, is immediately set to work.
I learned that nature wants chaos.
And I learned that maintenance is essentially just another word for humans trying to prevent nature from forcing the adaption.
I don’t really agree with all of this anymore.
I think man is a product of nature, and by logic reasoning everything man ever creates must be as natural as nature itself. Where else could it come from?
That being said, I think texturing is all about applying chaos.
_________________
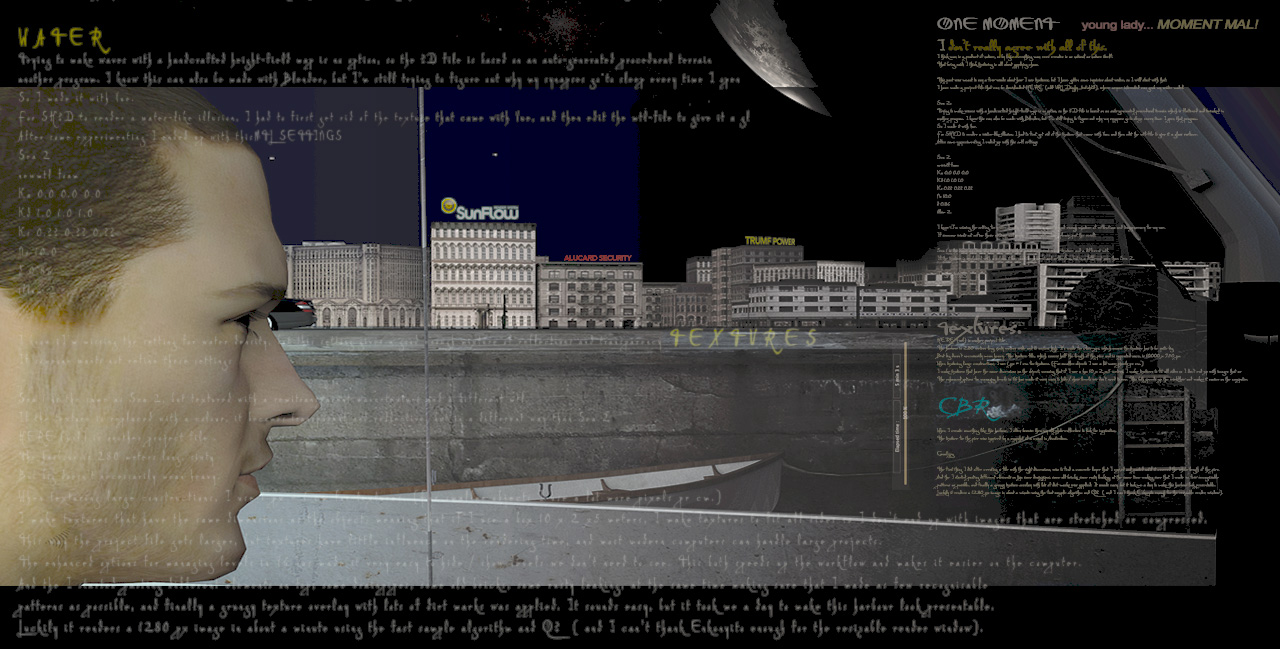
This part was initially meant to say a few words about how I use textures, but I have gotten some inquiries about water, so I will start with that.
Water: Another 3D illusion:

I have made a project file that can be downloaded HERE.
It includes a downscaled water model ( 14MB) and some textures.
The 3D model is based on an auto-generated procedural terrain which I tweaked in a program called VUE eXtreme,
using some random-generated patterns.
I know this can also be made with Blender, but for me using Blender is no option yet.
(I’m still trying to figure out why my synapses go to sleep every time I open that program.)
Just so it’s mentioned; trying to make waves with a handcrafted height-field map is a waste of time. We can't do random like a computer.
Well, a computer can't really do random either, but it does it better than me.
To get SH3D to render a water-like surface from this random-generated water model, I had to first get rid of the foam texture that came with Vue,
and then edit the mtl-file to give it a glass surface.
After some trying and failing I settled for this .mtl-file:
SEA 2
newmtl foam
Ka 0.0 0.0 0.0
Kd 1.0 1.0 1.0
Ks 0.33 0.33 0.33
Ns 10.0
d 0.86
illum 2
I’m aware that I’m missing the density, but this setting gives a good enough mixture of reflections and transparency for my use.
If someone has the time to rework these settings and make it more water-like, please share the result.
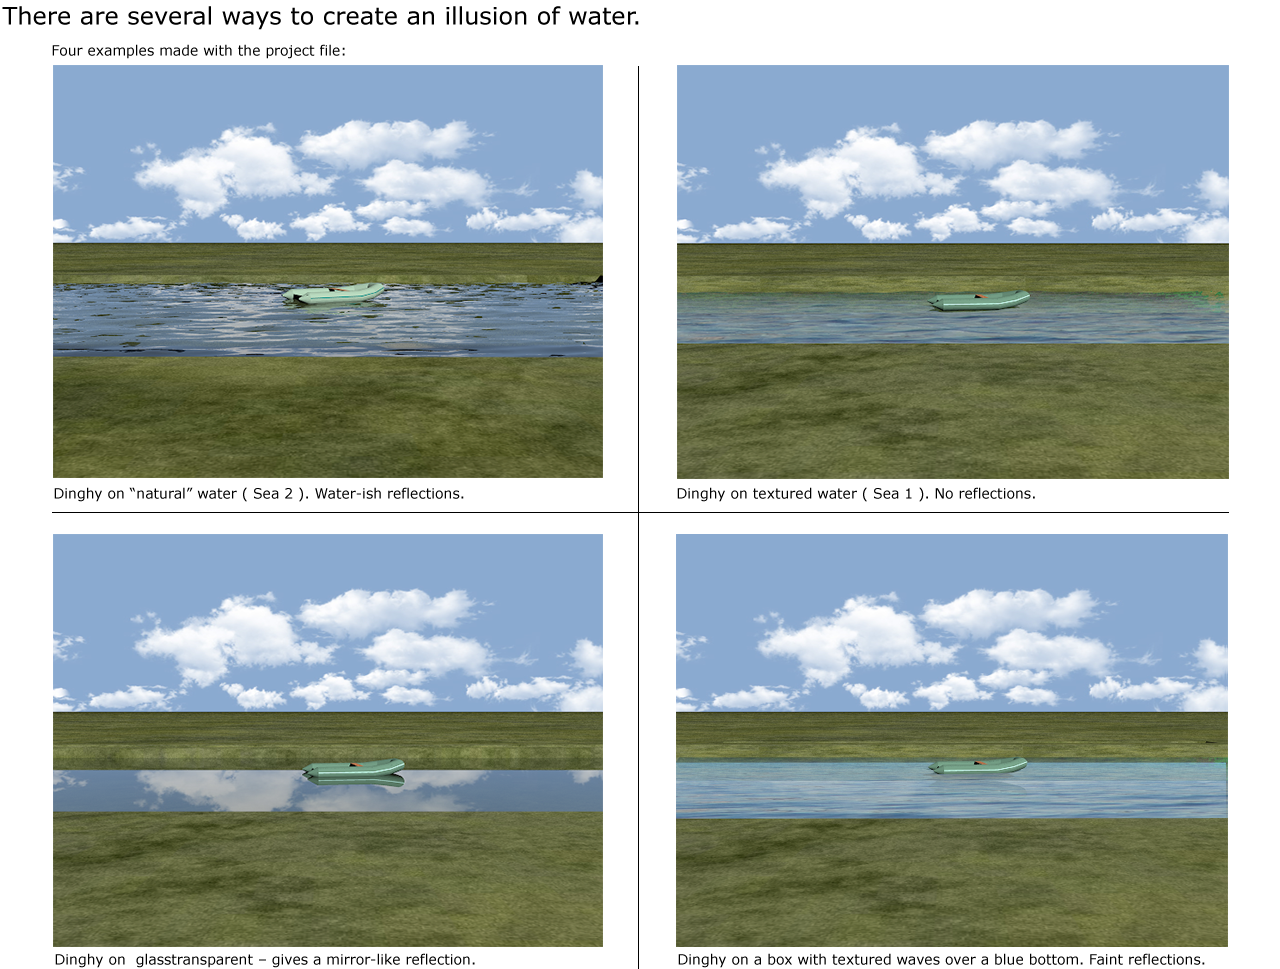
In the project file " Sea 1" is the same model as "Sea 2".
The difference is that "Sea 1" is textured with a semitransparent wave-texture and has a different mtl.
If the texture is replaced with a colour, Sea1 also becomes transparent and reflective like "Sea 2," but in a different way.
__________
Textures.
(and a bit more about water)
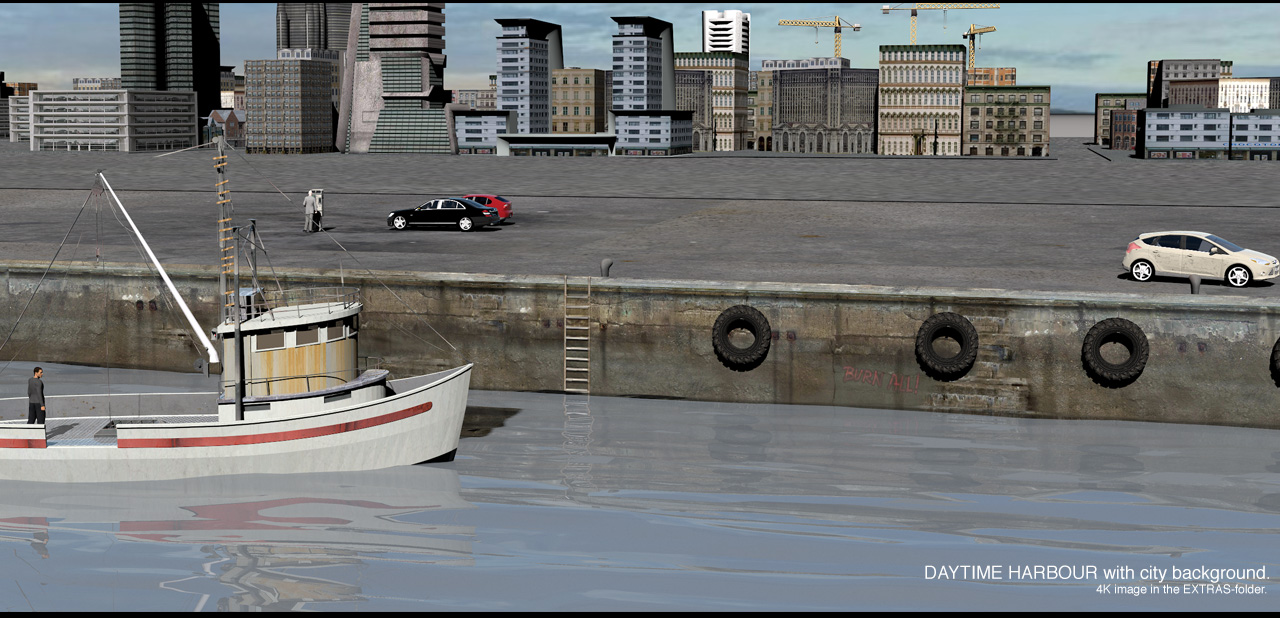
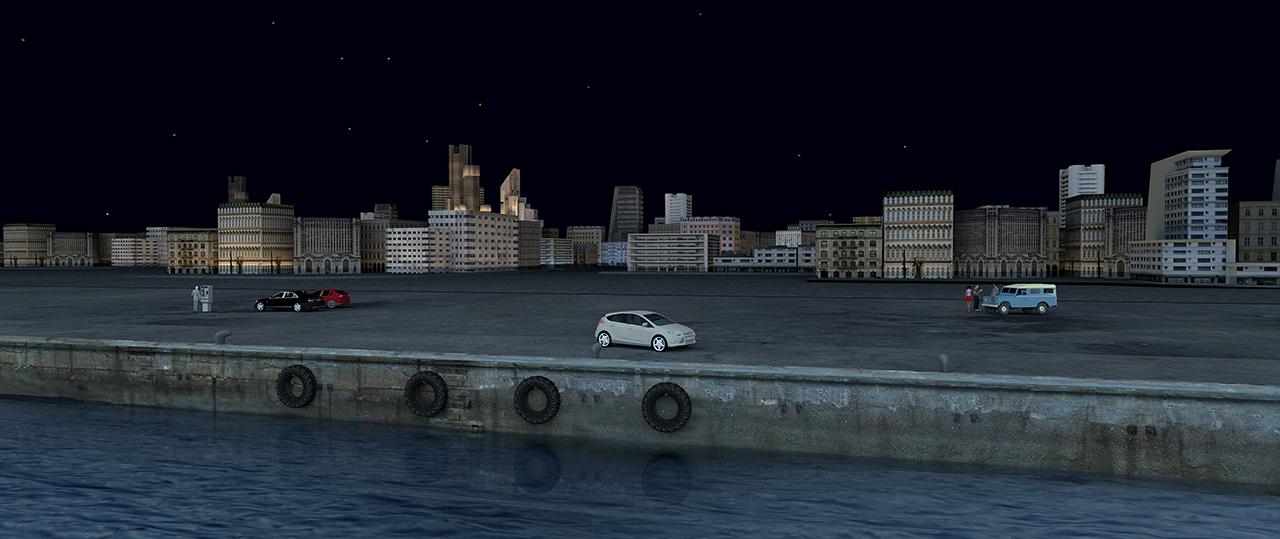
This is the project file. Harbour.sh3d.
The pier is 280 meters long, sixty meters wide and 8 meters high, which means the texture has to be quite big if I want good renders.
But big doesn’t necessarily mean heavy. Big means keeping the size. High resolution and high compression render a much better result than low
resolution and low compression.
The texture file for the pier, which covers half the length of the pier and is repeated once, is 10000 x 750 px.
When texturing large constructions, I use 1 px = 1 cm for textures.
That means I can get a fairly good rendering from a “normal” distance.

For real close-ups I have to make the texture at least ten times bigger, or I can cheat by applying a higher resolution texture to only the part that’s in
the frame, a bit like I do with the water model; move it around to cover exactly what is needed.
I generally make textures that have the same dimensions as the object, meaning that if I use a rectangular box I make textures to proportionally fit all
sides so I don’t end up with images that are stretched or compressed.

This way the project file gets larger, but textures have little influence on the rendering time, and most modern computers can handle quite large projects.
The enhanced options for managing levels in V6 has made it very easy to hide / show levels we don’t need to see. This both speeds up the workflow and
makes it easier on the computer.
When I create something like this harbour, I often browse thru my old photo-collectors to look for inspiration.
The pier ( and the texture) were inspired by an old snapshot of a canal in Amsterdam.
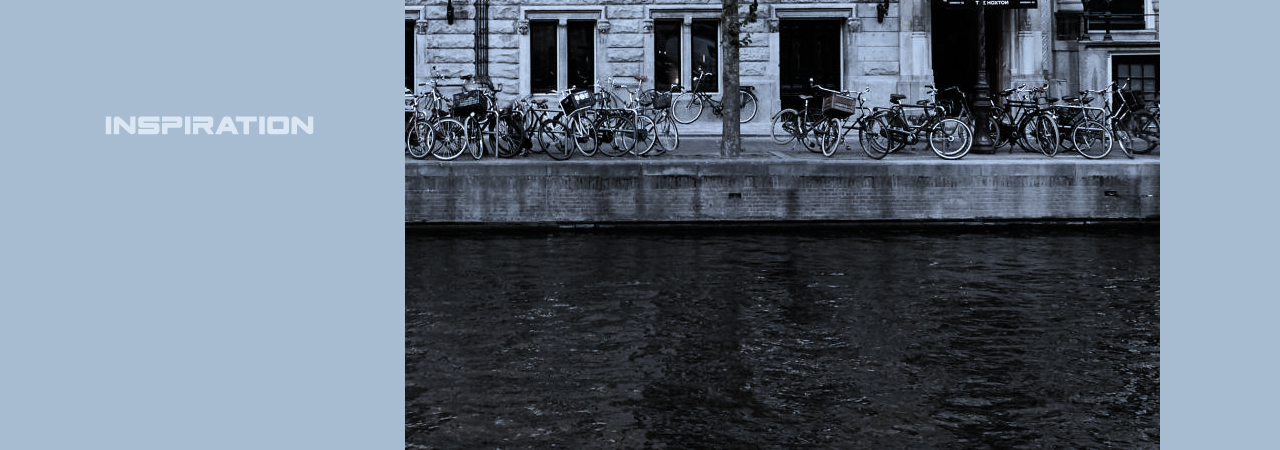
It wasn’t good enough to rip any texture from it, but it gave me some ideas.
When making a texture as big as 10000 px, the first thing I do is to fill the bottom layer, creating a foundation for the different elements I will paint it with.
For the pier I chose a concrete foundation that I copied and pasted until it covered the whole length of the pier, and pasted different elements on top; some
drainpipes, some old bricks, some rusty leaking and some spots of dirt – trying to avoid making recognisable patterns. Finally I applied a grungy texture overlay
with lots of dirt.
It sounds easy, but it took me some hours to make this harbour look somewhat presentable.
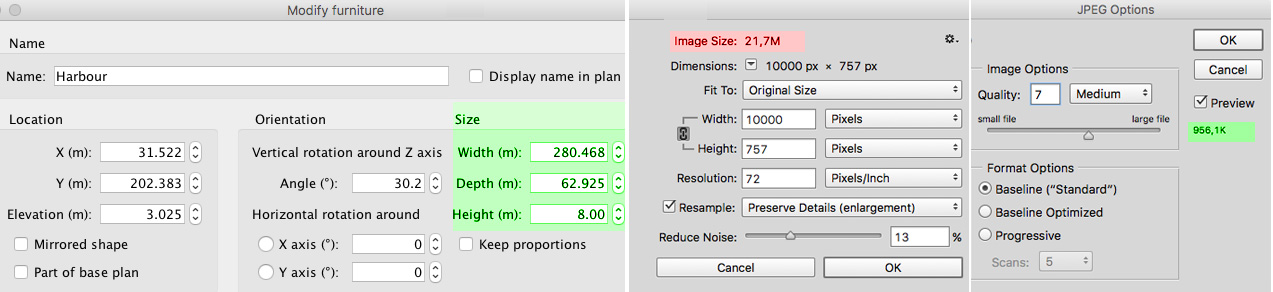
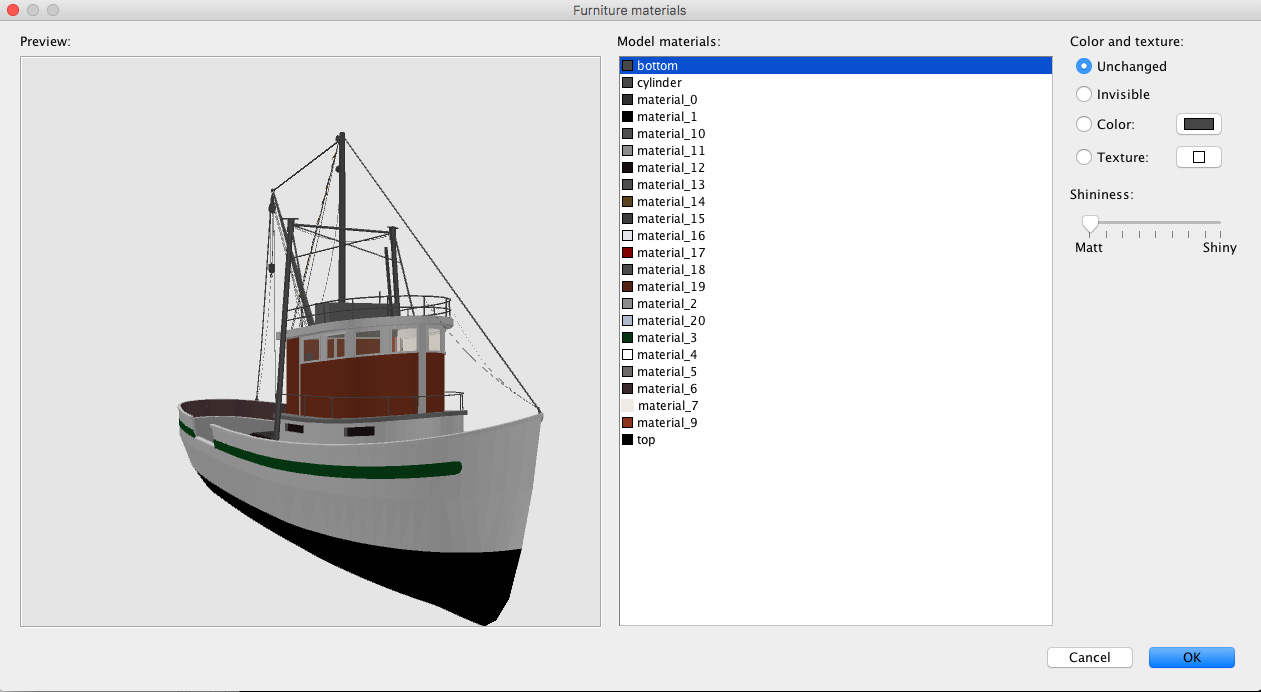
Just mentioning:
Some of you may not have noticed this enhancement to v6 that’s not mentioned in the version history:
The materials modification pane now also scales the 3D model when its resized.
Cec.
____________
Some of my unscaled 4K originals, some textures and some other things can be downloaded HERE..
___________