Step One - Make The SkyLight 'Tool'
Create a box or block - I will call this the "Skylight Tool" because it will be used to cut holes in the roof.
To make the Skylight tool simply add a BOX which is in the Miscellaneous category of furniture.
I made mine 50cm wide and deep and 500cm high, it can be resized later.
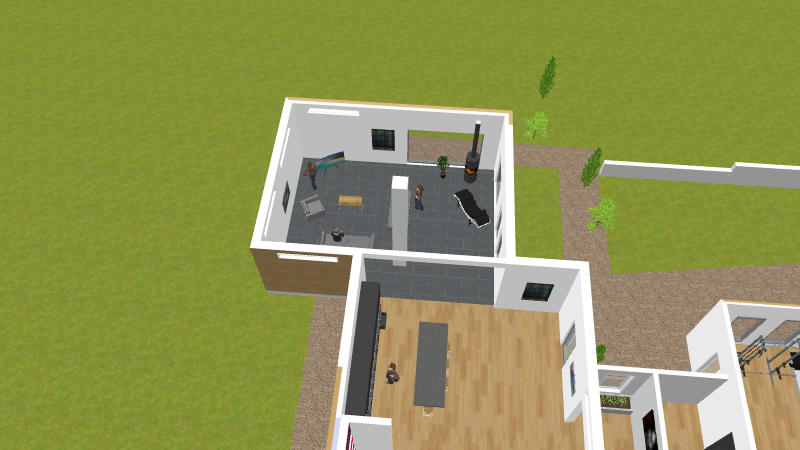
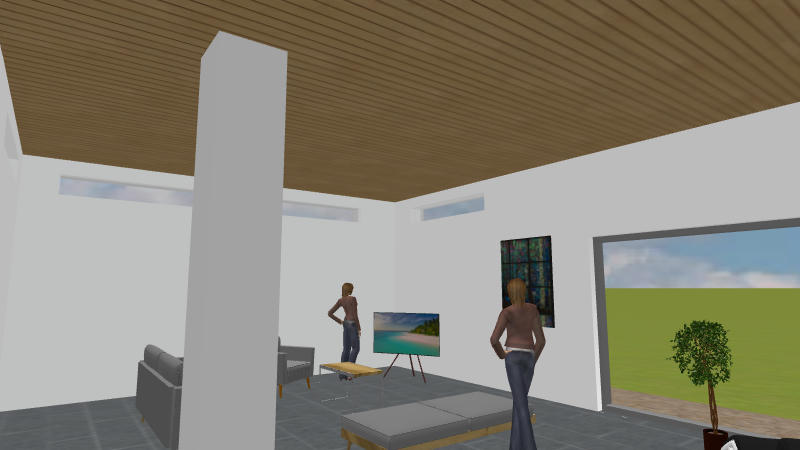
In the second 'photo' it can be seen that I have a wood panel texture on the ceiling and the Skylight tool passes through, the ceiling does not show when viewed from above as you would expect.
Select the SkyLight tool and save it out in an OBJ file.
[ Menu ] 3D View -> Export to OBJ format.
Make sure you export only the Skylight tool by selecting "Export Selection" when asked, check the export file was saved and then delete the original.
The Skylight can now be imported back in from the OBJ file.
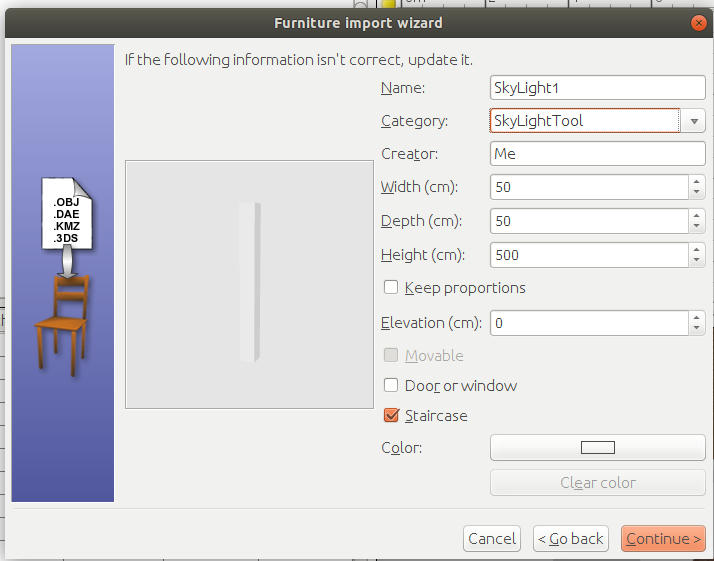
The important step is to make sure that Skylight tool is imported with the same property as a Staircase - namely that it will cut a hole through any ceilings or floors it may pass through - see the ticked orange box in the next image.
Position the Skylight tool back into the room, it will not yet cut a hole in the ceiling.
continued in next post...