At this stage the plan should look something like this...
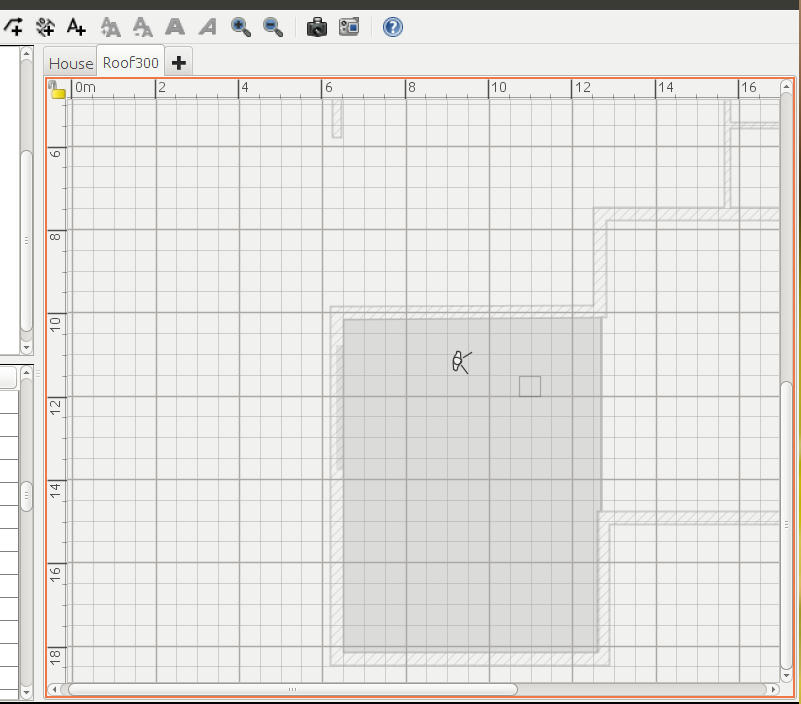
We can see the virtual visitor and also the square outline of the Skylight.
There are two levels one called house which contains pretty much everything in this single storey build, the other level called Roof300 is there for our roof which actually DreamHome thinks is a floor.
To make the floor appear we need to define a room, Dreamhome already knows the elevation and thickness because those were set in the creation of the level.
In my design I want a certain amount of overhang, in otherwords the roof is larger than the walls it sits on so I create a room by adding points which sits outside the perimeter of the walls.
The steps are....
1. Make sure that the tab for the second level in my case roof300 is selected.
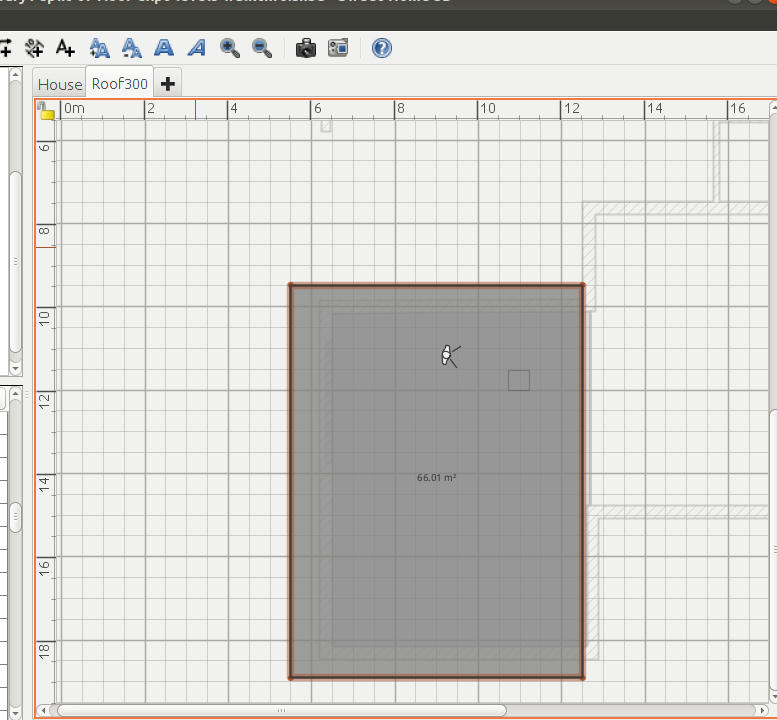
2. Create a room on it by adding points, the great thing here is that we pick up all the usual alignment cues when moving the pointer around and can define pretty much any shape of perimeter for the roof.
The plan view should now look something like this....
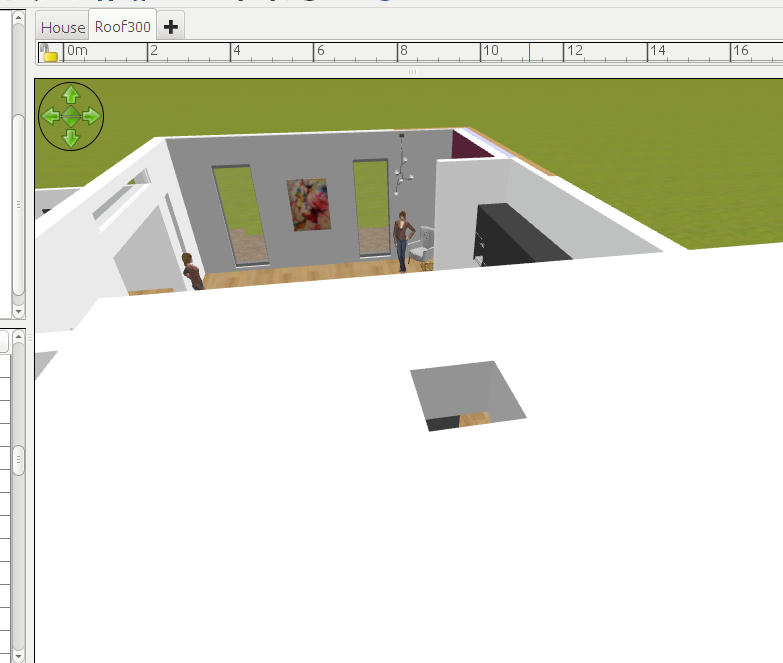
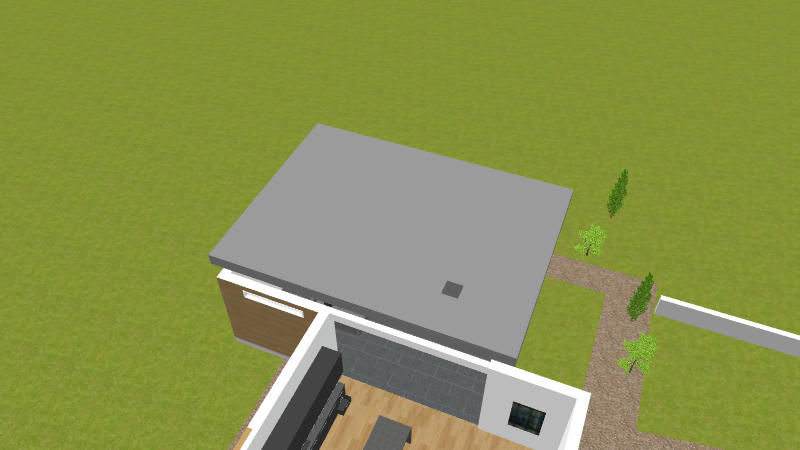
And in the aerial view the roof should be visible with the skylight
in place.
Its now possible to select the newly created roof and give it a colour.
Remember - Sweethome thinks of the solid block that we call a roof as a room floor so actually we have to edit the room and change the colour for the floor.
It may at this stage help to think of the room on the second level as a concrete second level floor before the walls are added. Setting the floor colour does not just set the top surface - the one you would walk on, it also sets colour on the sides and even the underneath.
So after adding colour from above....
And from below.
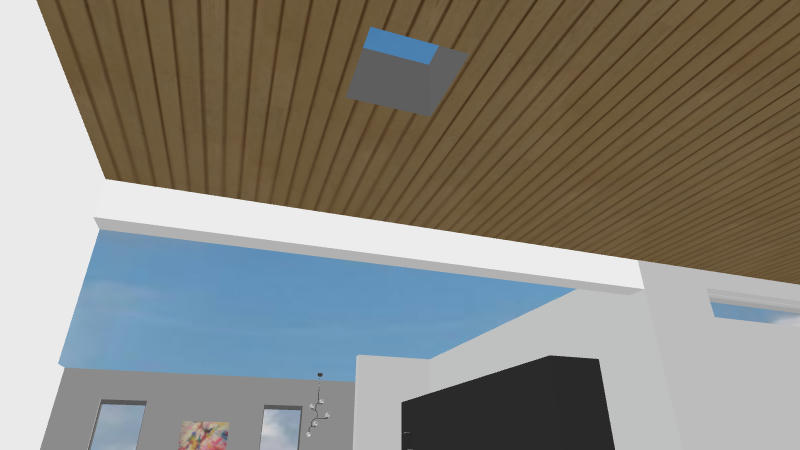
Note that the wood strip texture is still there, this is because it was defined as a texture on the ceiling of the ground floor room, the ceiling is the zero thickness sheet of colour or texture that Sweethome automatically adds (subject to options) when we are viewing from a point lower than the tops of the surounding walls.
At this stage you may encounter problems with your ceiling texture not showing.
If this is the case go check and edit the settings on level0 - I called mine 'Home' the one that most of your building is defined in.
You may find it is necessary to lower the ceiling by say 0.1 cm so that it appears definitively beneath the solid roof that 'hangs' from level 1. The first time I tried this I did have to lower my ceiling by a tiny amount - it appears that the setting "Height" in the level determines at what height the ceiling should appear, just reduce it by a negligible amount and the ceiling should show, equally the ceiling disappears if you raise the ceiling by a small amount.
Its a good idea to check the setting of height in level0 as Sweethome applies a default which may not match the wall heights.
At this stage we are nearly complete, there is one remaining issue, when the skylight is viewed from below the side walls of the 'roof cut' are the same colour as the roof which may not be our preference.
I will cover that last stage in the next post.
continued in the next post