In this final stage we want to have control over the colour of the inner walls of the Skylight at the moment they are the same colour as the roof.
This is achieved by creating a new level which is at the same height as the one we added for the roof.
I called the level created for the roof Roof300 which indicated the height of the walls on which the roof rests so I will call this new level "WhiteLiner300" - white liner refers to the fact that we will be creating four very thin white walls that line inside the Skylight hole.
My apologies to non native English speakers - a liner can be a kind of inner sleeve.
The idea is simple. We are going to create very thin walls on this level that will sit inside the Skylight almost like wall paper, the walls will be used to give the correct colour.
The useful thing about walls created on a level is that they start not at the top surface where you would walk but on the bottom surface of the level.
This means the walls we create inside the skylight will start at the same height as the ground floor ceiling.
This process is not difficult but users unfamilar with having more than one level will need to get used to a few things.
1. The view you see both in aerial and visit virtual mode depends on which level you have selected.
2. It may be difficult to create the white liner walls on level "WhiteLiner300" when other levels are visible. There are two options of interest
[Menu] Plan -> Make Level The Only Viewable One
[Menu] Plan -> Make All Levels Viewable.
The first of the above makes the currently selected level visible.
Most people will find it necessary to use both of the above options quite a lot during this process. Its actually quite simple but does take a little co-ordination.
So here are the steps.....
1. Create a new level called "WhiteLiner300" which is just a copy of "Roof300".
[menu] -> Plan -> Add level at same elevation ( as selected level ).
2. In plan view you should still see the outline of Skyline tool.
3. Create four walls which match the profile of Skyline tool.
4. Adjust the walls to be the same height as the roof thickness
5. Adjust the walls to be fairly thin - say 2 cm to begin with.
6. Zoom in and adjust the walls so that they sit inside the hole in the roof.
7. Zoom is as much as is required to fit the White liner walls so that they fit snuggly in the roof hole, reduce wall thickness to taste.
I have missed out some basic skills, for instance you need to be able to create a closed loop of four walls by being able to "join" walls, to be able to colour the walls, move them around to adjust and so on.
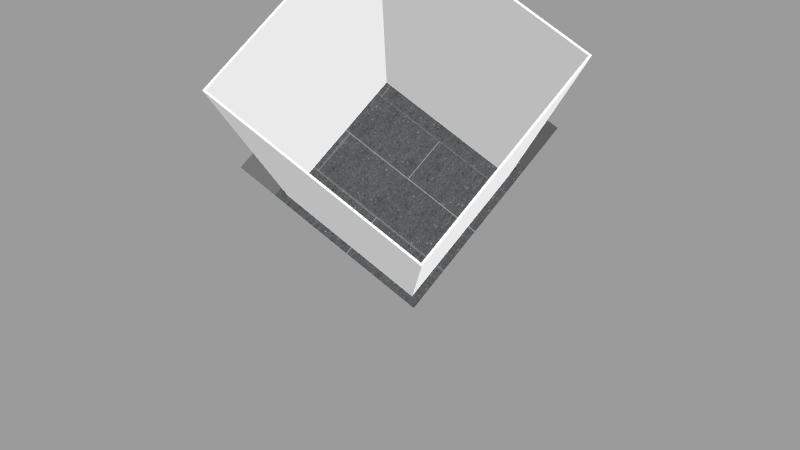
I hope the following image will help a little, I have deliberately left a big gap between liner and hole and made the White liner walls too high, I think it helps a little to see it this way.
To finish off this example I would need to adjust the liner walls 'by eye judgement' and also set their correct height.
If this seems like a complicated and long winded procedure it really is not that bad when do for real a few times.
I will list some advantages in the next post....
continued in next post..