So I've finally got all of the pictures rendered.
Here's the current file for the house.
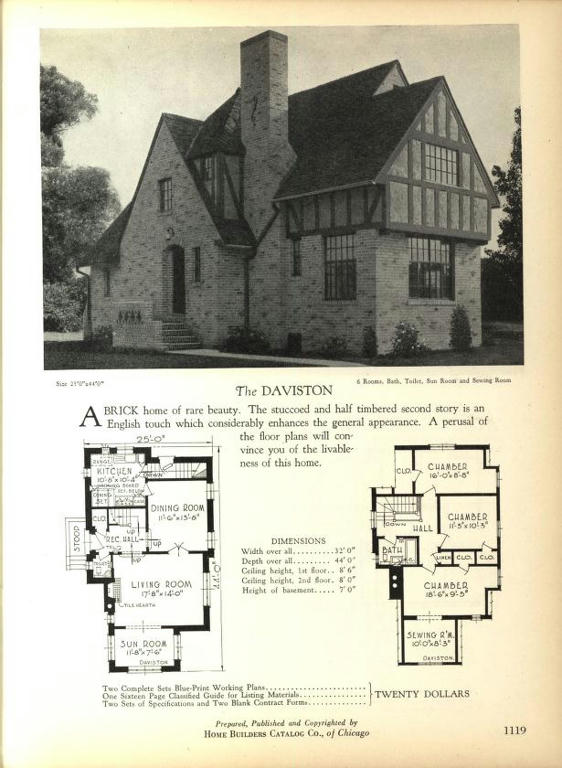
And here's a quick reminder of what the house plan originally looked.
And here are all of the pictures (I'm even including the one I shared as a 'preview').
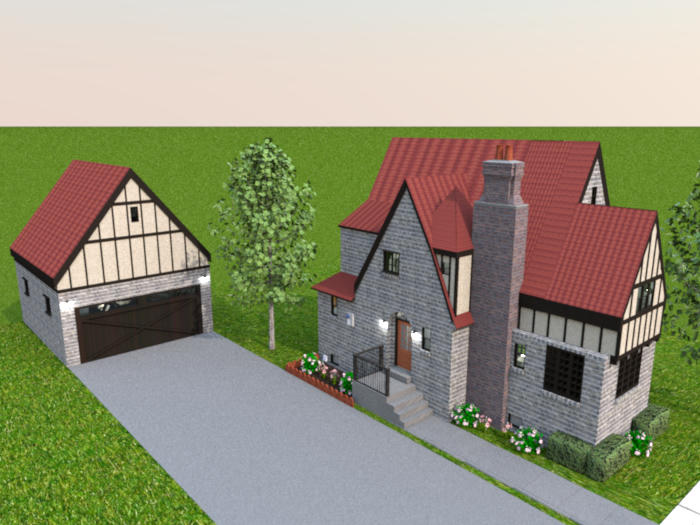
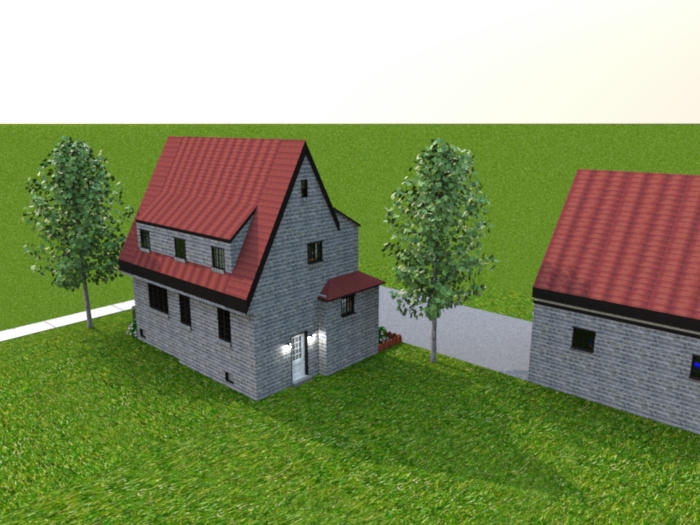
Front Aerial
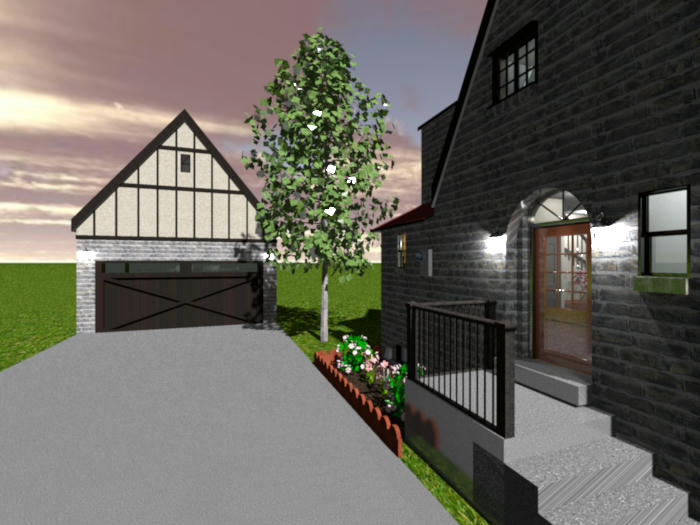
Front Virtual Visitor (although, with the way that I'd originally created this house, the Virtual Visitor is standing about three-and-a-half to four feet above the ground...) I've made some changes to the chimney, making it out of a different brick as well as adding the chimney top.
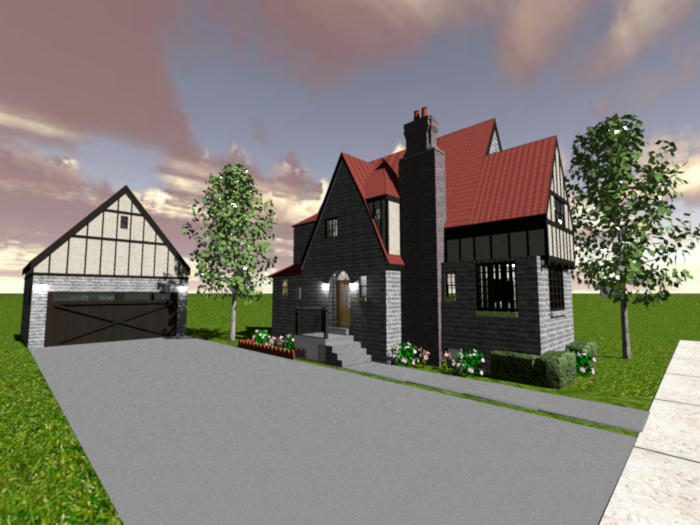
Back Aerial
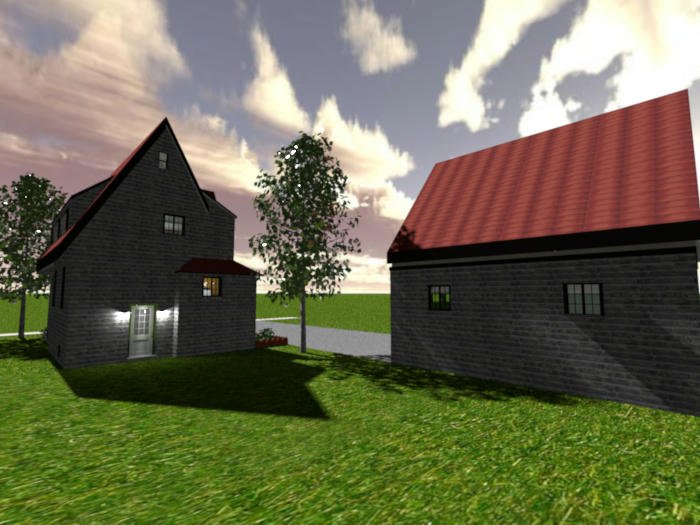
Back Virtual Visitor
I have not made any changes to the roofing, so there is still a bit of it on the back that I don't like -- the spot where the roofing 'splits' on the Top Floor. I don't see anytime in the future where I would try and figure out how to 'fix' that spot...
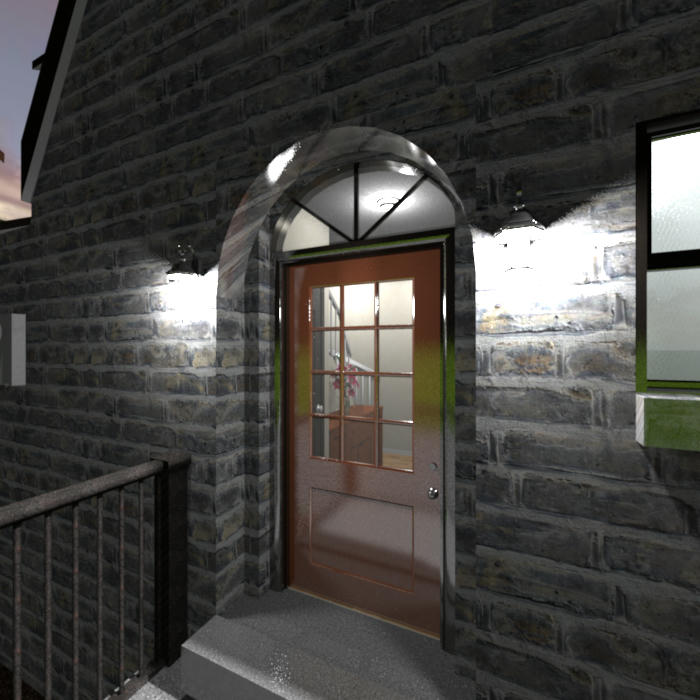
Front Entrance, standing on the top step landing.
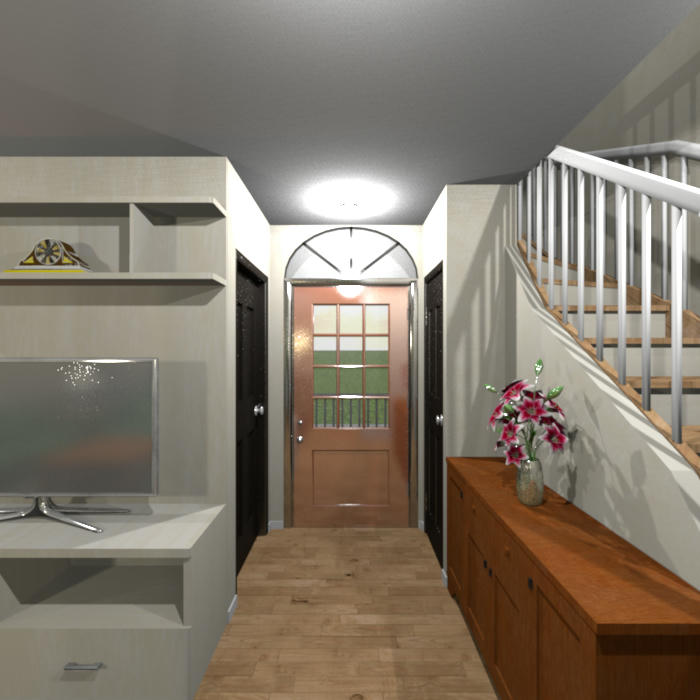
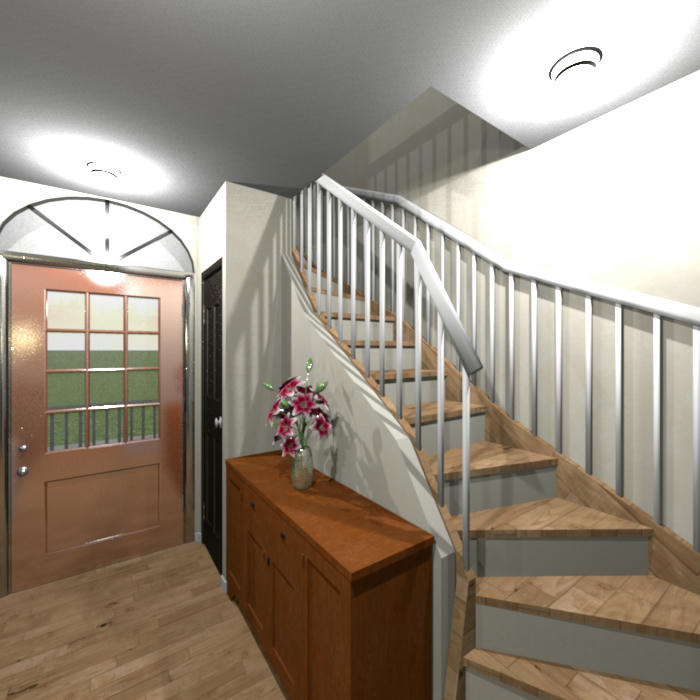
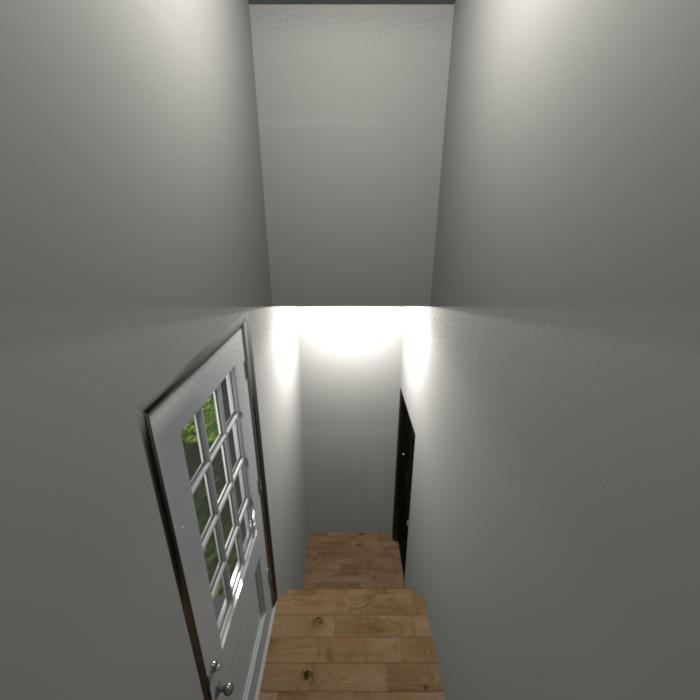
Inside the front entrance area, from the base of the stairs. I'm not sure if there is enough head room at that first bend of the stairs, but I had to add a 'box' to continue the upstairs hallway, otherwise there wouldn't be any way to access the front bedroom (the one with the sewing room attached, that I have decorated as storage for said sewing room).
I think that I might have the front door a bit too shiny though...
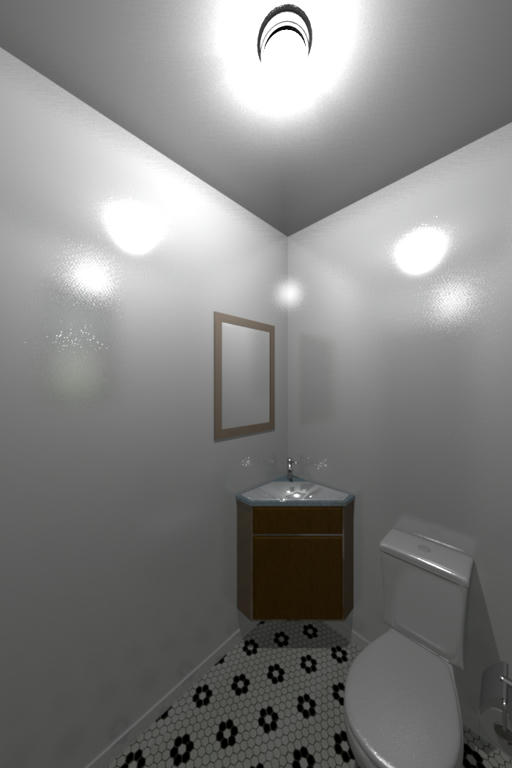
Powder Room. I think that I have the walls shiny enough that the reflections of the door and the window can be distinguished.
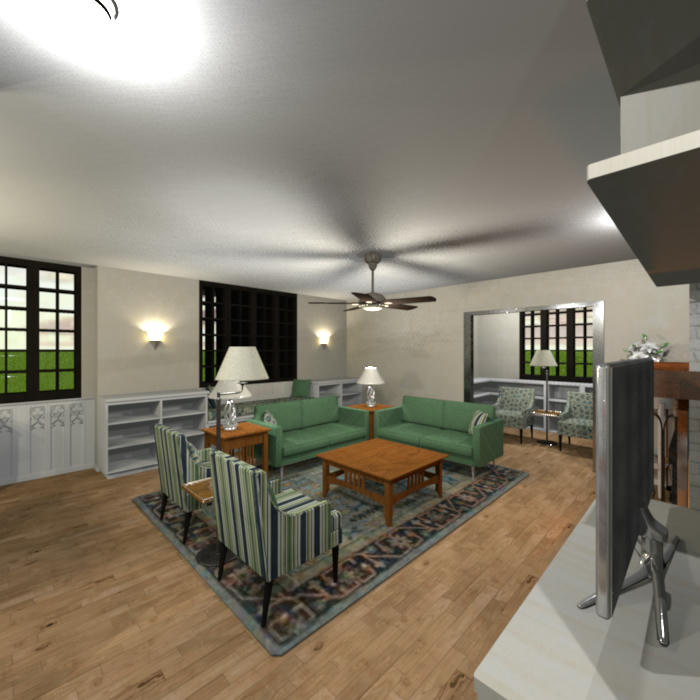
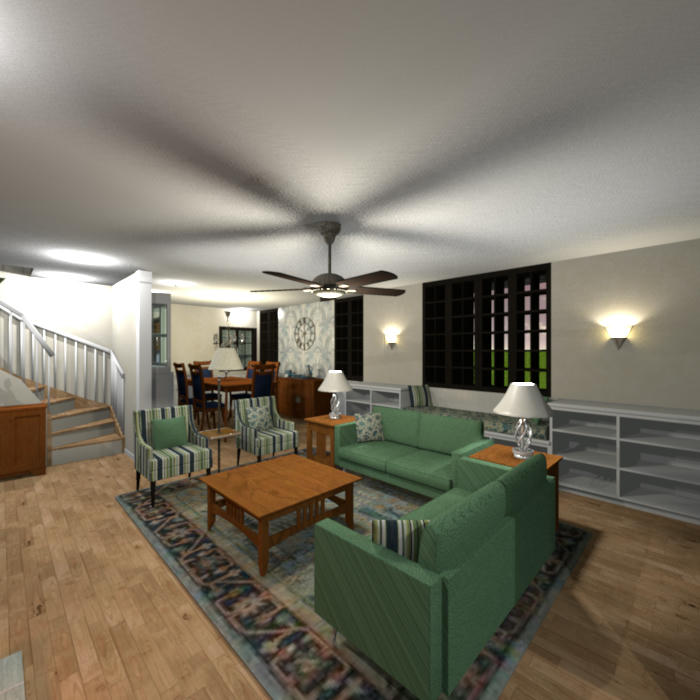
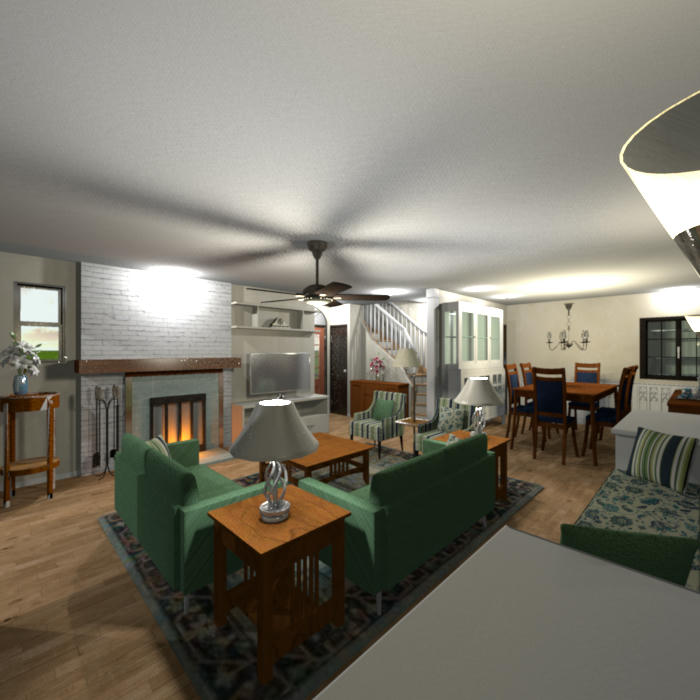
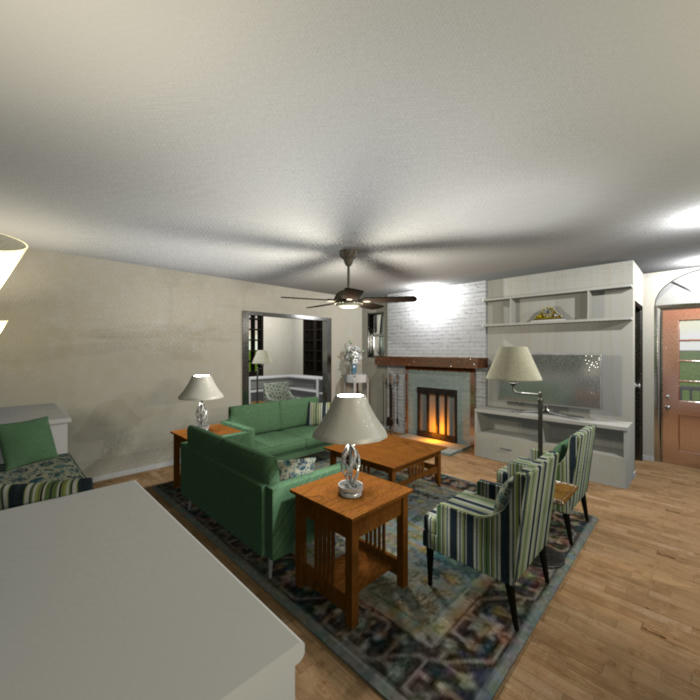
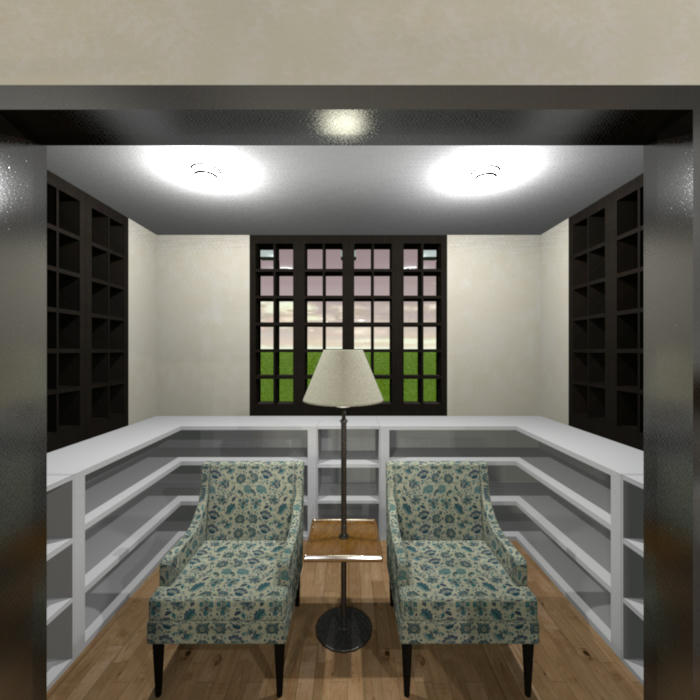
Living Room (four angles), and the Sitting Room. I believe that I had opened up the entrance area, Living Room and Dining Room; I felt that the walls made each room smaller... and now that I think about it maybe I should have done the same thing with the Sitting Room... and possibly the Sewing Room upstairs...
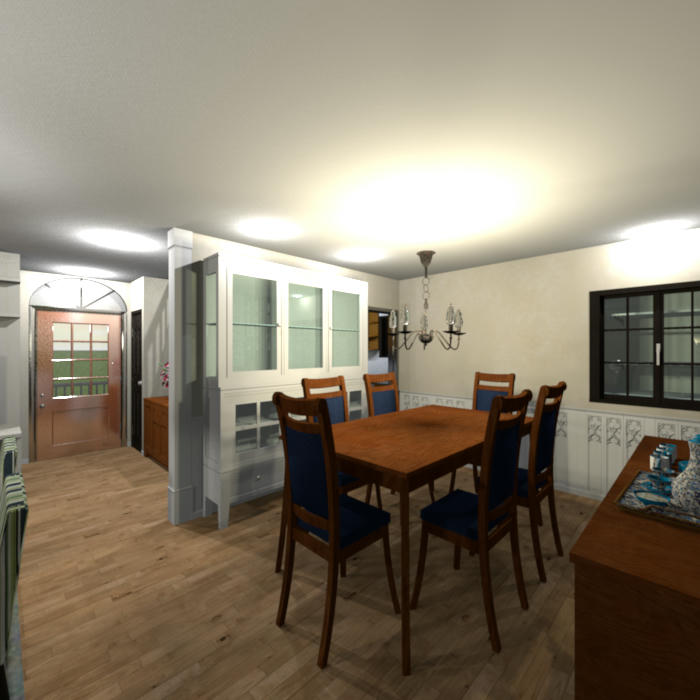
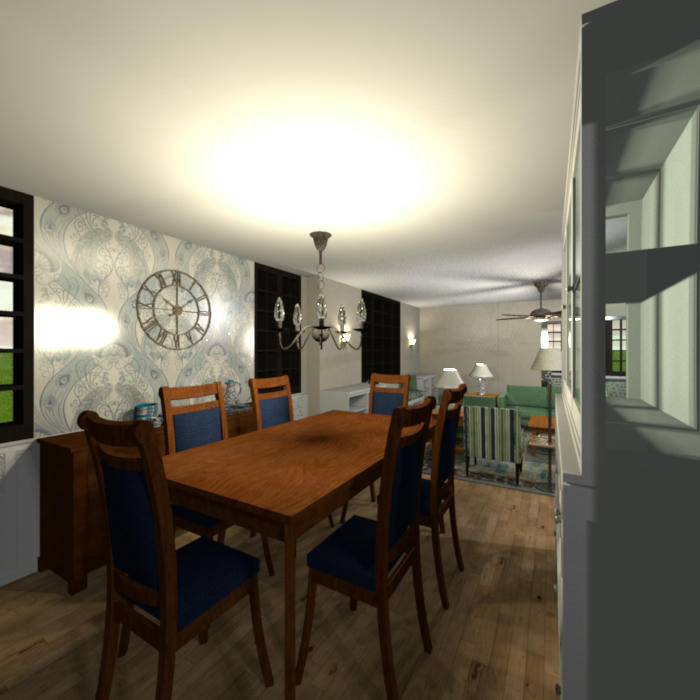
Dining Room, two angles. I added a built-in, recessed cabinet. A bit of a convoluted story, but when I went to take the picture of the back entrance stairwell to the basement, I thought that the space back there was wasted. As I'm looking at it, I'm thinking that since I have that I don't know if I need the China cabinet anymore...
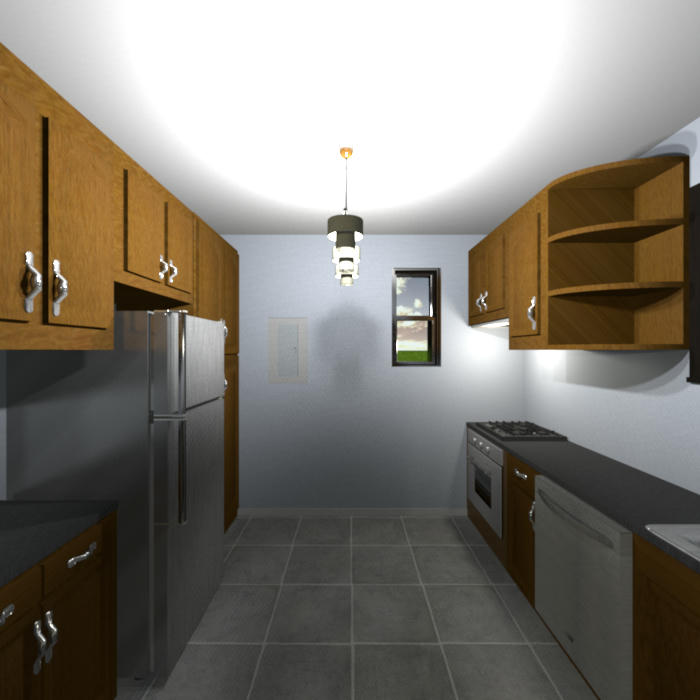
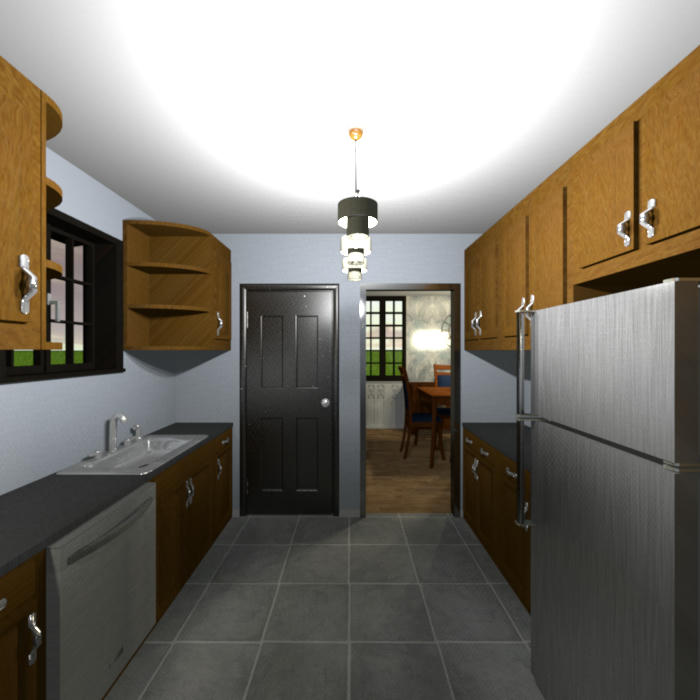
Kitchen, two angles. Not much changed here; mostly I just changed the textures, but I did change out the cooker for what's there now.
Back Entrance stairwell to Basement. The built-in, recessed cabinet addition is somewhat visible here, with the bit of wall and such above the basement door.
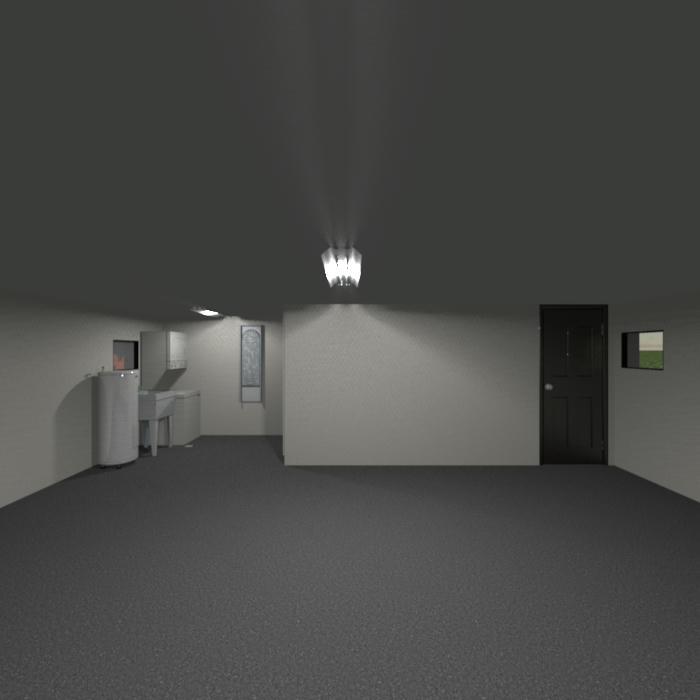
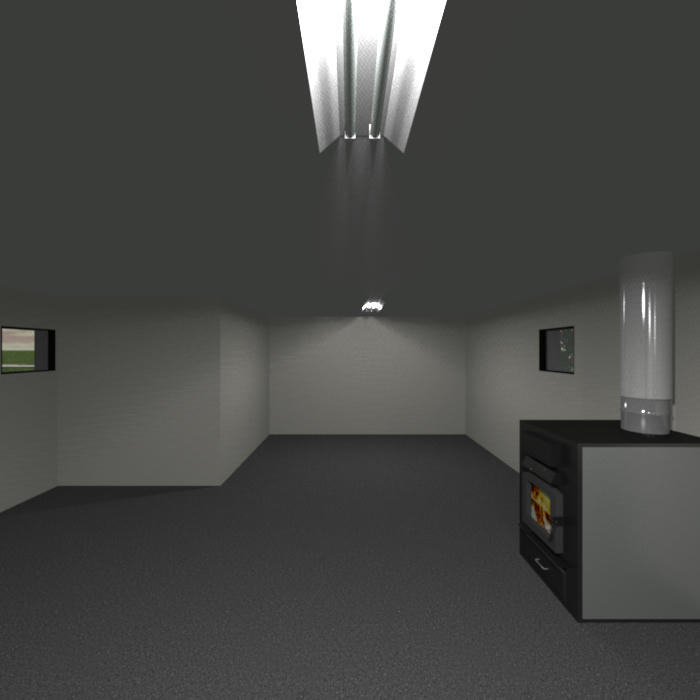
Basement, two angles. I think that I might have all the stuff down there a bit crowded...
Now onto the Top Floor.

Main Bathroom. I changed out the bathtub that had previously been in here, added the light over the sink and mirrored cabinet (which I also made more recessed into the wall), and changed the wall color.
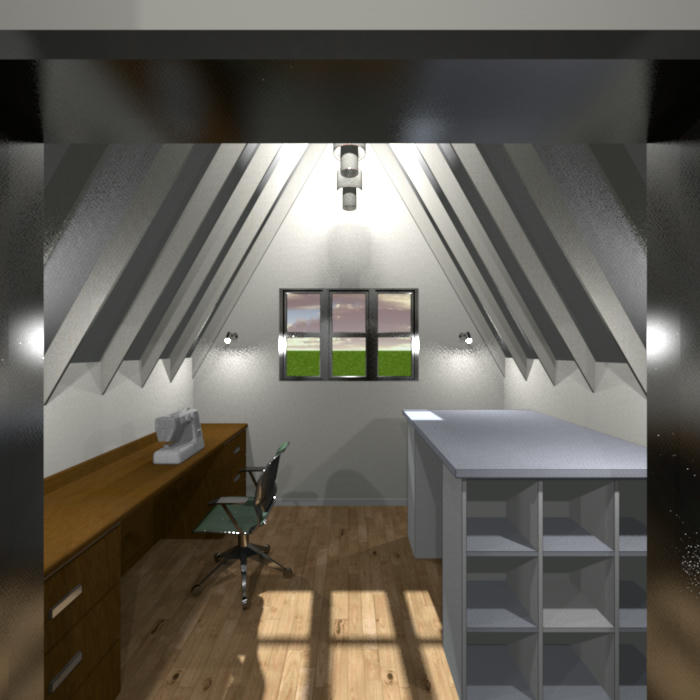
Front Chamber/Bedroom and Sewing Room. The only change that I remember making here is the roof beams in the Sewing Room.
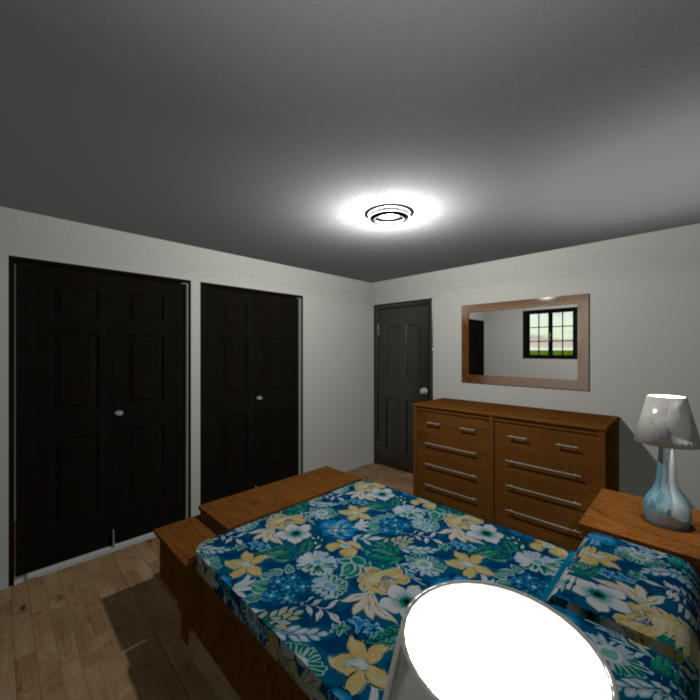
Middle Chamber, decorated as the Master Bedroom. I changed out dresser, mirror and lamps for smaller bit-sized ones. I think that those are the only changes.
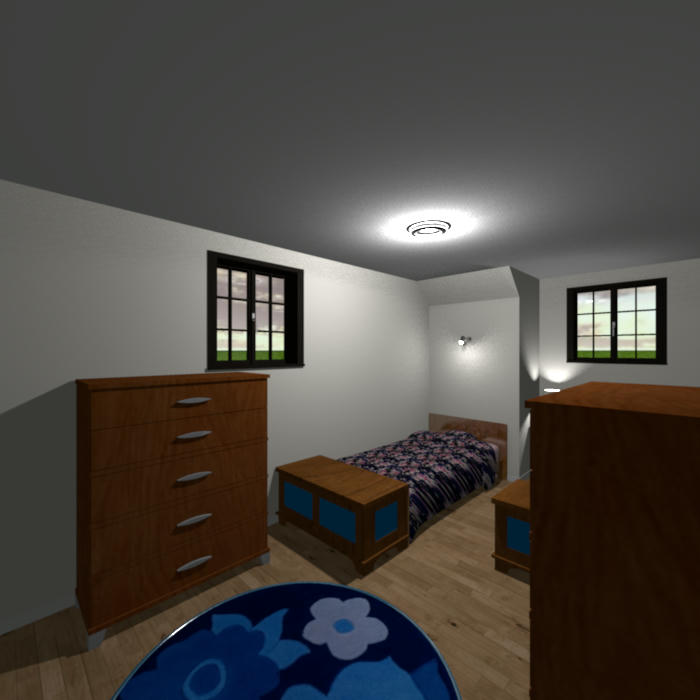
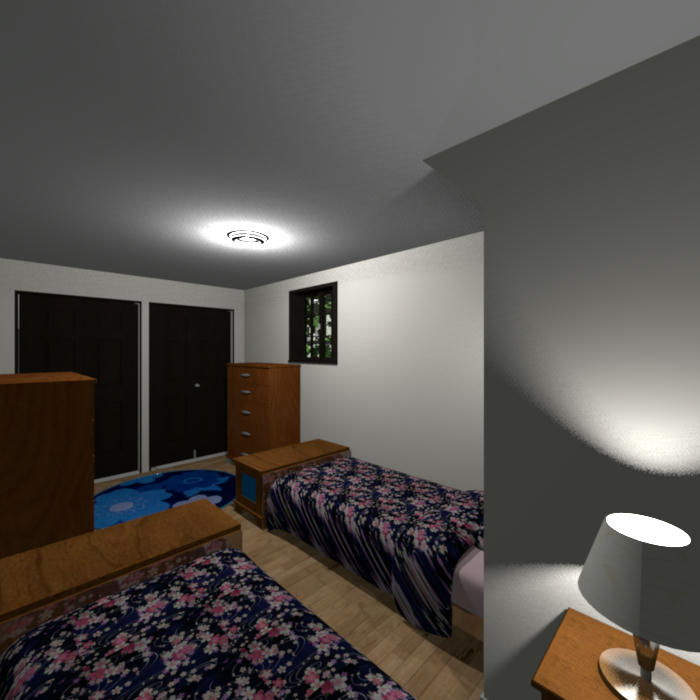
Back Chamber, two views. I changed the footlockers and the lamp for smaller bit-sized ones. I think that those are the only changes.

Attic, two angles. My poor roofing placement is very evident here, as the area should be (I believe) a rectangle, and the fold-away stairs from the Top Floor is between those roof parts.
And I just realized that I haven't rendered pictures of the Garage, or the Storage space above it, not to mention the screen shots of each level, and I need to get to bed. I'll try to include them in the next few days.
----------------------------------------