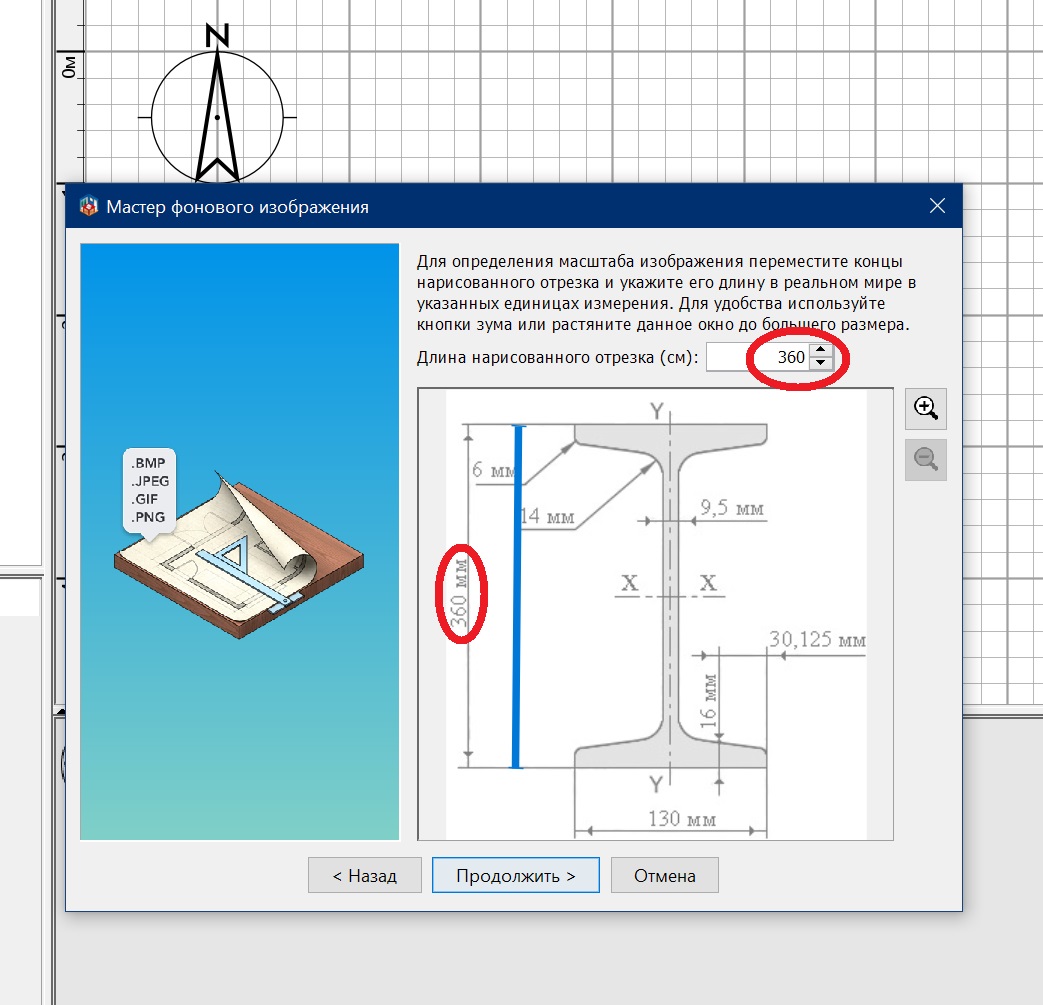
Thanks a lot for the advice to assign texture to surfaces before exporting! I would like to share my way to create any channel profile, it may be useful for those who do not know how to make more complex models. You need to find the drawing on the Internet and make it a background image. instead of dimensions in millimeters, set the background image 10 times larger, in centimeters with the same numbers. It is more convenient for building later.
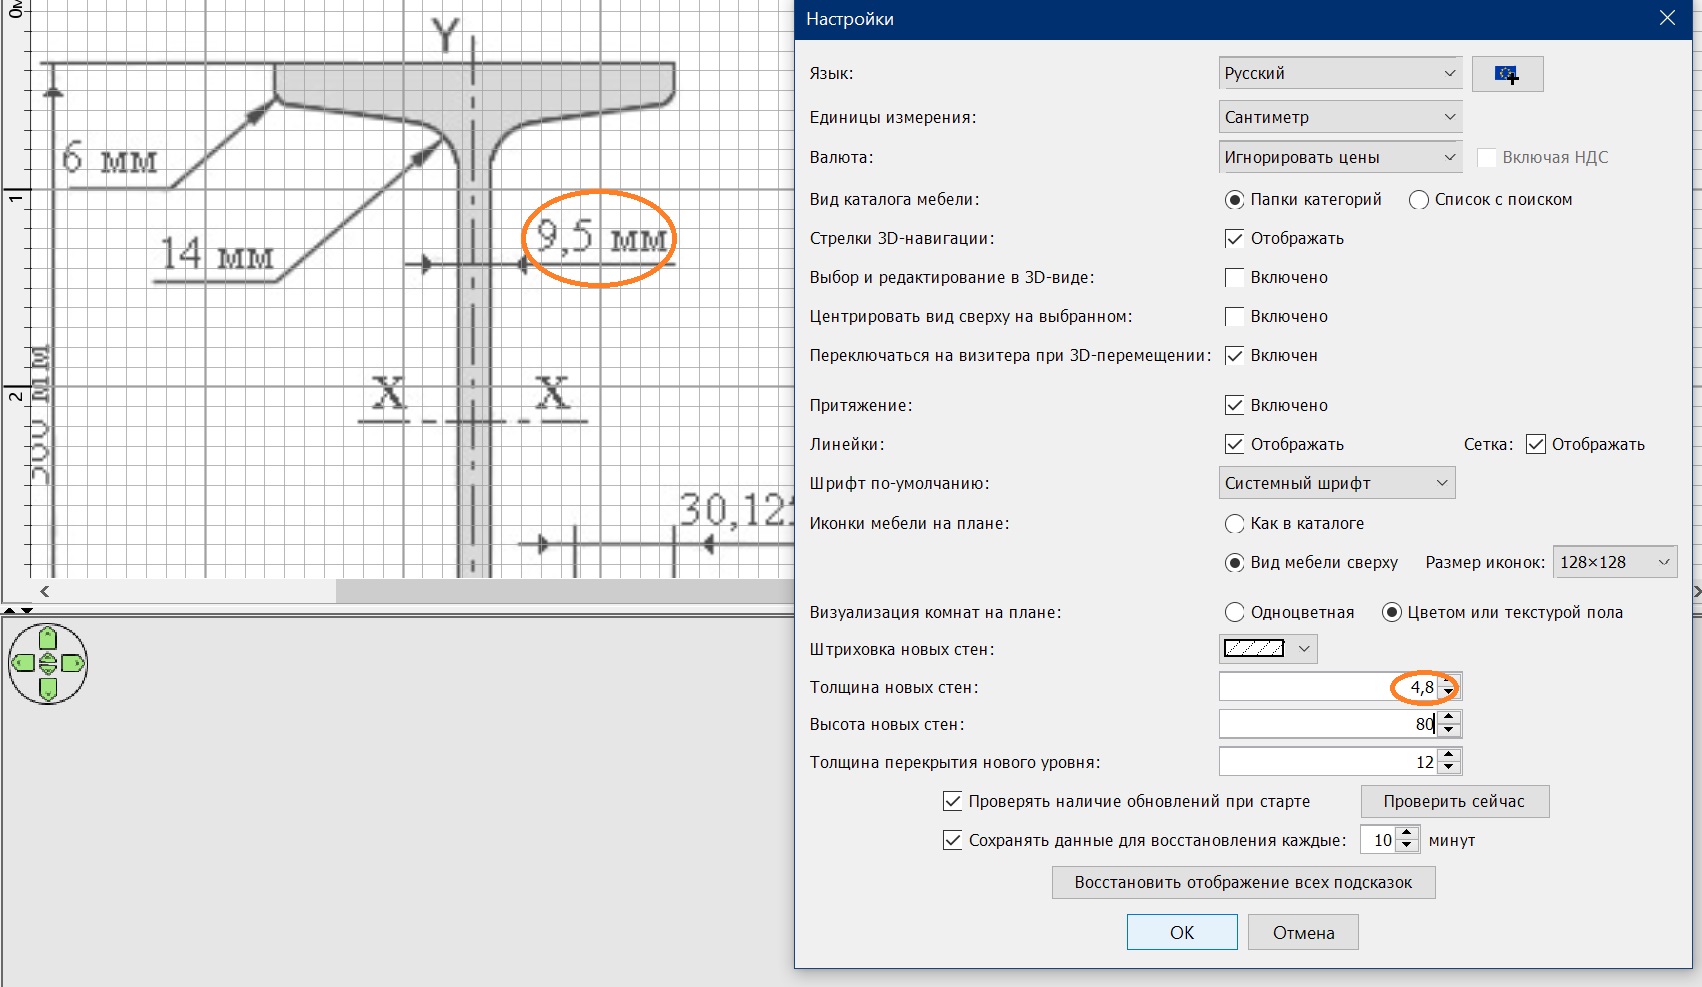
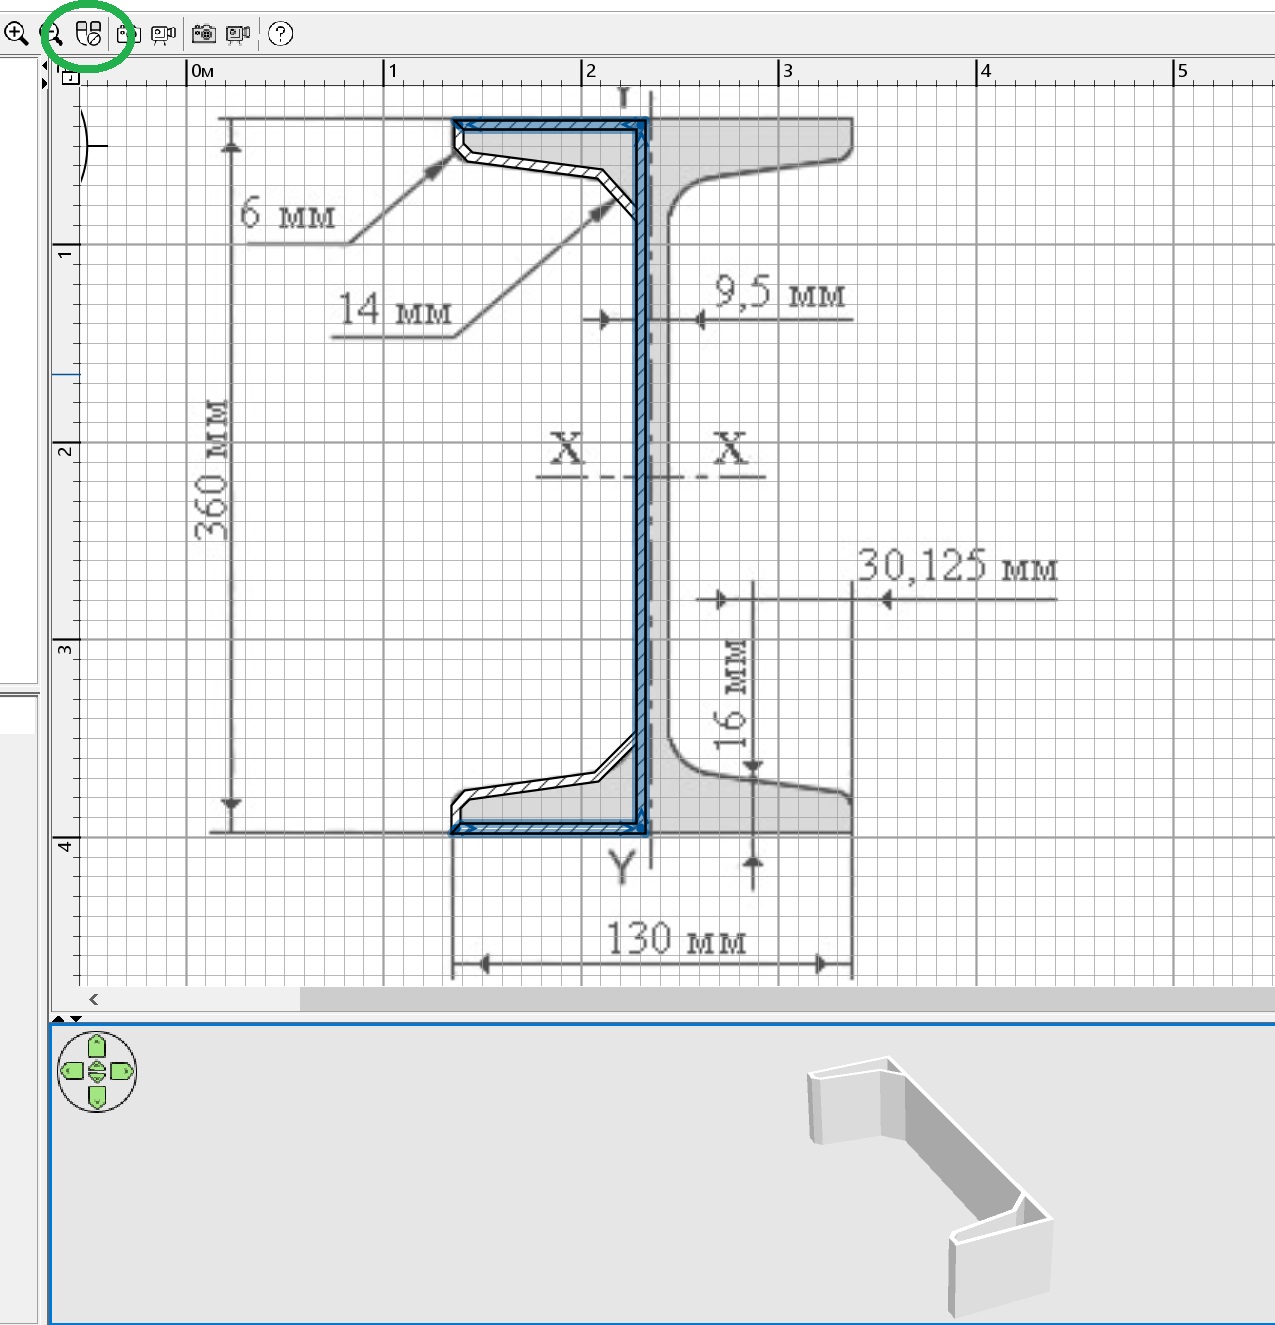
if the drawing is correct, then my instructions are correct. But I fell for a SCHEME where there are incorrect proportions. It is necessary to carefully select the initial drawing. So you need to choose the wall thickness settings according to the dimensions in the drawing. If there are difficult directions of the surfaces, then it is necessary to remove the magnet. You need to make a contour for half of the I-beam. You can make the entire perimeter at once, but it will be smoother this way.
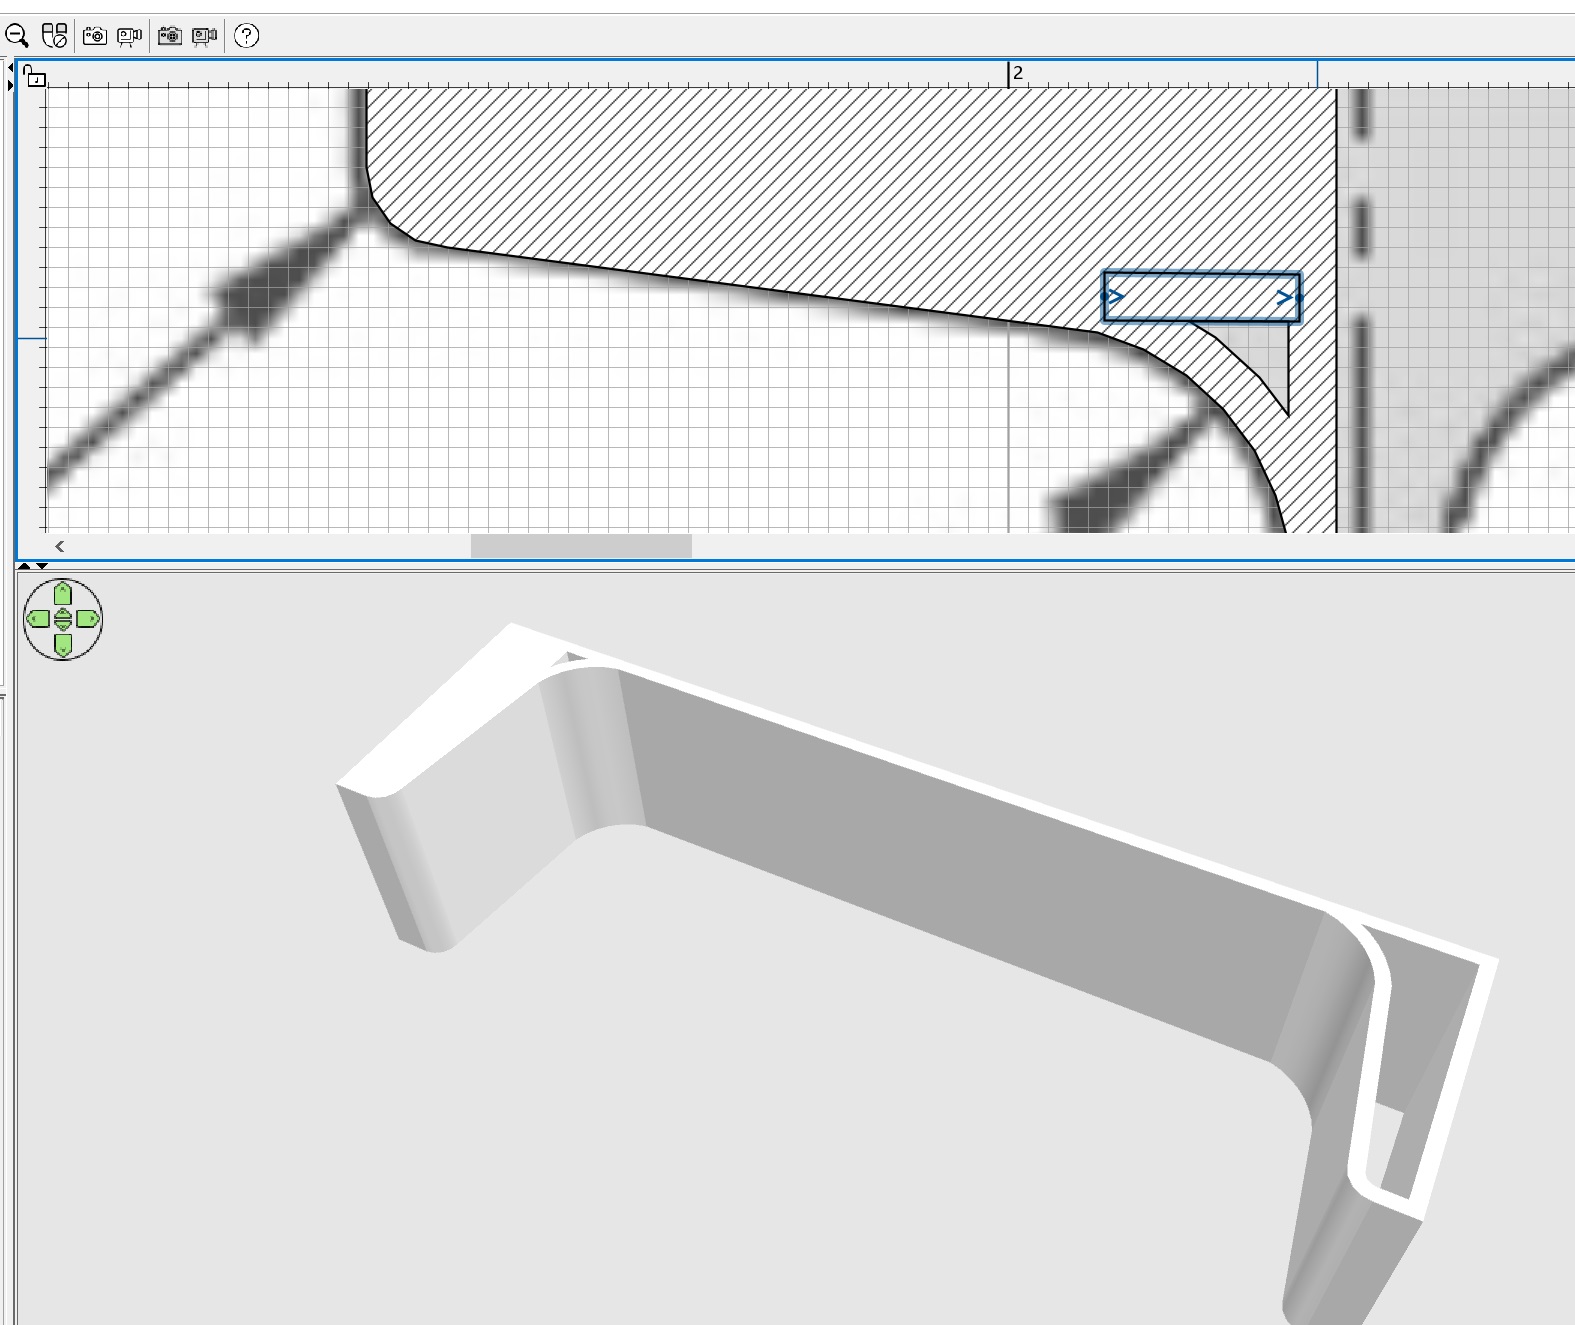
you need to round the walls according to the background drawing, then fill all the voids with the same walls.
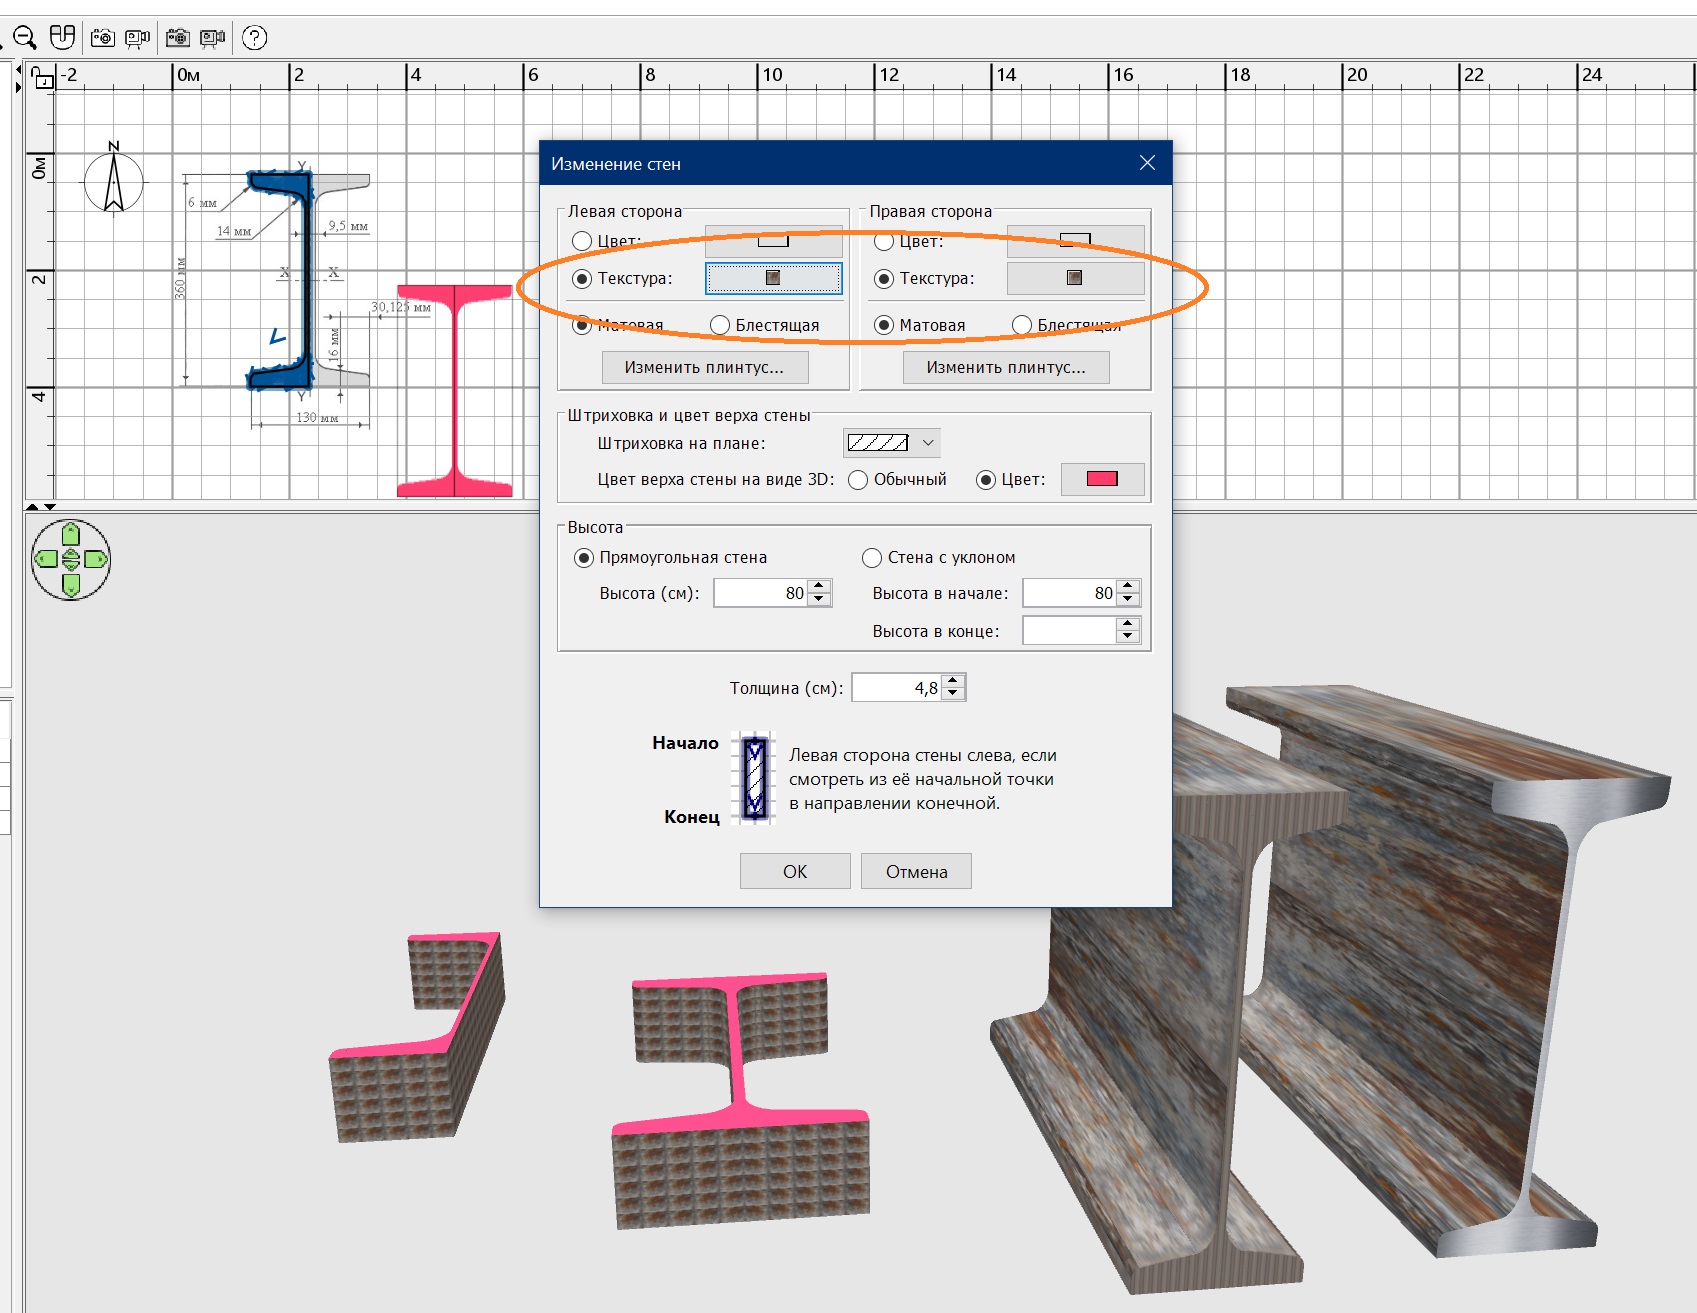
and now you need to highlight everything that you have done with the walls and assign texture settings for the left and right surfaces of all these walls. And you can assign a color to the top of the walls.
Now you can export to OBJ and import back as furniture. Copy and mirror the halves, connect, align. Again, export-import as a whole symmetrical model. Rotate the model along the X axis by 90. My observation is that the texture scale for such models should be from 1000 and more. Otherwise there will be a cage. And the top of the walls - the I-beam section - will have a second texture only on the upper surface, the lower surface of the wall is not adjustable, there will be a texture for the side surface. You need to copy, expand and glue the two models again so that you can get a texture on the cut from both sides of the I-beam (outside the upper surfaces of the walls). Export-import again. That's it. My main conclusion is that you need to carefully select the initial drawing so as not to do all the work incorrectly from the very beginning, as I did. The proportions of this I-beam are wrong in the end.