my belief is that for realistic visualizations it is better to do the whole room with the help of boxes. I make everything with boxes - windows, doors, furniture, carpets, tables, parquet, tiles, wallpaper, window sills, kitchen. Boxes have a great advantage over creating walls and floor surfaces in rooms. There you can set textures more correctly, assign a color, and change the scale of the texture. First, I draw everything in AutoCAD, set all the dimensions, then spend half an hour accurately reproducing the room with the help of boxes. I also always make the floors in thin boxes of 0.1-0.3 cm. If there is a boundary between two types of materials, I just make the desired box 1mm higher and overlay it on a lower box with a different texture. Unless, of course, the boundaries of the coatings are straight. This type of coating (texture) overlaps another coating and a clear boundary is obtained, a difference of 1 mm is not visible to the eye. All furniture, especially in a modern rectangular design, can be made using boxes. To do this, cabinets need to be drawn and sized, then create boxes in large blocks and connect them into tiers with small gaps of 3mm-5mm (accurately give each tier an excess above the floor, align with a tool in the Furniture column, there is an excellent alignment tool in different directions. The first selected element is a sample, the rest selected after it will be aligned with it.). Tiling, especially if there are inserts from decors, can also be done using boxes of real tile size, 2cm high (these are really tiles and glue), and the tile texture can be placed on the TOP. Then copy a lot of these boxes, put them in rows, align, compose a composition in the size of the wall, a little more, select and import into OBJ, then export back with a rotation of 270 relative to the X axis. You will get a realistic facing with the right tiles, without distortion. I try to find tiles with different patterns on factory websites so that the adjacent tiles look like real ones, without repeating the pattern. Usually there are 5-8 FACES in the collection with a different type of drawing. I save them all as textures numbered 1-2-3... and apply them randomly, rotate the textures of the box all the time, change the mirror image. This removes the bad look of the finish with a rough repetition of the pattern, the cladding turns out to be real, lively, realistic. It is best to assign the texture to the sides of the box individually. Not the general texture for the whole box. Then there will be no diagonal distortion of the texture on the sides of the box. Dear Keet advises making the sides of the boxes invisible to the eye in the settings, so the size of the entire model and the rendering time are reduced. It's a good way. It is also better to make the ceiling as a box at the right height, white in color. This way of creating a room using boxes certainly does not allow you to leave the room and look at it from the outside. There will be horror outside. But this method is better for interior visualization. And with skill, it is not inferior to 3DS MAX in any way))).
It's all out of the boxes here. The real models are a chandelier, an armchair, a door handle, pillows, a laptop. Models are very necessary, they add three-dimensional reality to the interior, but the boxes weigh much less, it all depends only on the size of the texture. I always try to upload the highest quality JPEG for the texture and do not reduce the size. Otherwise, it will not be so good in the end on the render. Although, of course, it takes longer to load.
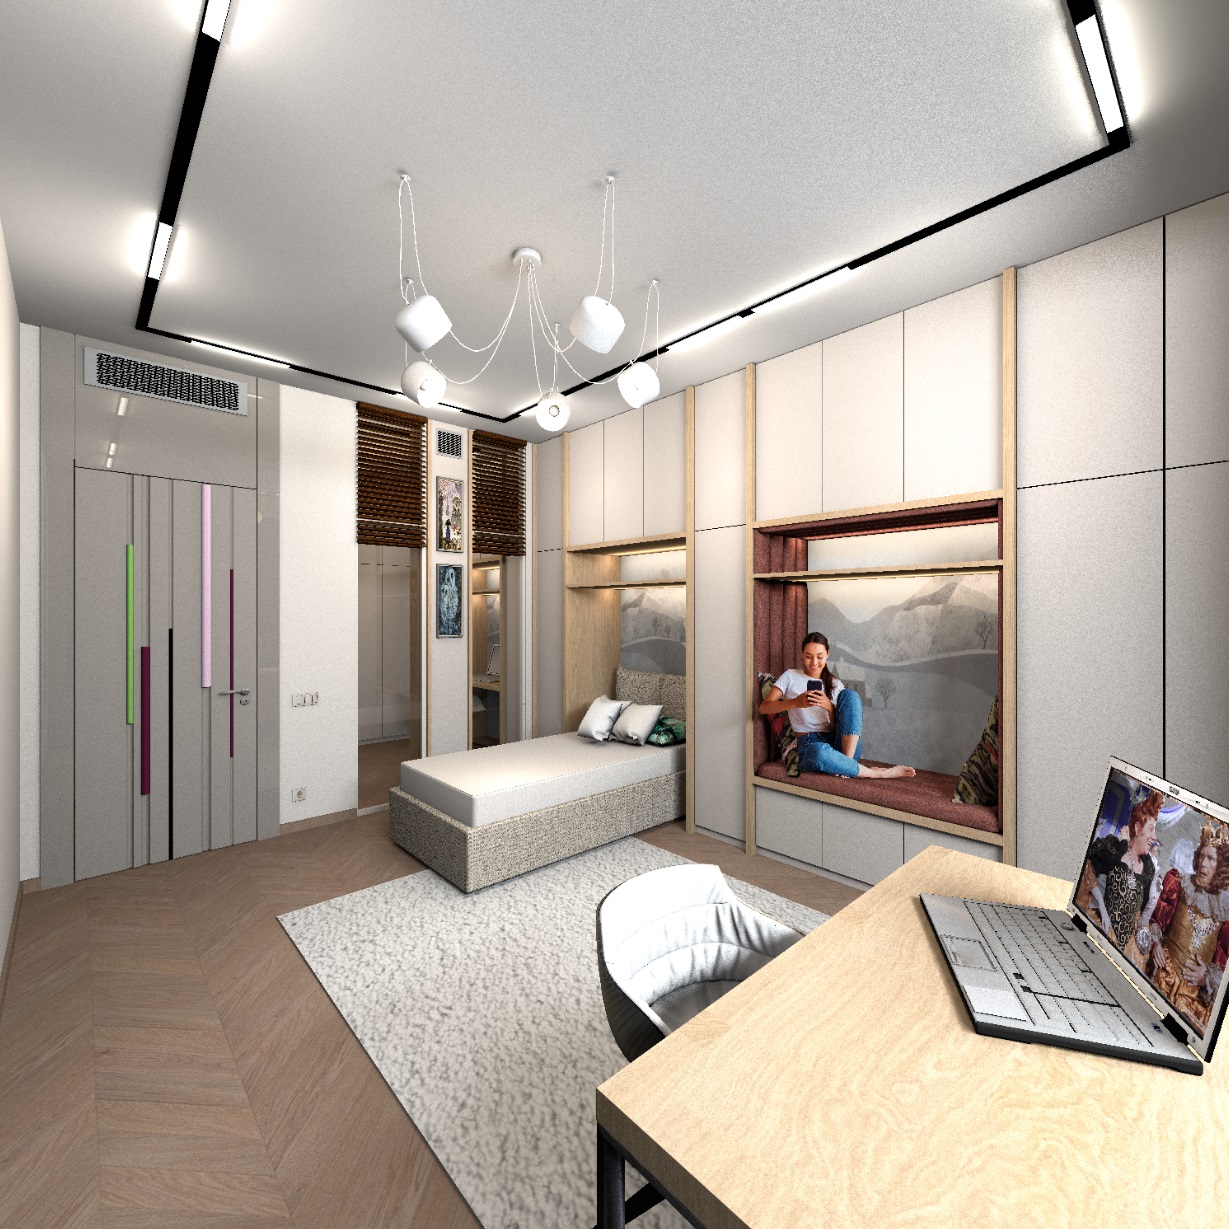
the parquet on the TOP box is 300x300x0.1 cm, the squares are connected in a group of 6 pieces, the parquet goes beyond the boundaries of the room strongly, but does not distort in proportions on the render, the laying of the "French tree" turns out to be realistic. Sorry for the probably strange translation of the parquet laying method. We call it that).