Hey...how is it pssible to build walls over custom made doors and windows?
and another question is...how can i paint different parts of a wall?
look at the photos!
|
Sweet Home 3D Forum » List all forums » » Forum: 3D problems » » » Thread: walls! |
|
| Print at Jun 26, 2026, 5:15:08 AM | View all posts in this thread on one page |
| Posted by audiophilone at Dec 29, 2024, 1:48:42 PM |
|
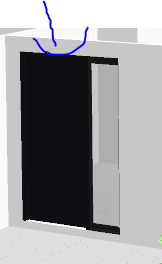
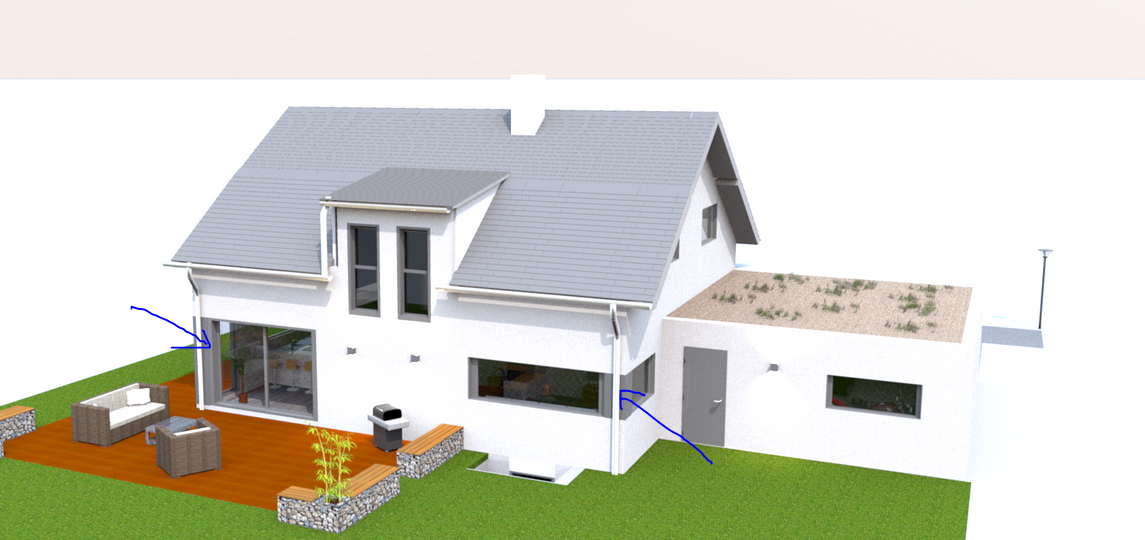
walls! Hey...how is it pssible to build walls over custom made doors and windows? and another question is...how can i paint different parts of a wall? look at the photos! |
| Posted by Shralen at Dec 31, 2024, 7:29:47 PM |
|
Re: walls! For custom windows/doors make sure you import the item with the Door or Window selected.  For changing wall color, simply select the wall you want to change. Then pick Modify walls.  Then you just pick the option of color or texture, depending on what you want.  ---------------------------------------- I'm more comfortable writing in English, but I can also write in French. ,___, (OvO) Hoot /)_) " " |
| Posted by Keet at Jan 1, 2025, 9:08:13 AM |
|
Re: walls! Schralen already gave you the answer for the wall above a custom door: Check "Door or window" in the import dialog and the door will cut a hole in the wall surrounding the door. how can i paint different parts of a wall? The answer is levels. For vertically different colors you have the option of baseboards but with these you can only color one part. Your image shows a gray part of the wall between a bottom and top wall. You will have to create levels to accomodate the different wall heights. Start with the 0 level as you already have it. This is for all (white) walls starting at the bottom. The white wall part under the gray colored column has a height only up to the different color. (Split the walls to allow different parts to have different heights.) Add a level with an elevation to where the gray color starts. There you place the column part with a height that reaches the top of the part. Another level is needed to fill in the white top part. That is the "walls/levels" way. You will have to take the floor thickness into consideration when defining the level elevations. Check the manual "Levels_Explained.pdf" on the dodecagon.nl site to understand the relation between elevations, heights, and floor thicknesses because walls sink to the bottom of the higher floor. A different way is creating the grey column part as a separate object and export that part. Import it as "Door or window". Now you can elevate and insert that part and it will cut into the full height walls. A little navigation will place it exactly in the corner. This way you don't need multiple levels but the column part will not be a wall, i.e. you can't place doors or windows in it to cut a hole because the part itself is a 'window'. In your case that doesn't seem to be a problem and might be the easiest solution. You probably can use the same object and change its height for the left corner that starts at the bottom. ---------------------------------------- Dodecagon.nl 1300+ 3D models, manuals, and projects |
|
|
Current timezone is GMT Jun 26, 2026, 5:15:08 AM |