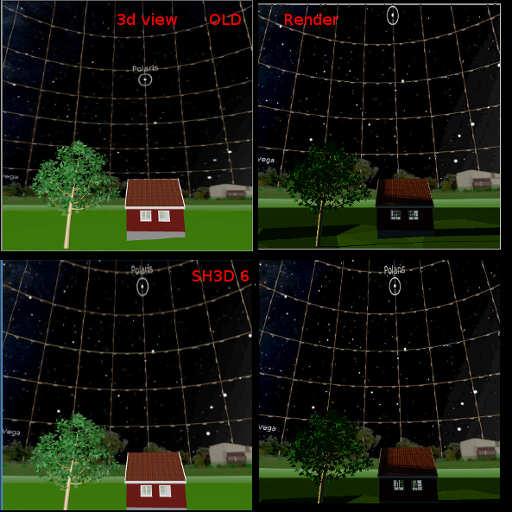
|
Posted by okh
at Sep 18, 2018, 1:24:11 PM
|
Re: Light & textures - rendering examples of this and that.
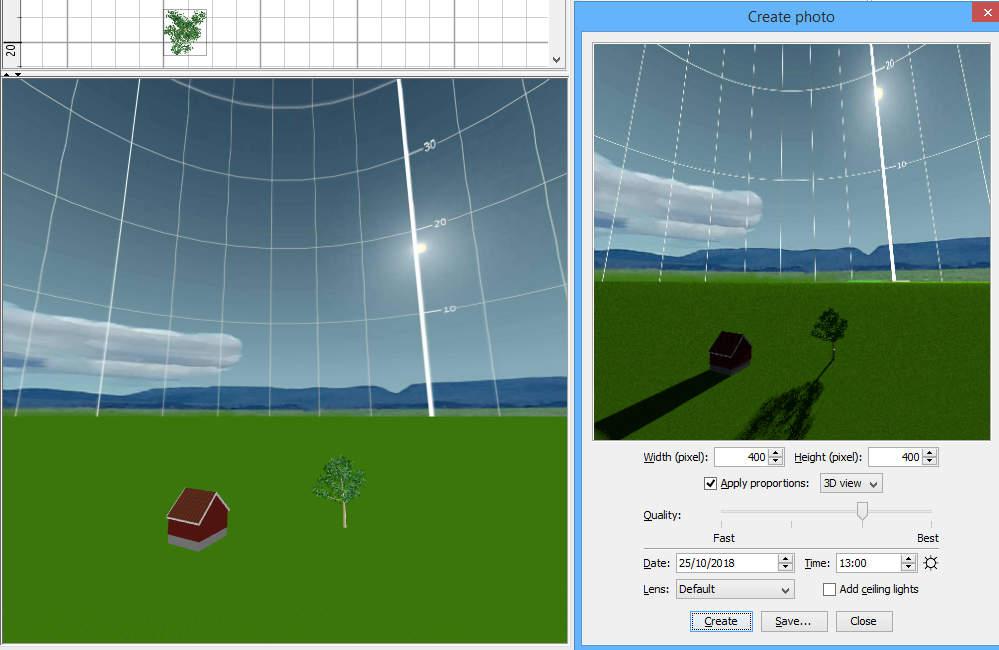
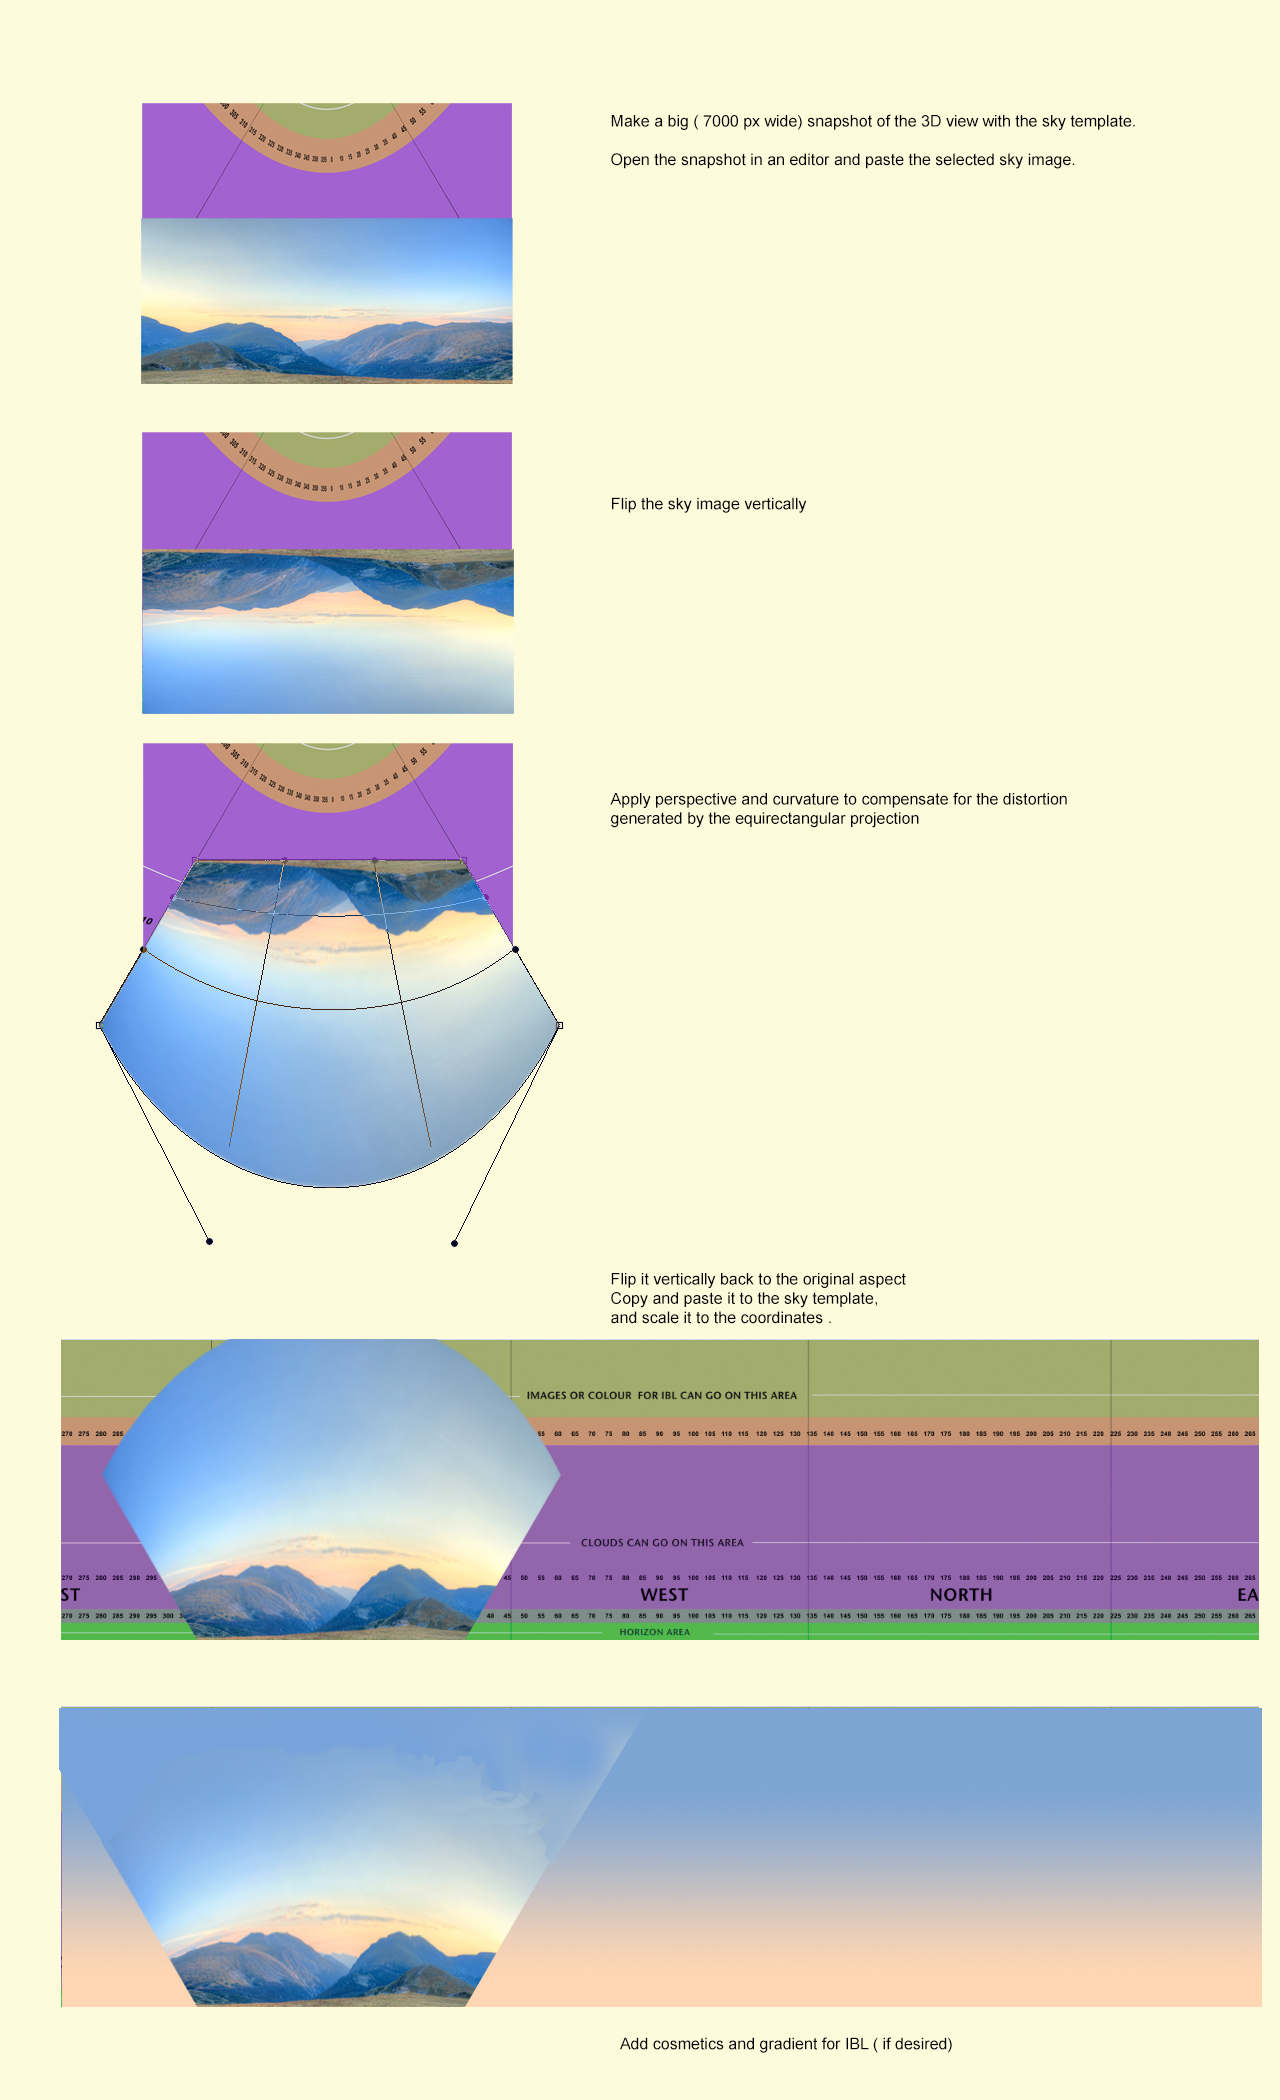
.. fully understood how the .svg numeric coordinates work differently... Not much to understand, I think. Approach is the same, I just like the more readable and transferable .svg format for constructing a multi-element background. No idea about Photoshop co-ordinates, but in the example below, sun is placed at x="90" y="60", which on a 360×90 canvas (viewBox) converts to degrees.
Probably like your Photoshop approach, at the end of the day, it is just question of combining elements on a sky texture, for instance: sun.png, clouds.png and mountain.png. Unlike the not-so-open formats of Photoshop and the Gimp, .svg displays with any browser and edits with a text editor / Inkscape / the Gimp / OpenOffice etc. maybe even Photoshop. And it can be scaled to any size without any quality loss other than that which comes with the linked raster images. All this fits into a small (and tidy) file: minitest.svg which looks like this opened in any text editor:
<svg version="1.1" xmlns="http://www.w3.org/2000/svg" xmlns:xlink="http://www.w3.org/1999/xlink"
	width="3600px" height="900px" viewBox="0 0 360 90">
<defs>
<linearGradient id="skygradient" x2="0%" y2="100%">
	<stop stop-color="MidnightBlue" stop-opacity="1" offset="0"/>
	<stop stop-color="#f0f0fa" stop-opacity="1" offset="1"/>
</linearGradient>
</defs>

<rect id="sky" width="360" height="90" x="0" y="0" fill="url(#skygradient)" stroke="none"/>
<path id="equinoxpath" fill="none" stroke="orange" stroke-width=".1" d="m 0,-30 c 62,0 118,60 180,60 62,0 118,-60 180,-60" transform="matrix(1,0,0,-1,-90,90)" />
<image xlink:href="sun.png" width="20" height="20" x="90" y="60" transform="translate(-10,-10)"/>
<image xlink:href="clouds.png" width="80" height="20" x="0" y="74" transform="matrix(1.6,0,0,.9,0,0)" opacity=".7" preserveAspectRatio="none"/>
<image xlink:href="clouds.png" width="80" height="20" x="00" y="95" transform="matrix(-1.2,0,0,.7,100,0)" opacity=".6" preserveAspectRatio="none"/>
<image xlink:href="mountain.png" width="80" height="15" x="30" y="75" preserveAspectRatio="none"/>
</svg>
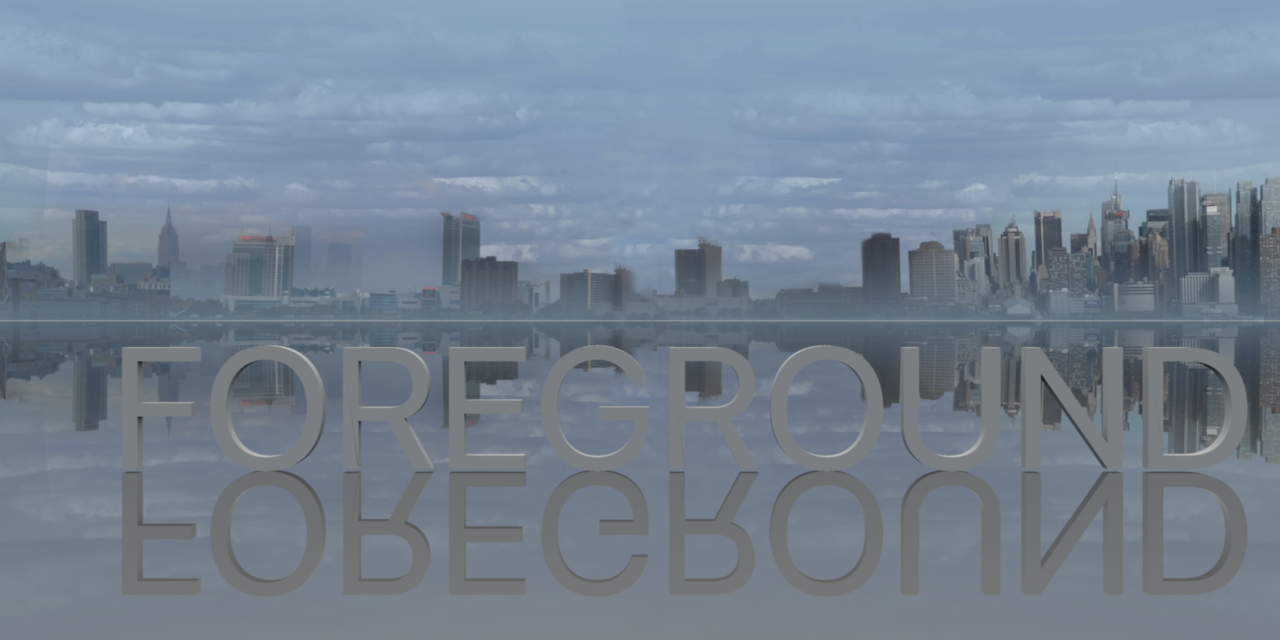
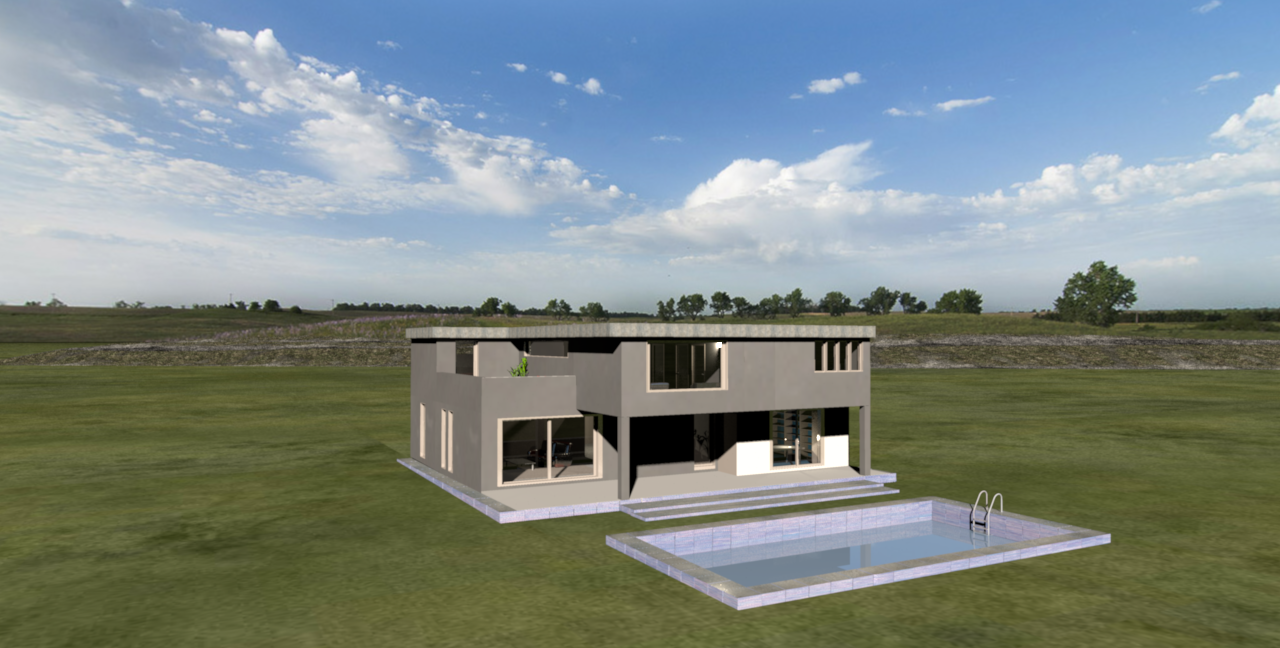
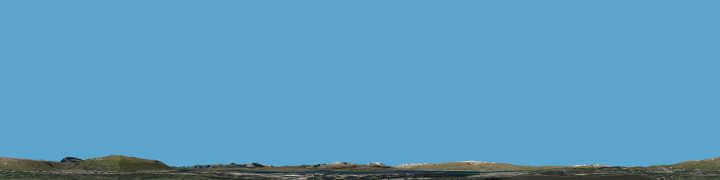
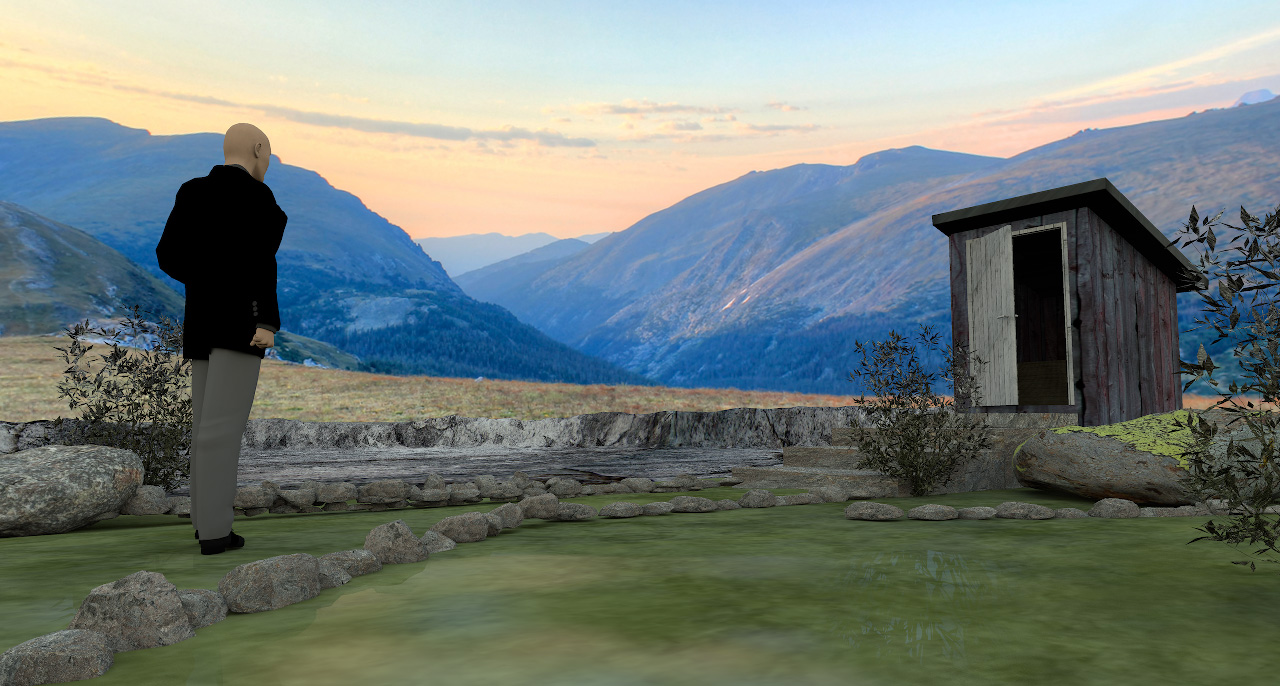
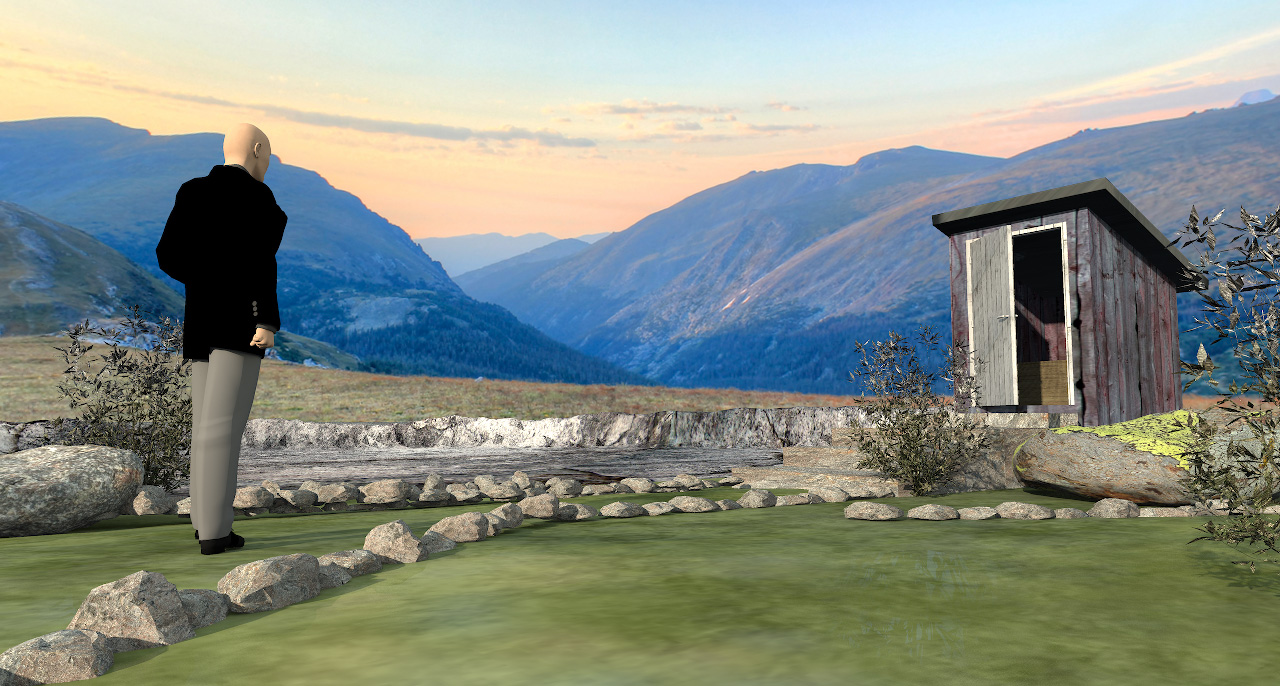
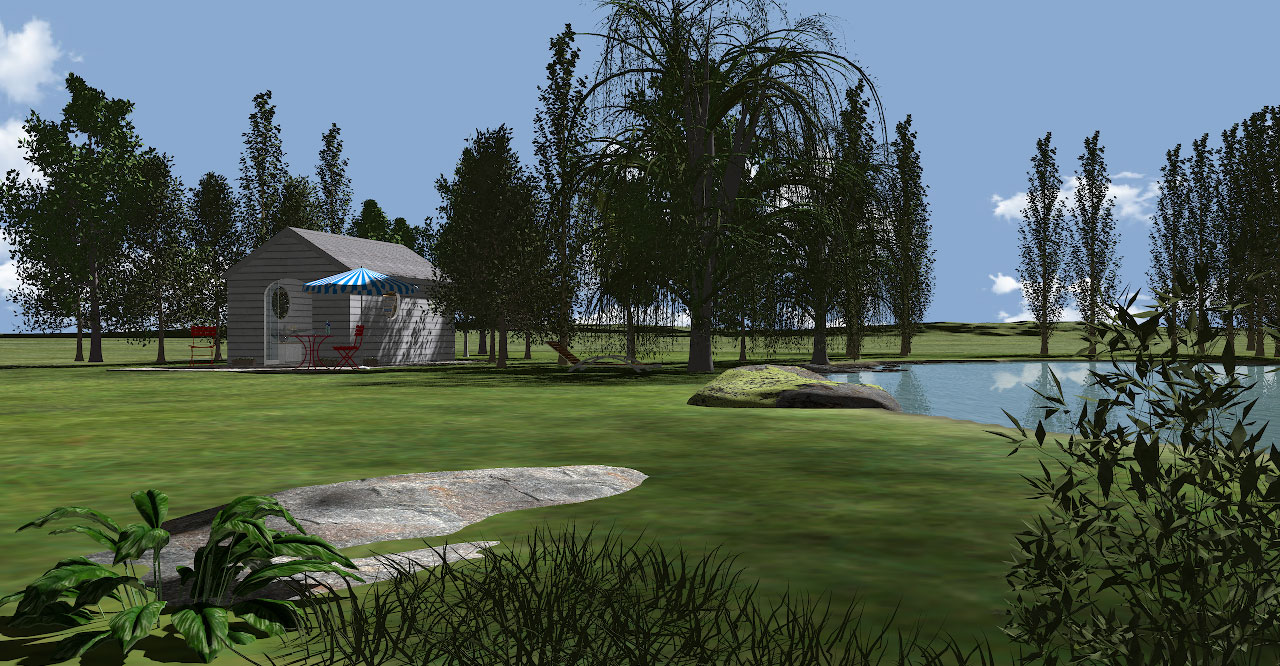
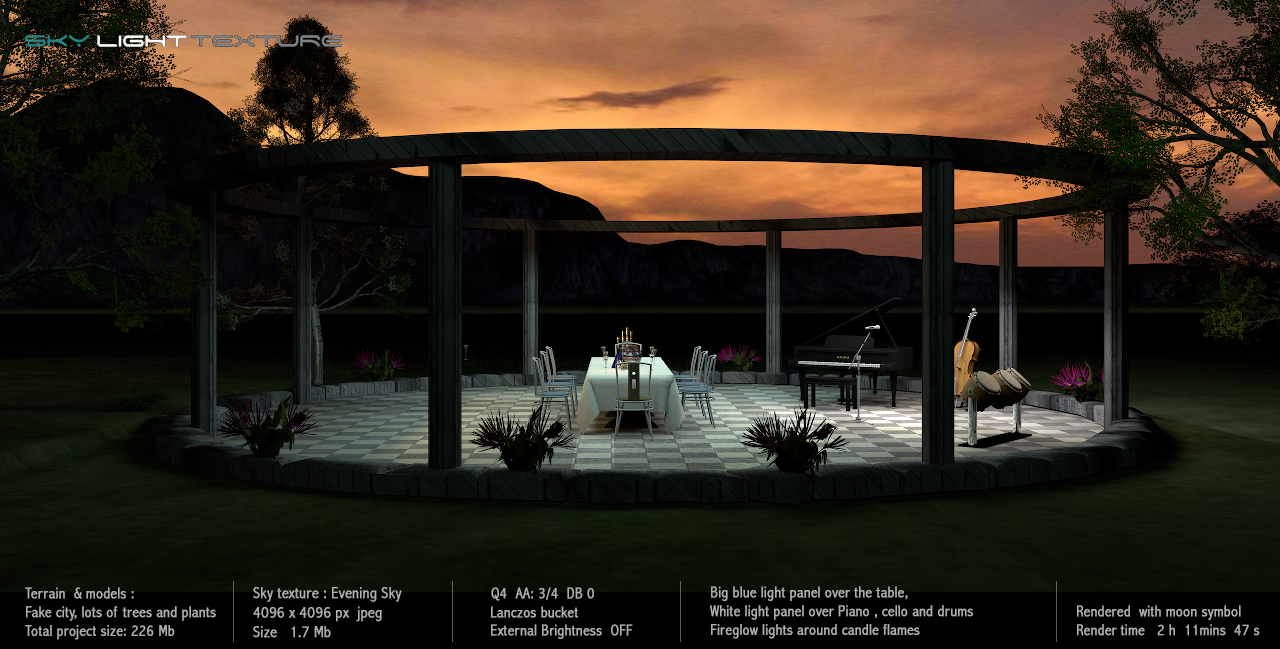
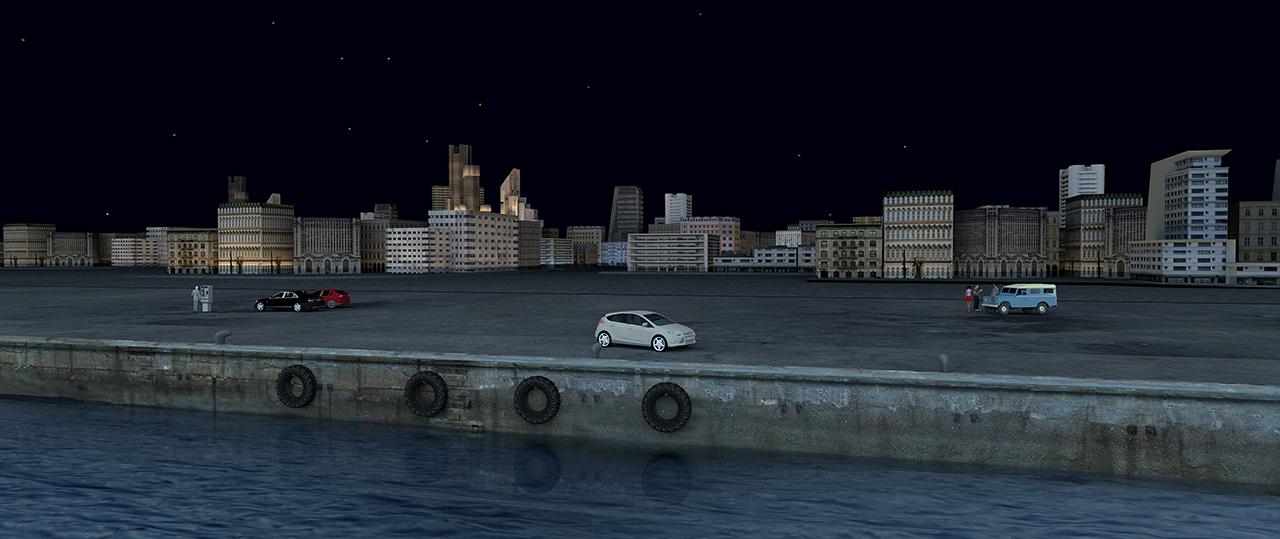
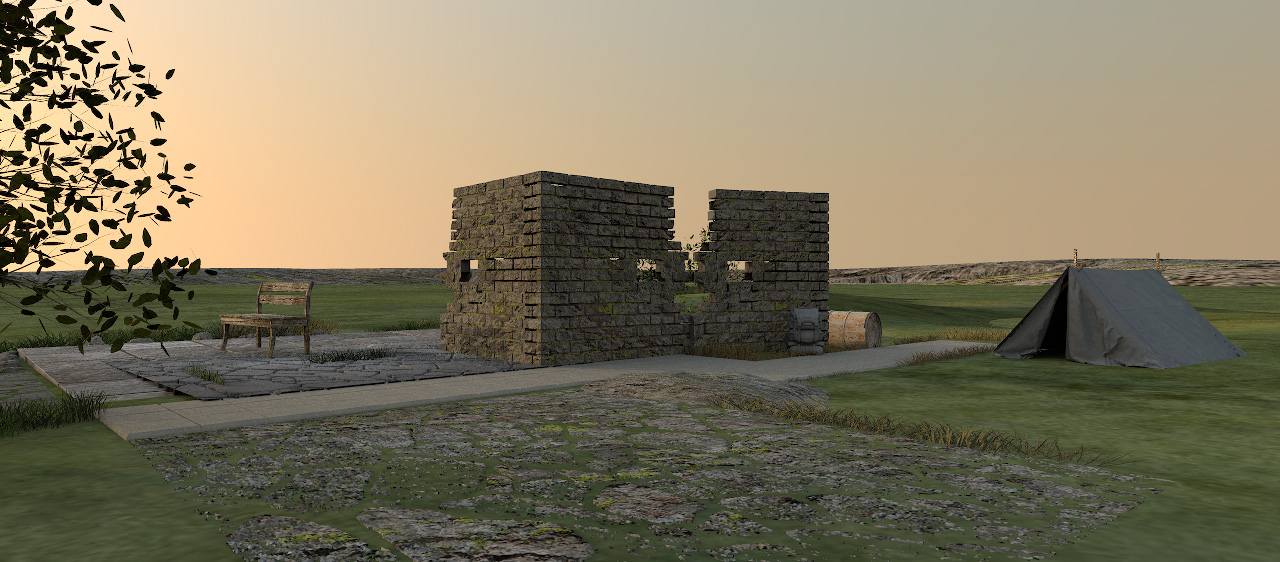
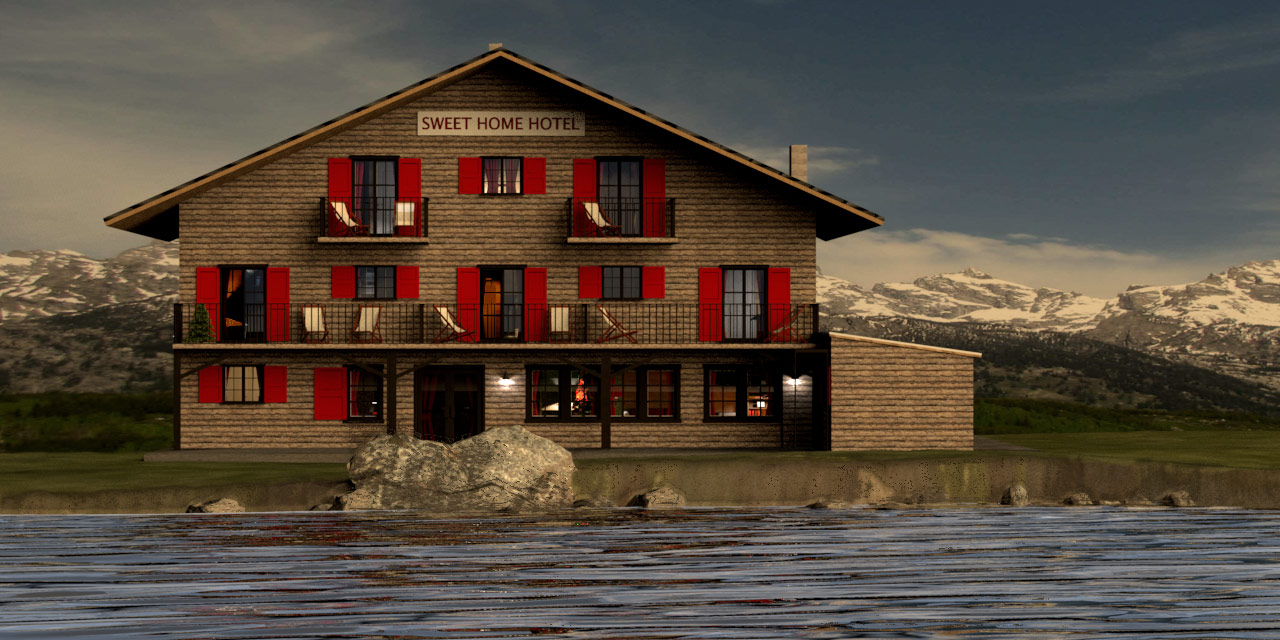
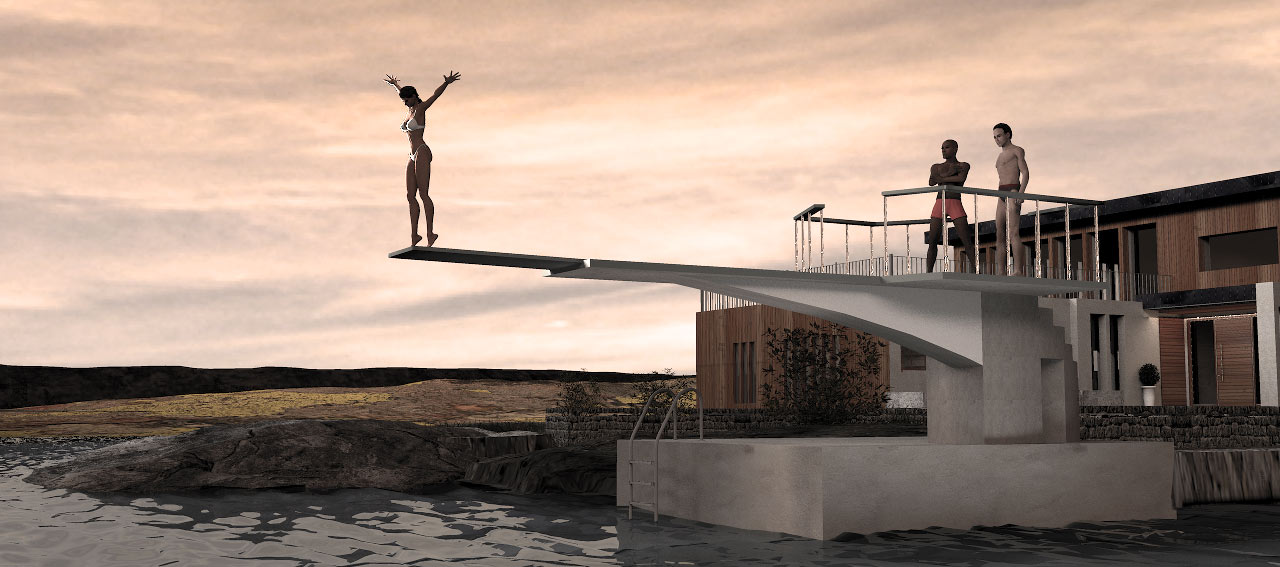
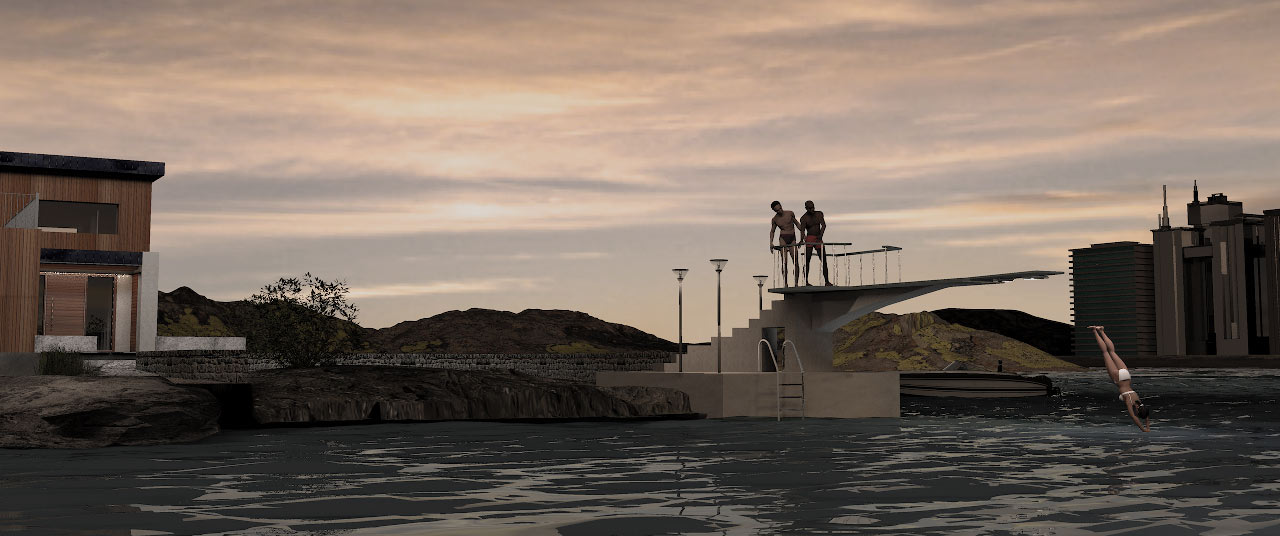
Saved as .jpg (3600×900, high compression) the result is a sky texture for SH3D minitest_horizon.jpg (64KB) which gives this render: 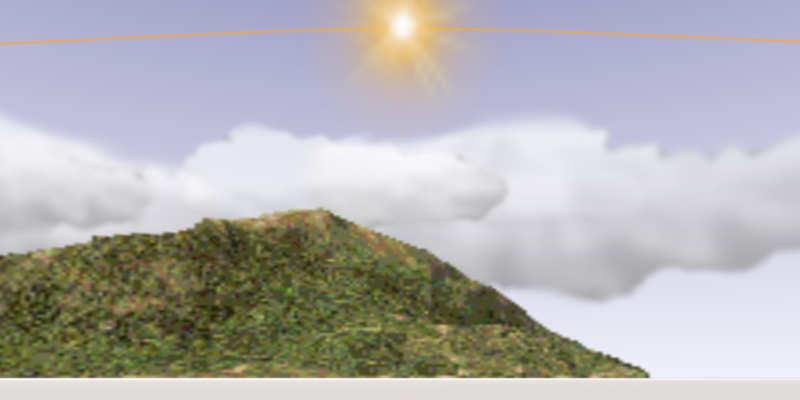
Yes, the mountain is crappy: the image linked is low quality at 256×64, compressed to 10,6KB. Which is overdoing it, even for me. On the other hand, the entire mountain can be Base64 embedded in the .svg without taking up more than one line of less than 15000 characters and be used several times in various shapes and sizes:
<image id="mountain" xlink:href="data:image/PNG;base64,xxx"/>
<use xlink:href="#mountain" transform="matrix(.3,0,0,.25,130,80)"/>
<use xlink:href="#mountain" transform="matrix(-.4,0,0,.15,280,86)"/>
A mountain is probably not a good example but embedding can be a convenient way to save simple raster elements inside a still small .svg file. But whether you wish to embed or not, using .svg as a 'container' or list of links, means you can exploit the best qualities all formats, combining .png, .jpg and .svg for different elements. .png for transparency / indexed colours, .jpg for smaller 'photographic' files and so on. Preferably of higher quality than the ones used in this example.
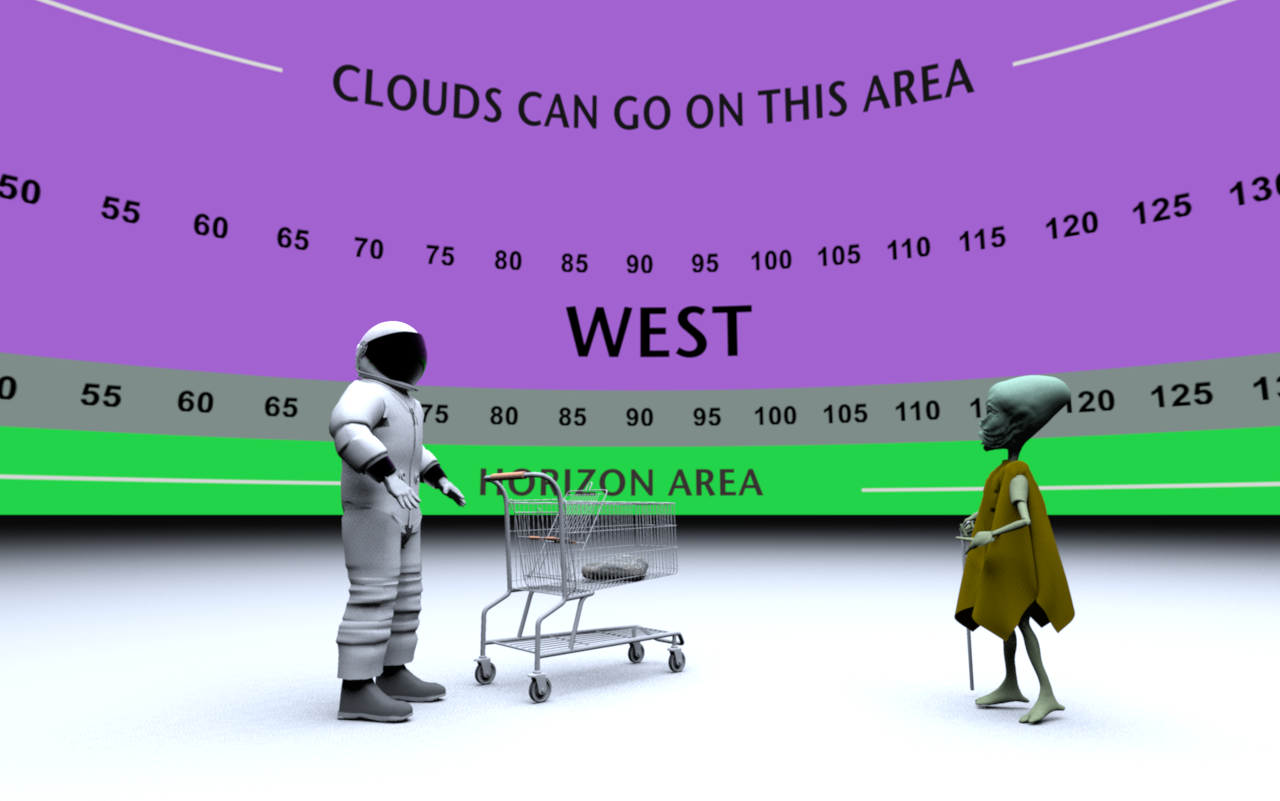
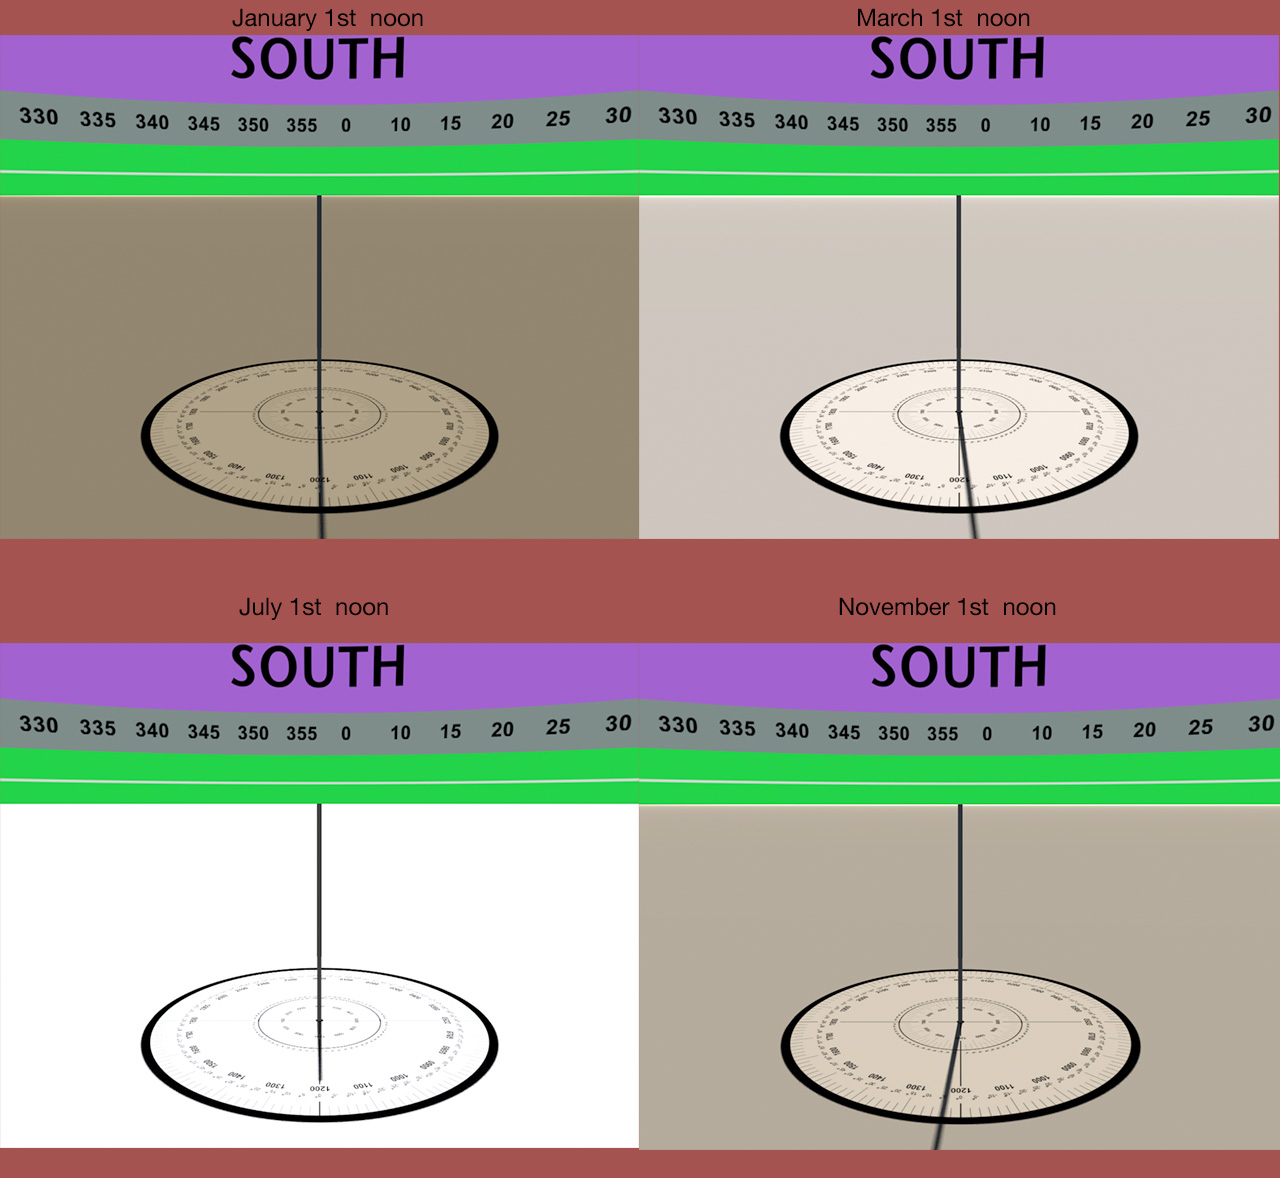
The template I actually use is more elaborate with a grid, some embedded images and gradients. Gradients and blurs can be useful for many things, such as blending skyline with ground colour/texture in SH3D or lighting up parts of the sky. But point is for the file to be simple, readable and compatible so SH3D skyline can be edited with a couple of keystrokes with as many image elements as you like in whatever quality: cityscapes, forests, planes, satellites and so on*, at higher quality. But it is also possible to make the template as advanced as you wish: The sun path is an approximation of equinox sun passage on horizon to be moved/transformed for other seasons, transformed upside down so the path reflects actual degrees above horizon. Something I would not know how to do accurately with the Gimp.
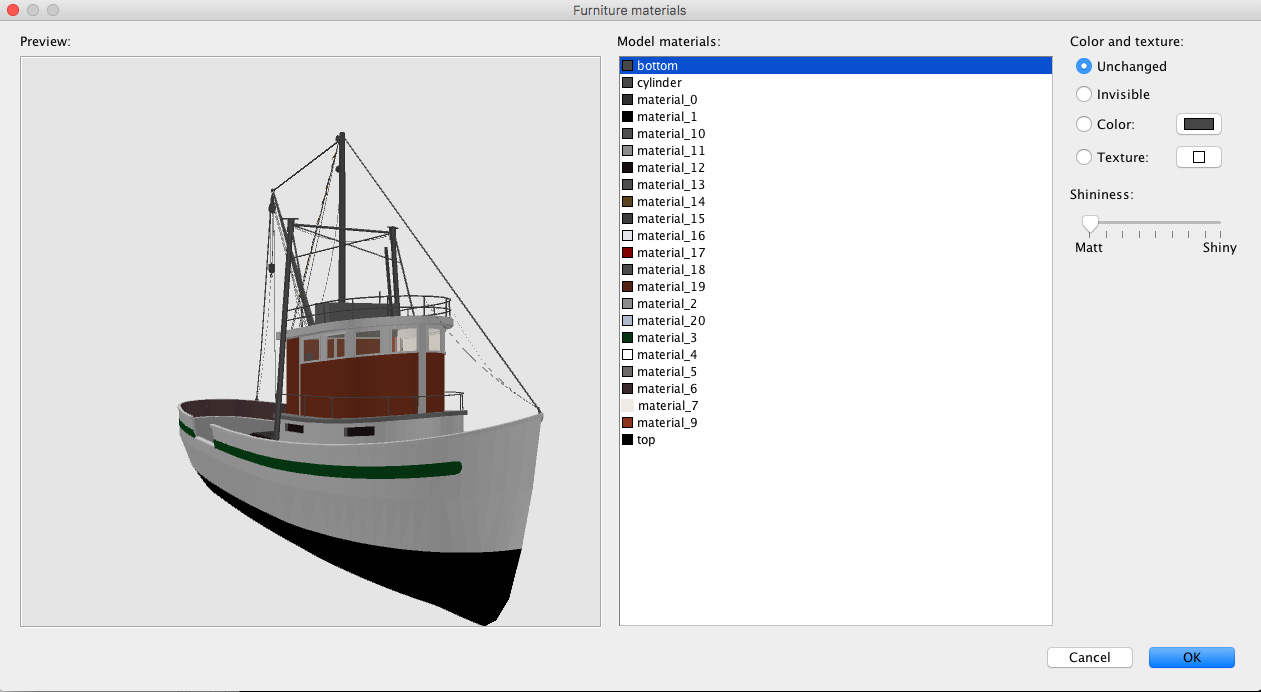
Clearly, all editing is quicker with a familiar interface. So no reason not to stay with whatever works. In addition to my liking for open, human readable formats, I suppose this is also a sales pitch for editing xml in general. For instance, I hardly use furniture libraries when it is possible to add cutouts, door/window and lightsource properties directly in Home.xml.
ok
|
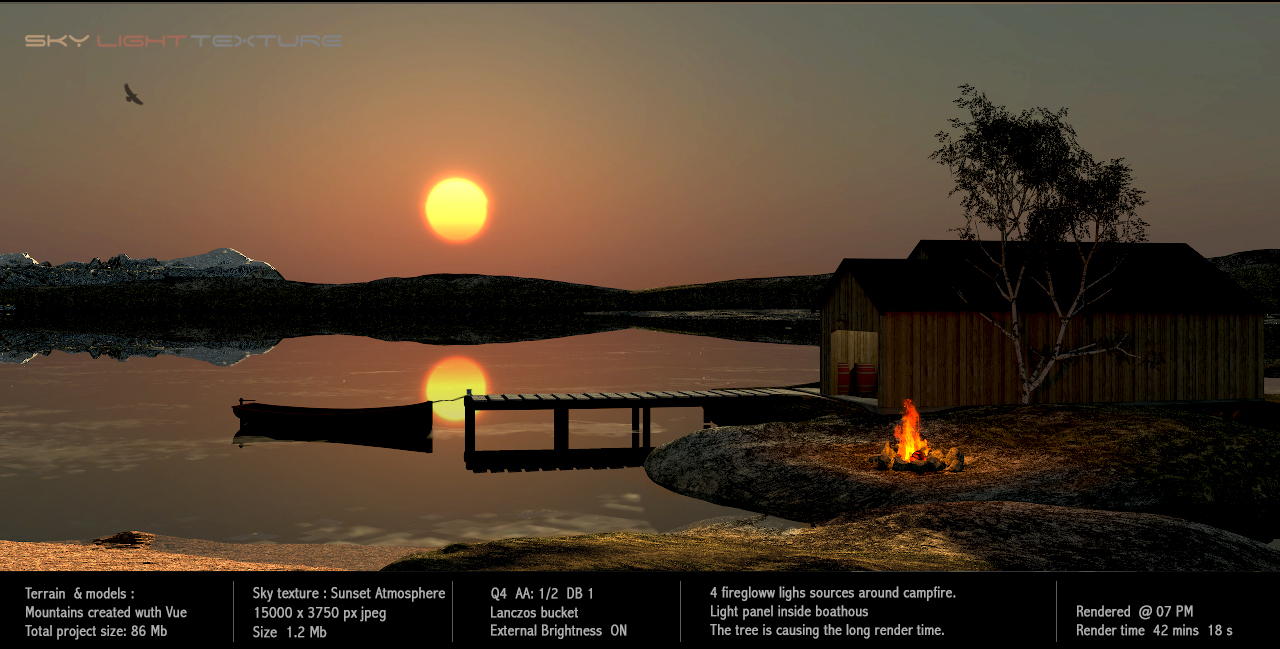


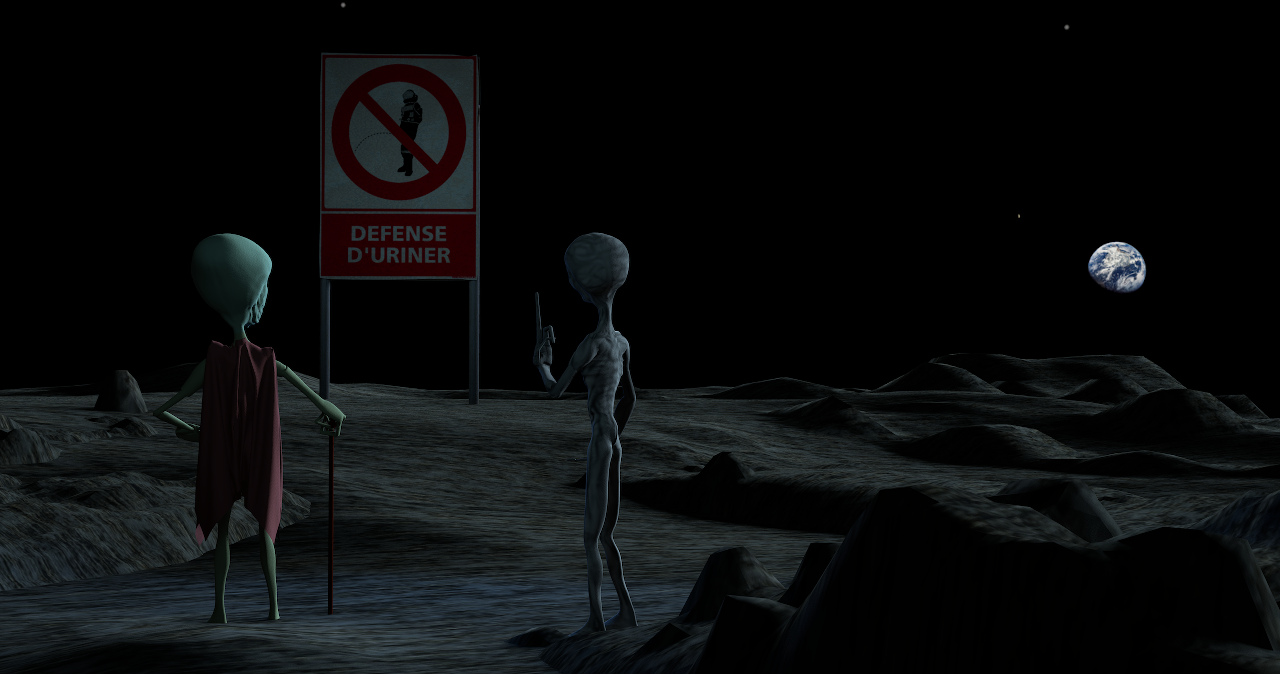
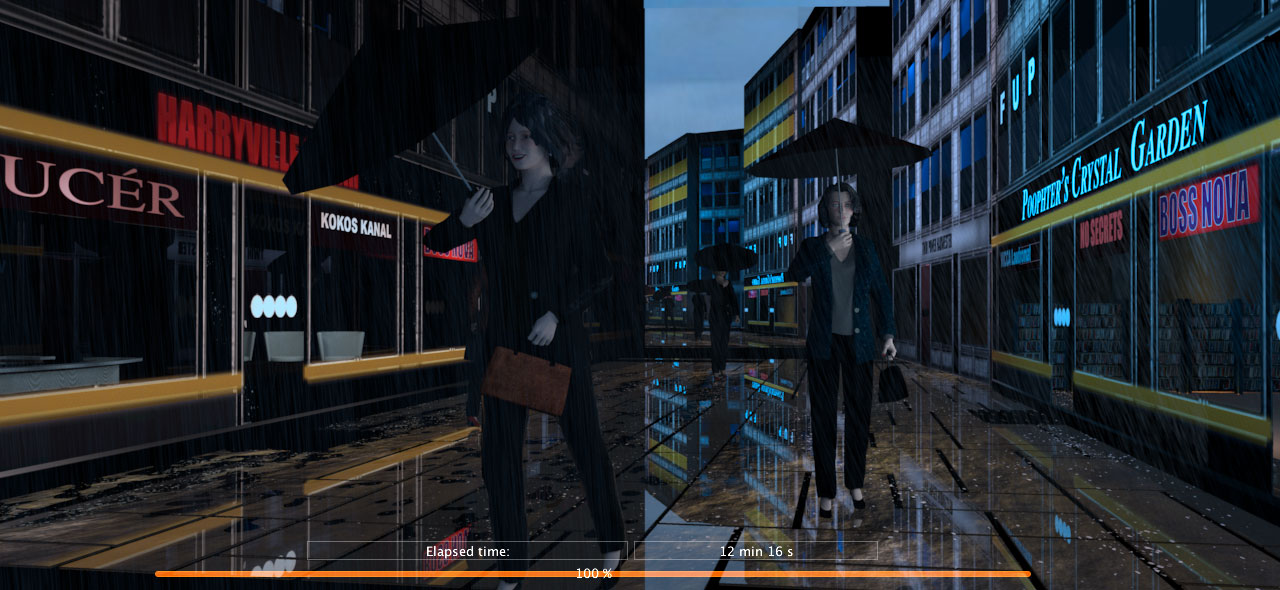
 me too, and my daughter absolutely fell in love with them and named them Popp and Ding. She wants to have them 3D-printed.
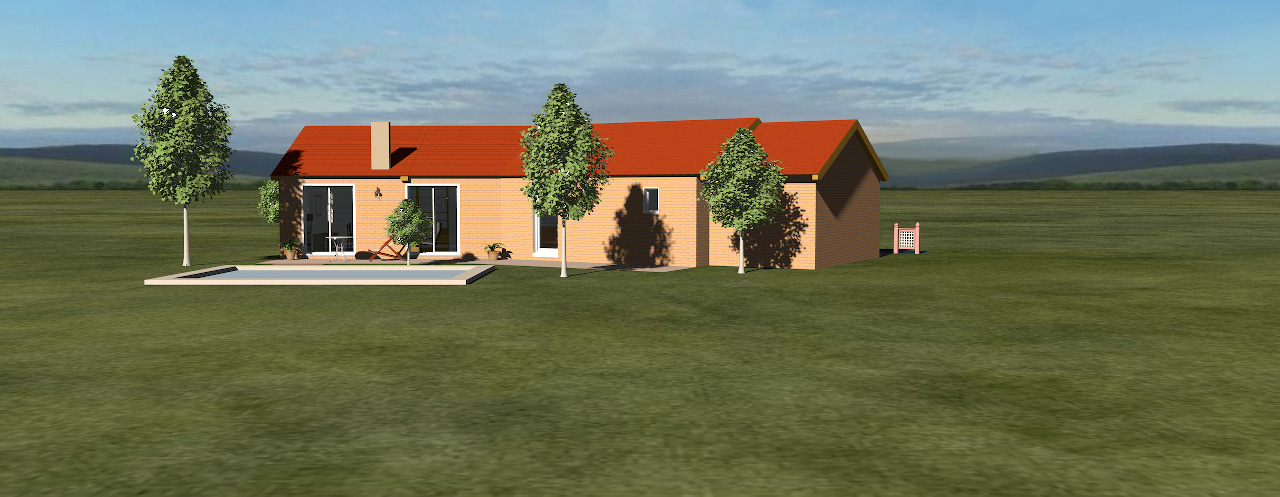


 .
.
 .
.


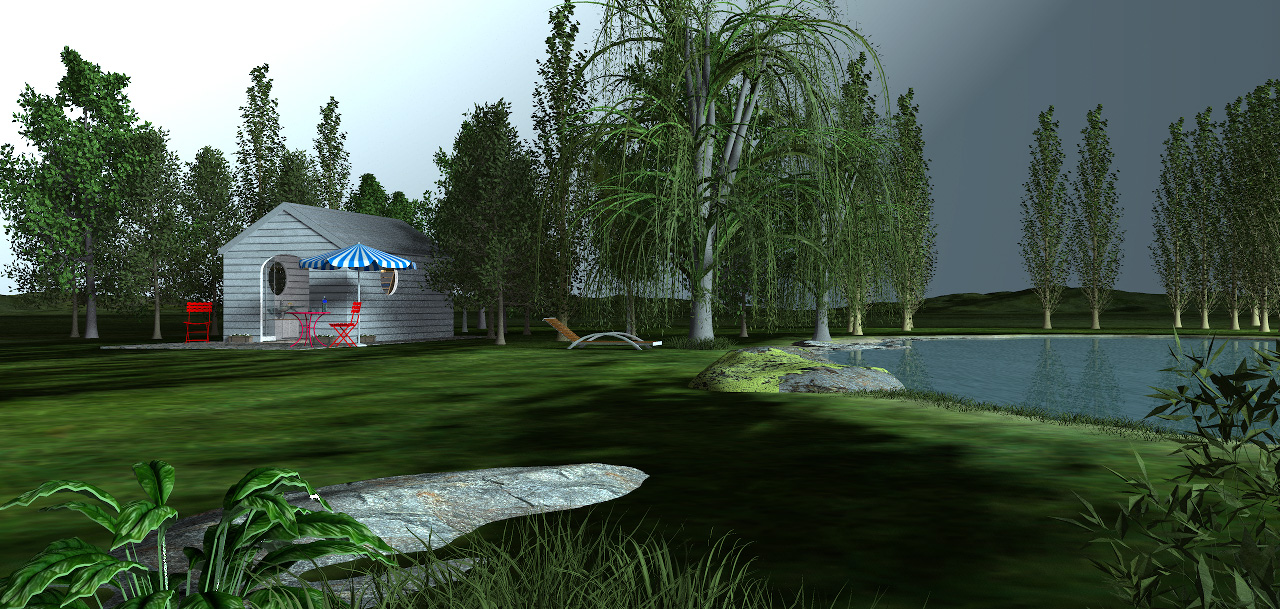


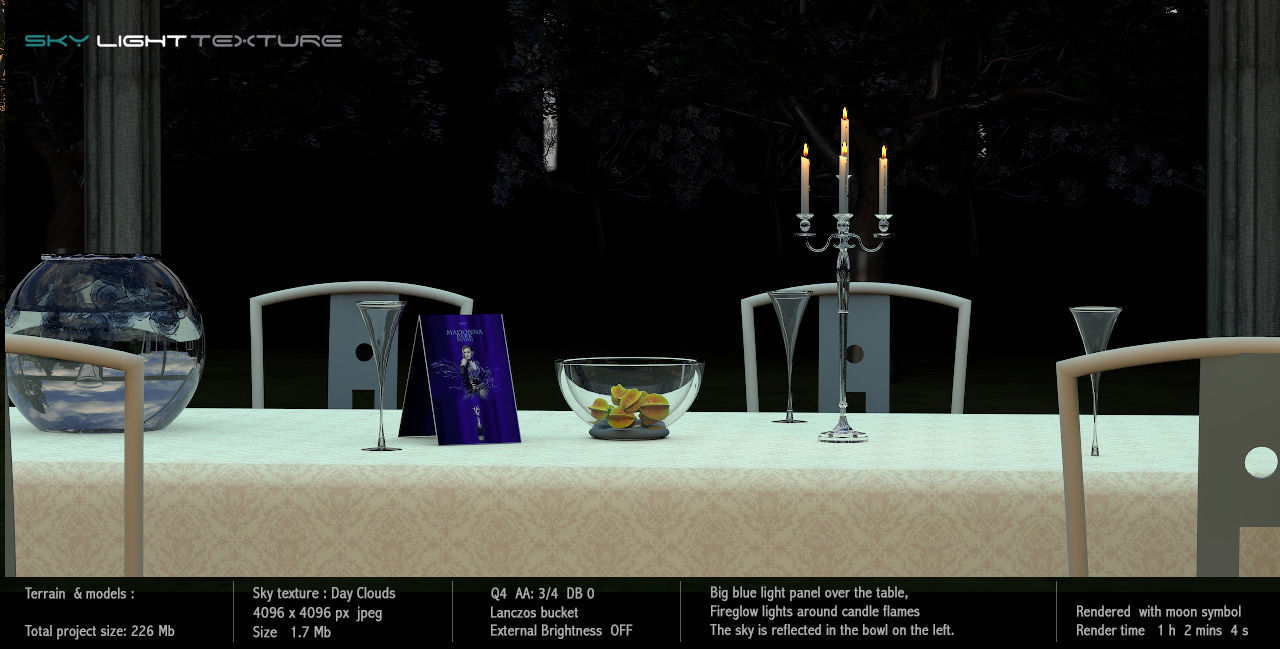

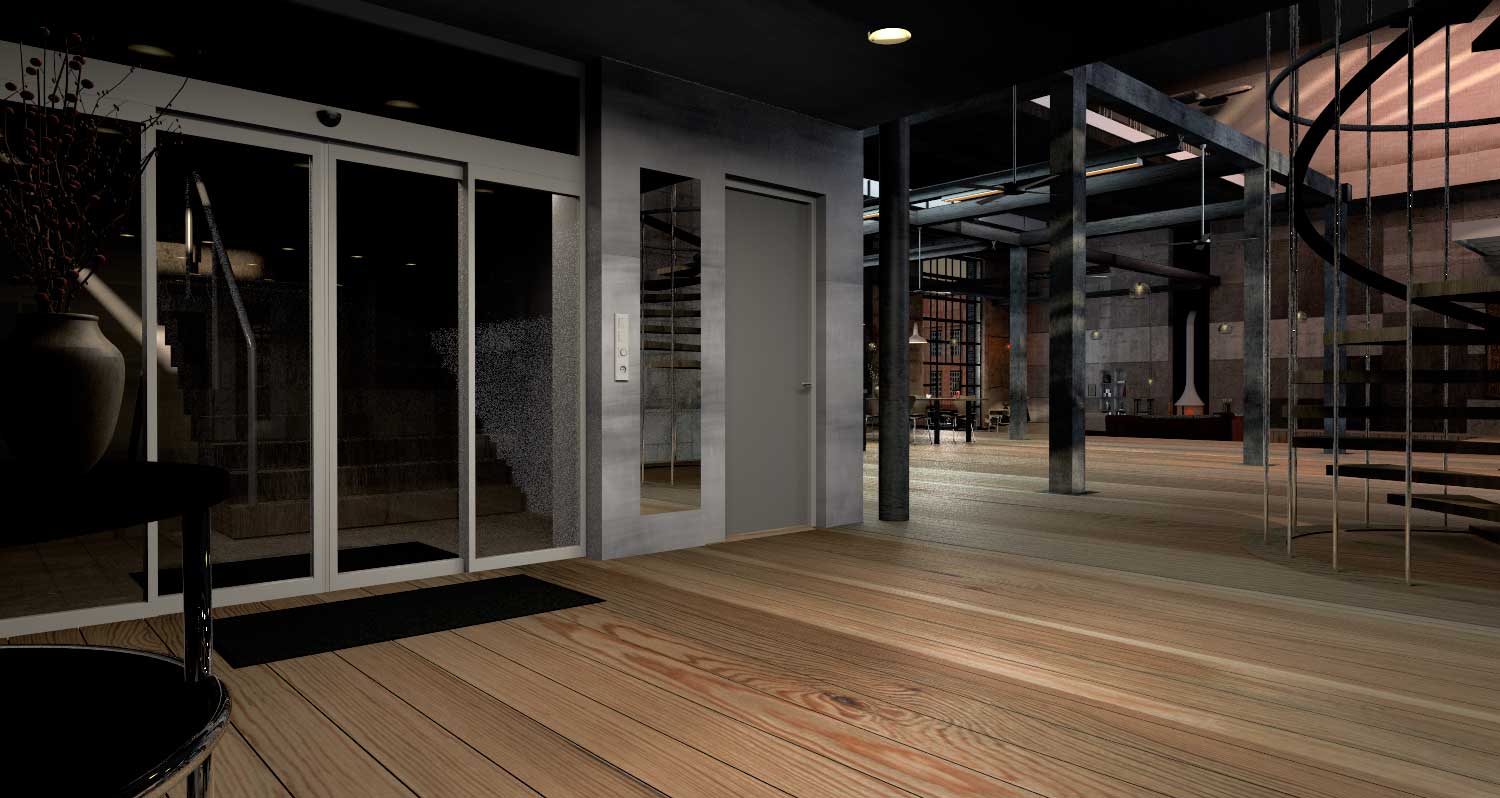
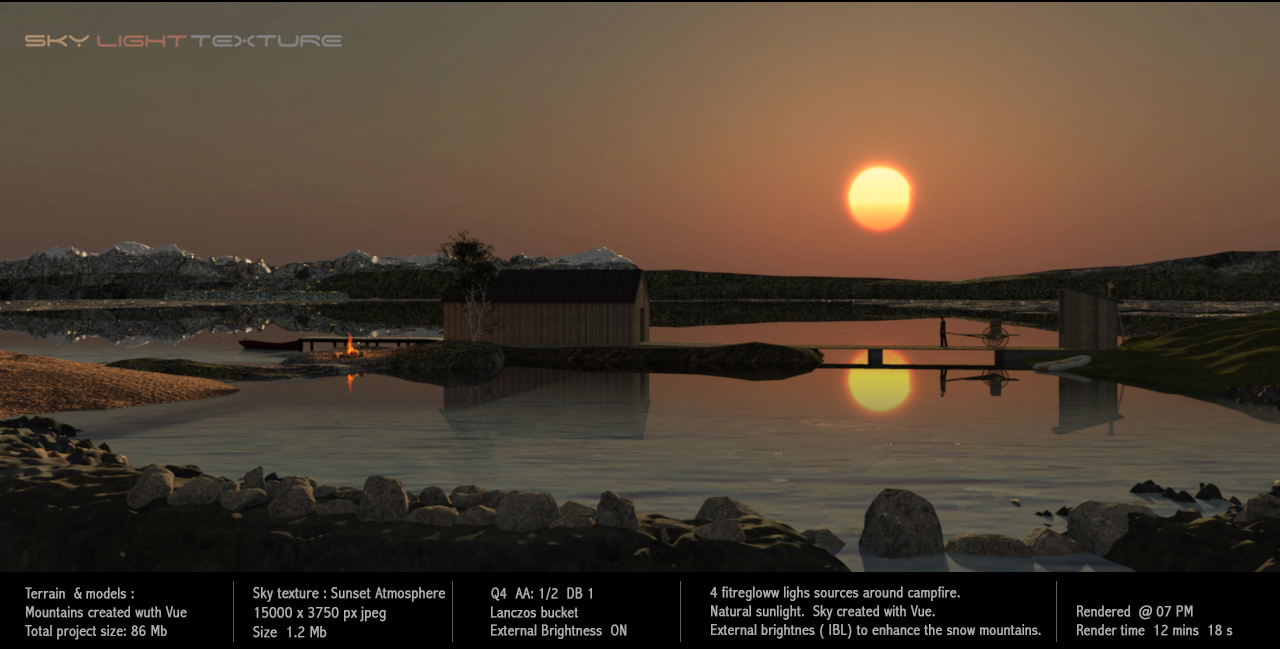
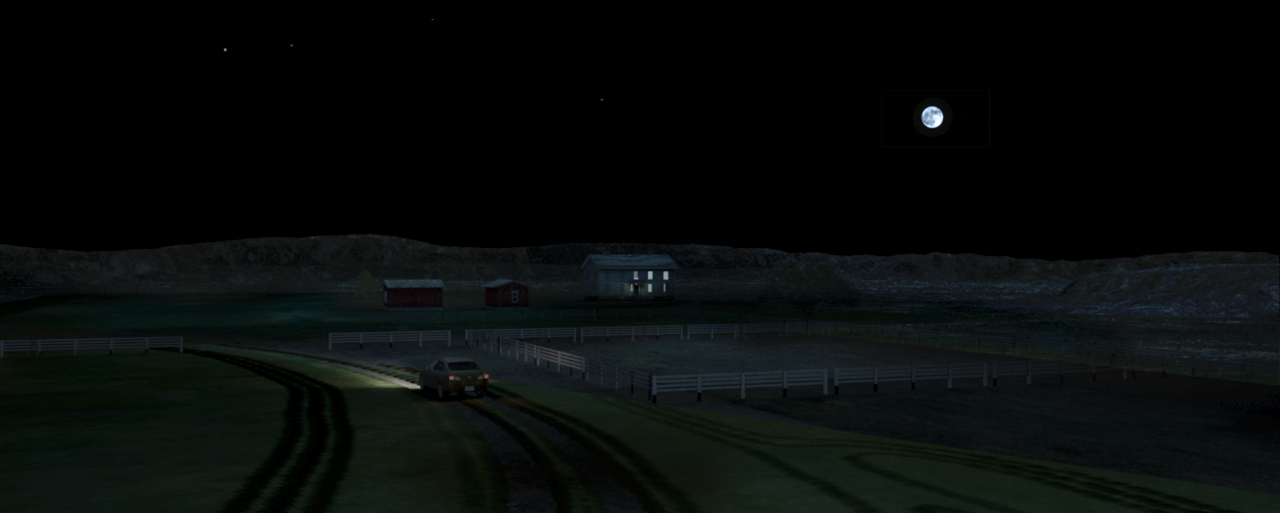
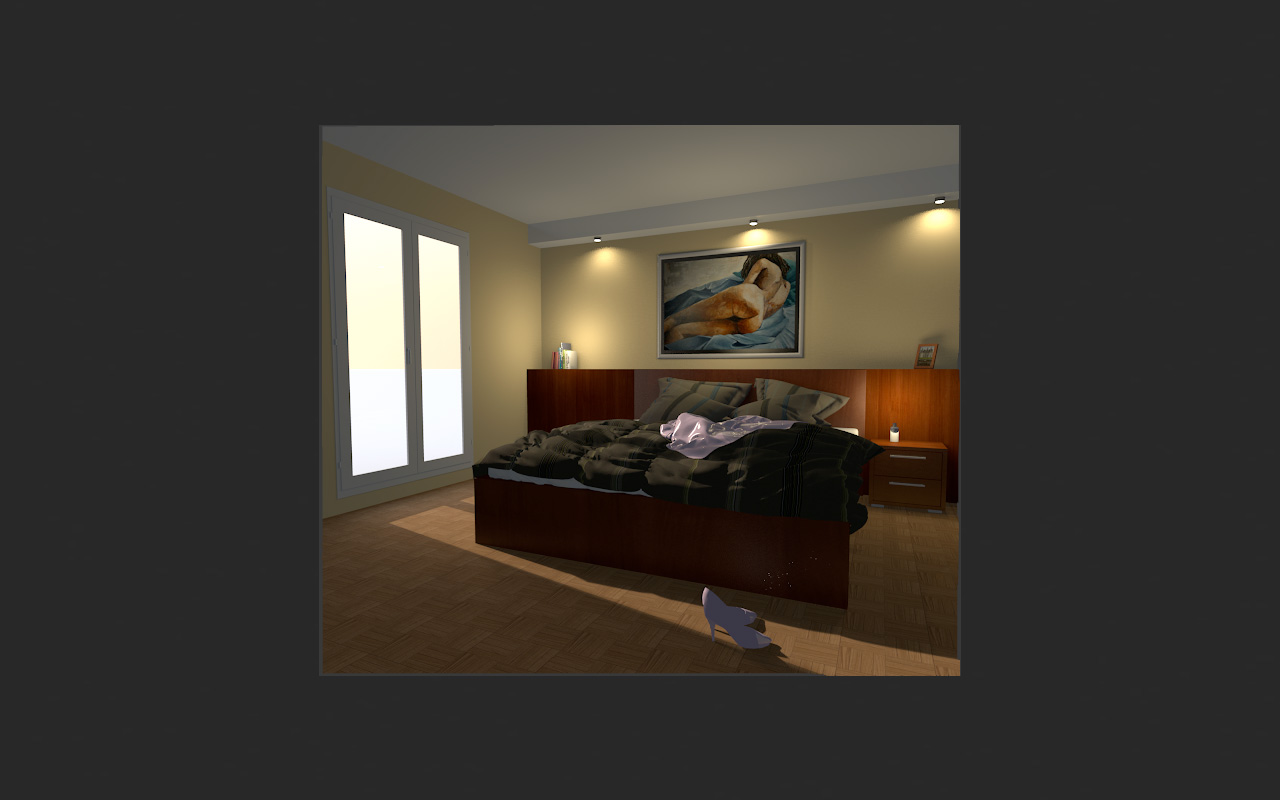
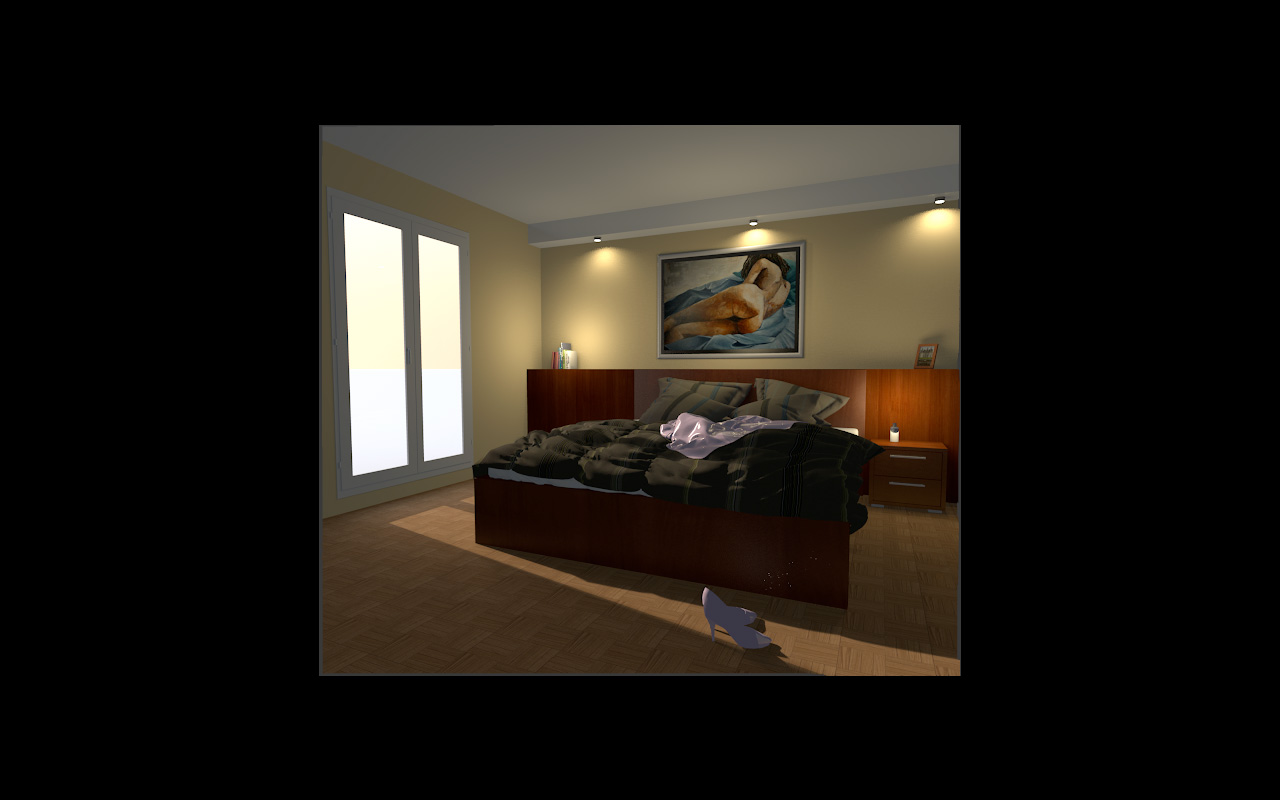
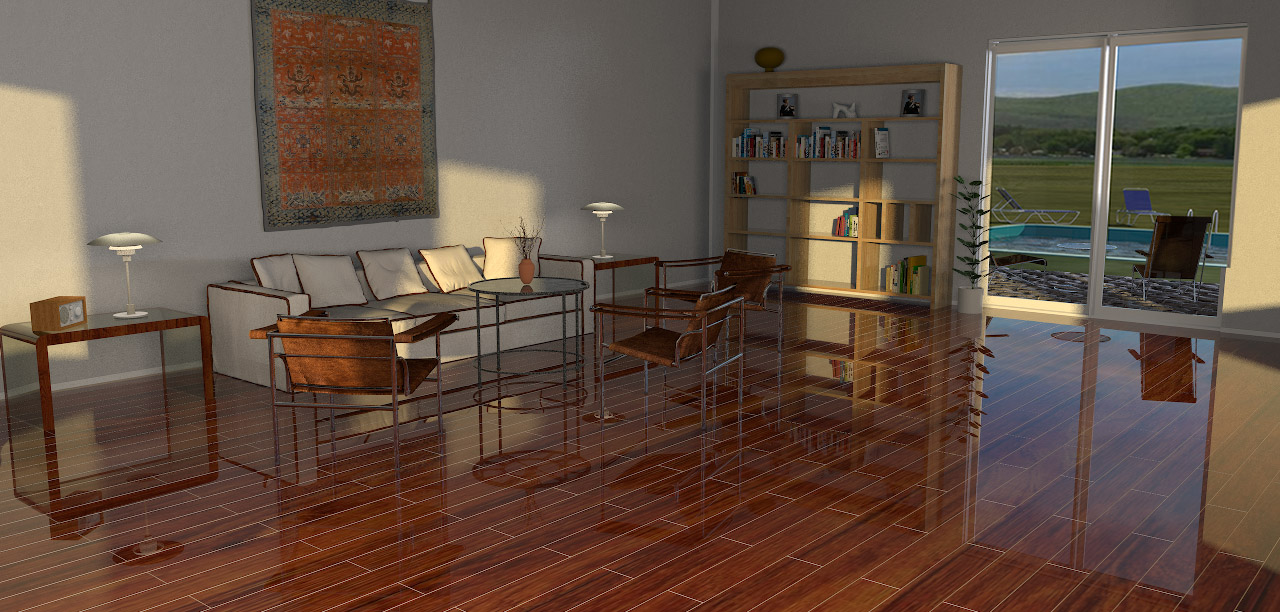
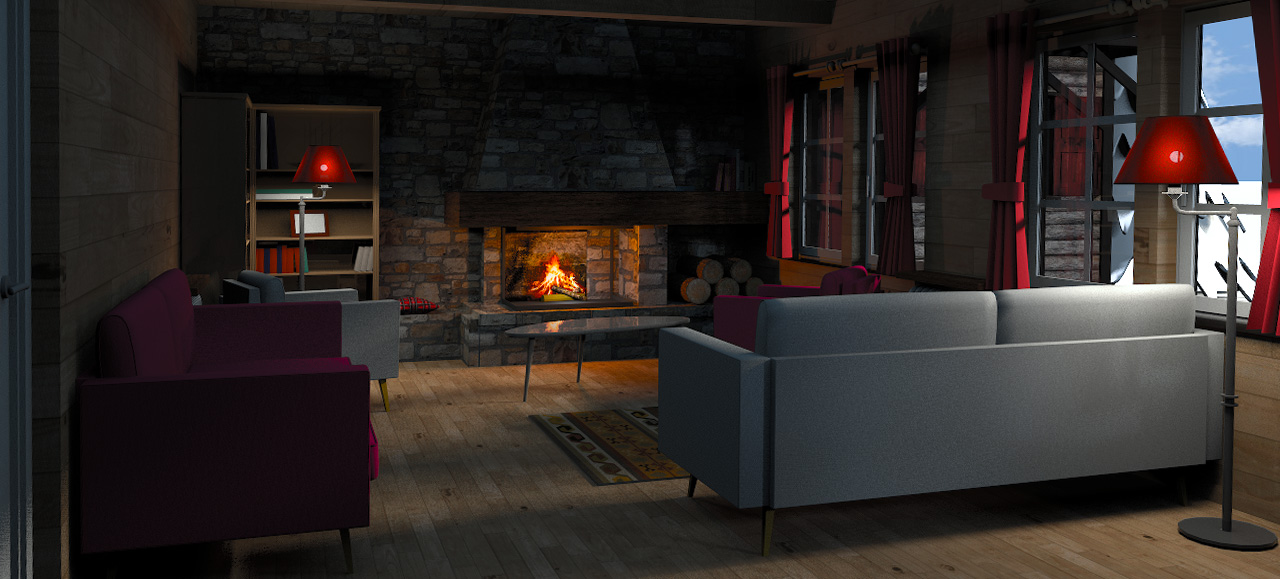
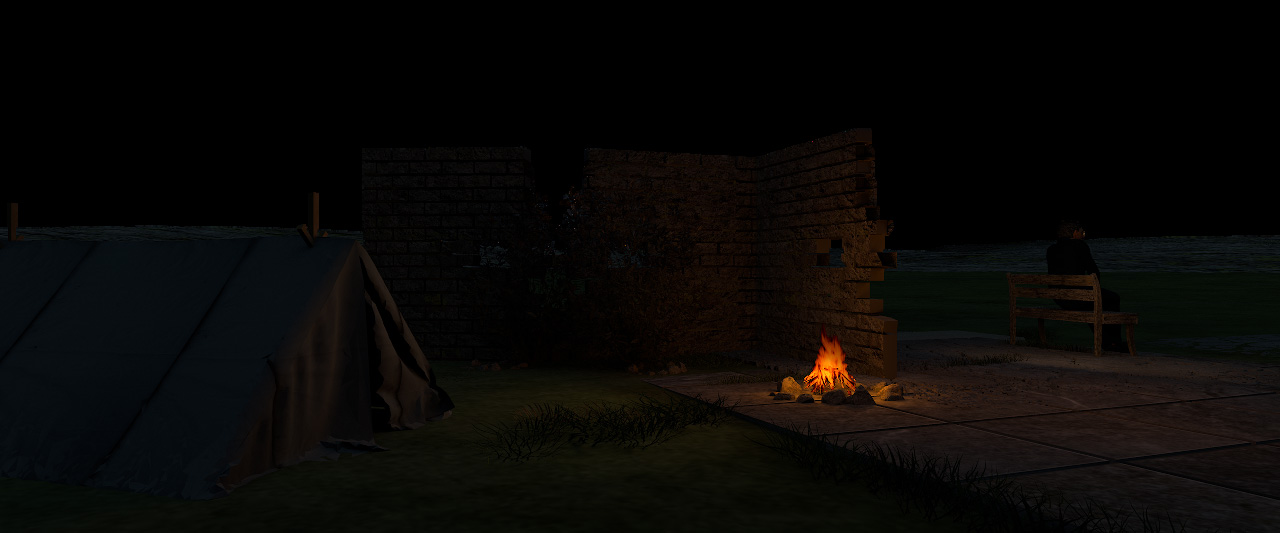
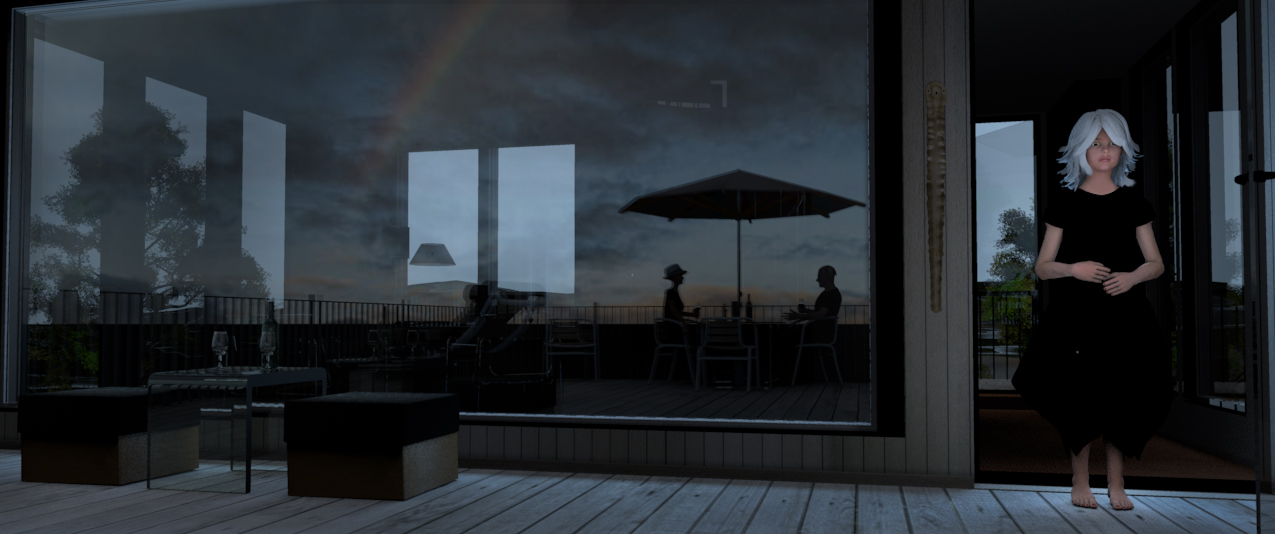
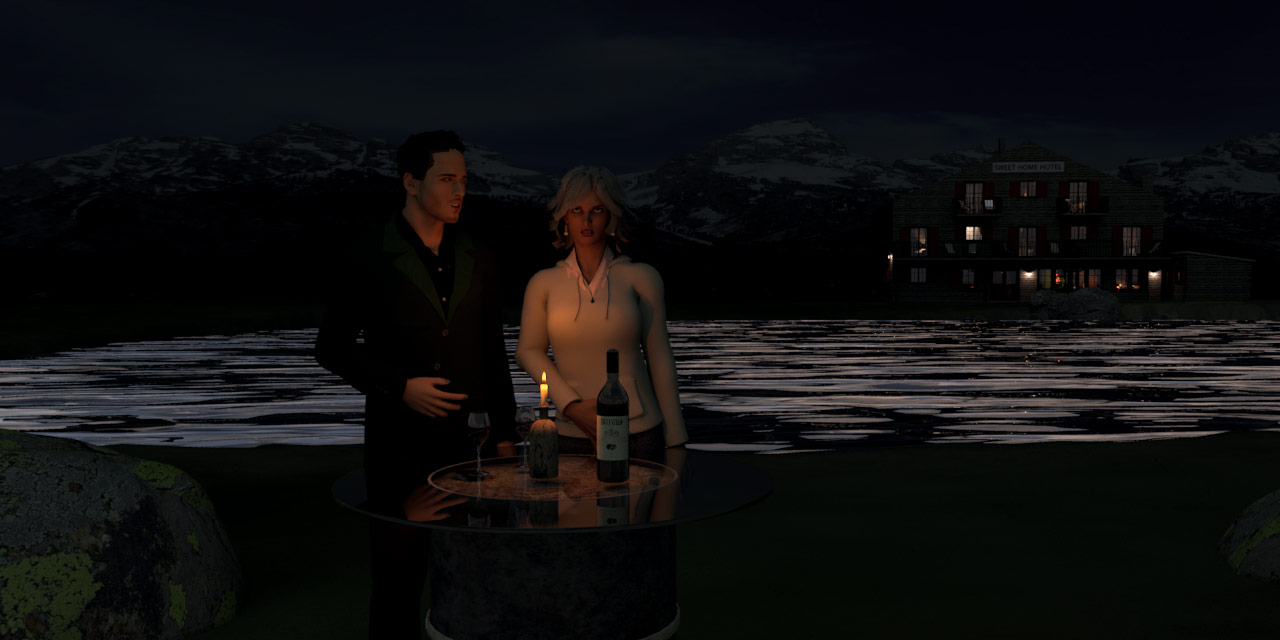
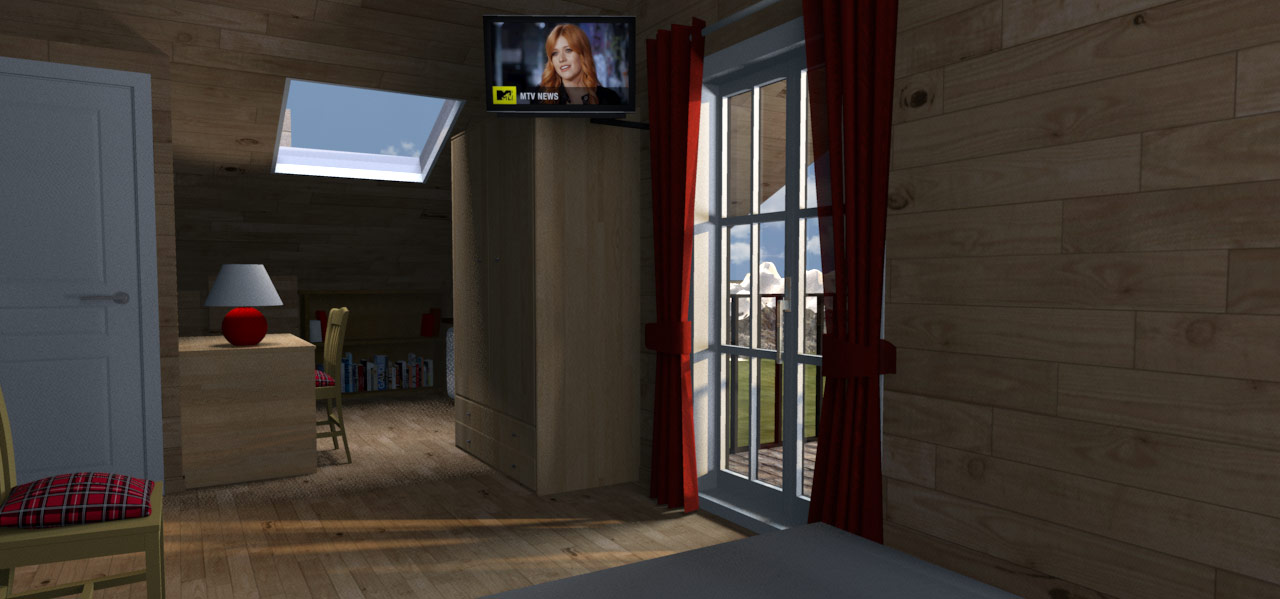
 Isn't it too dark?


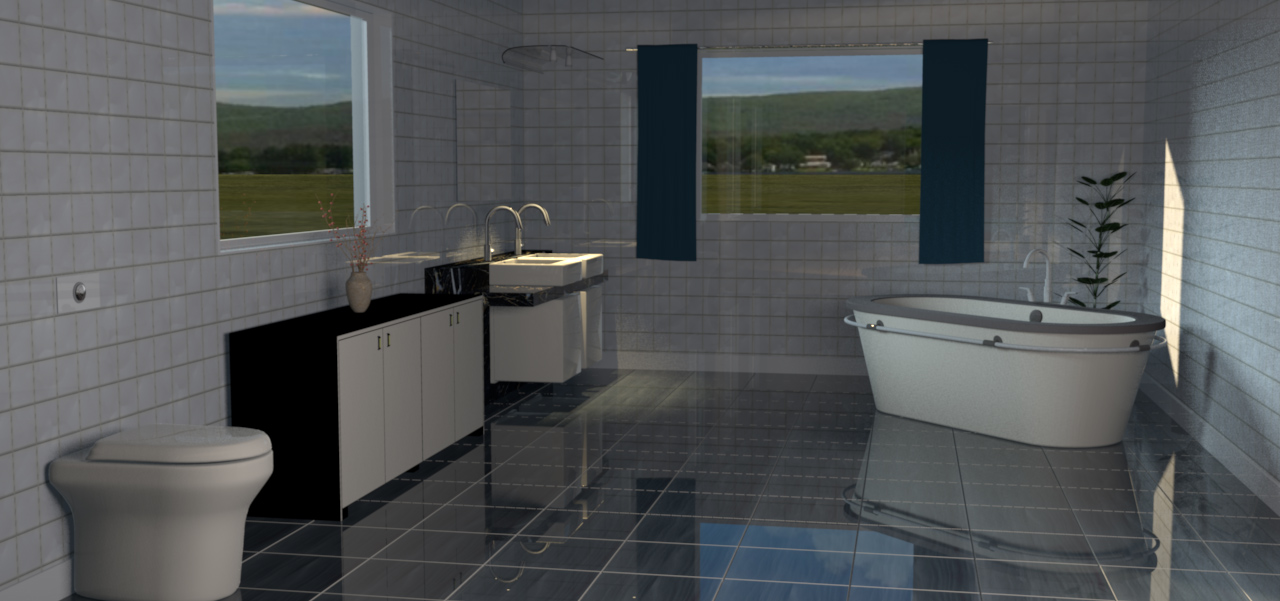


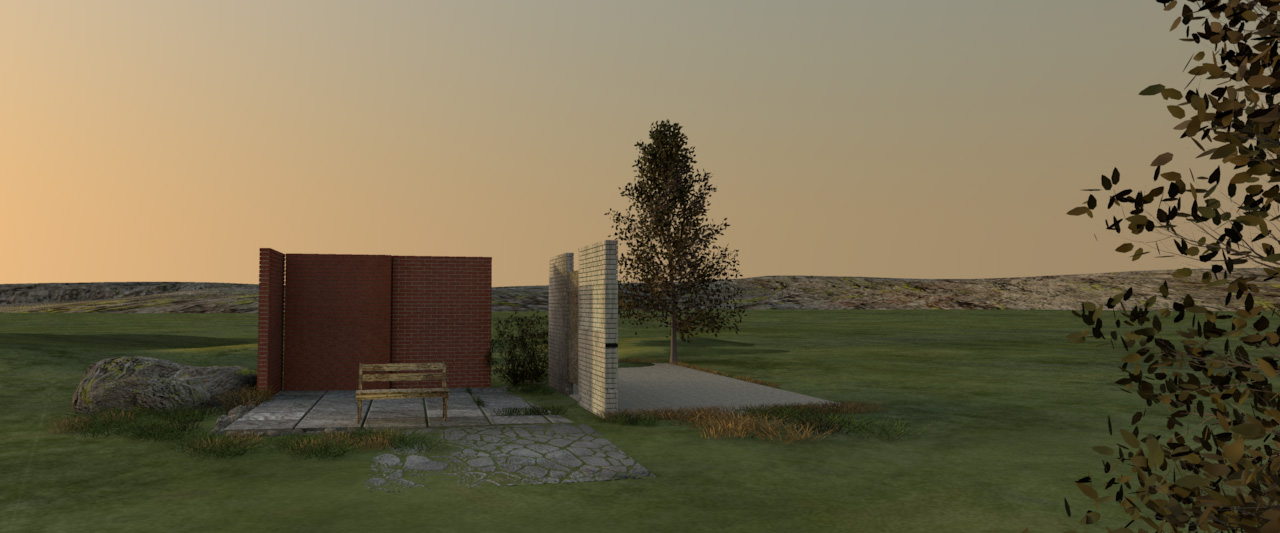
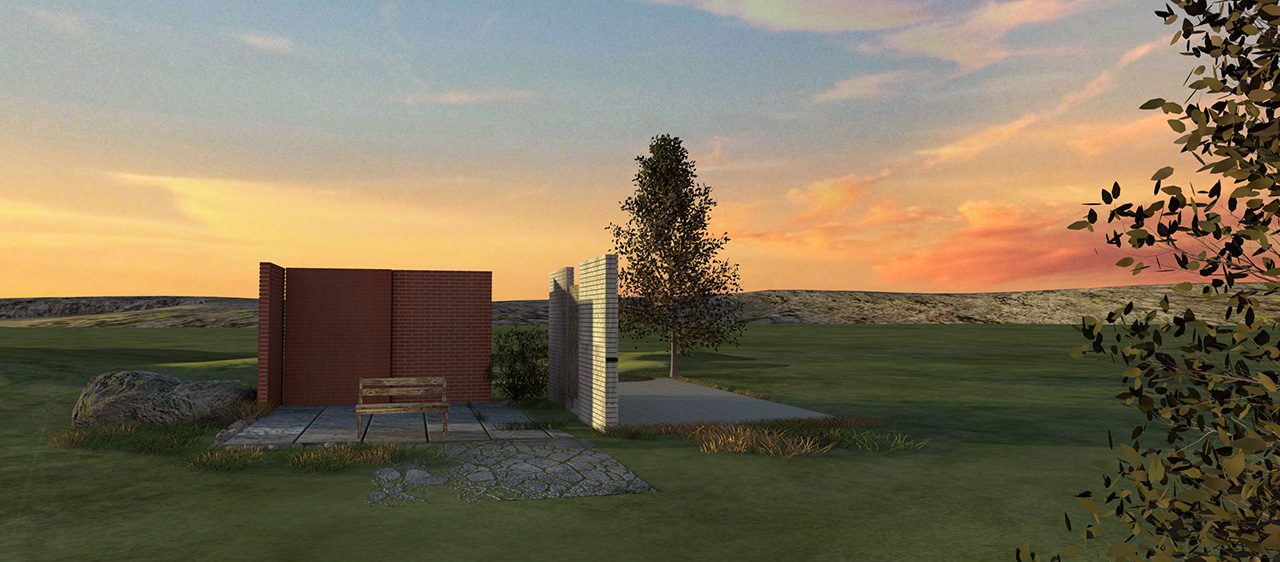

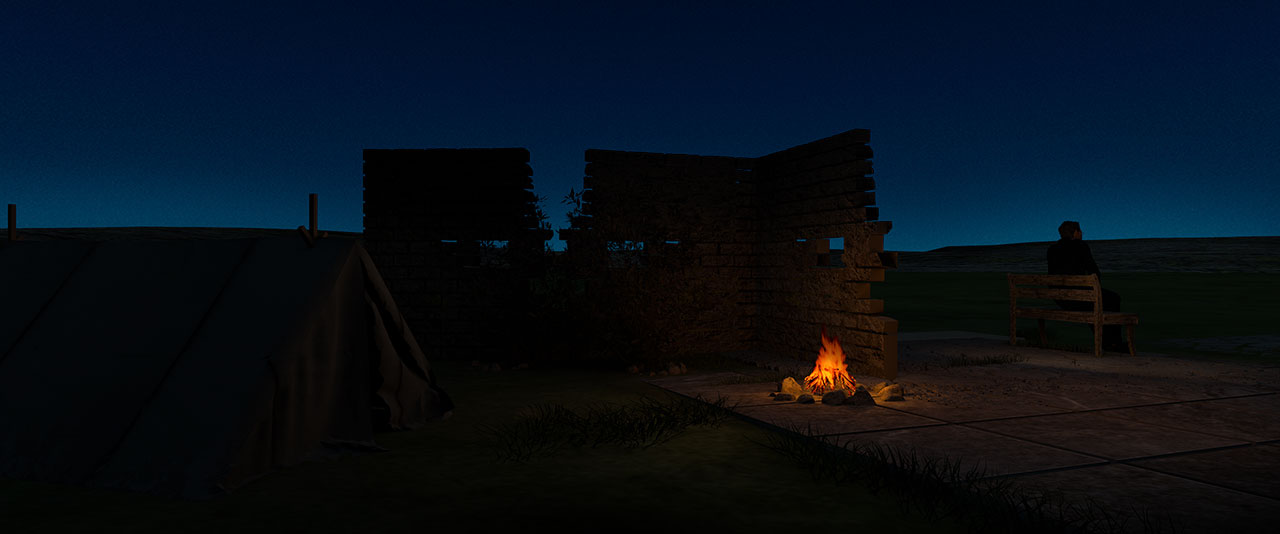
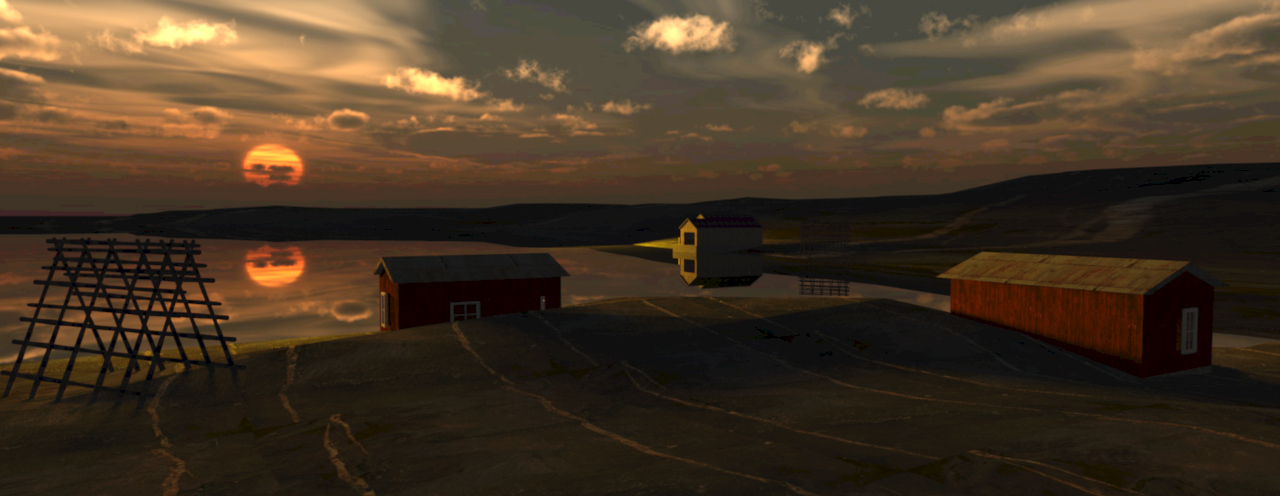
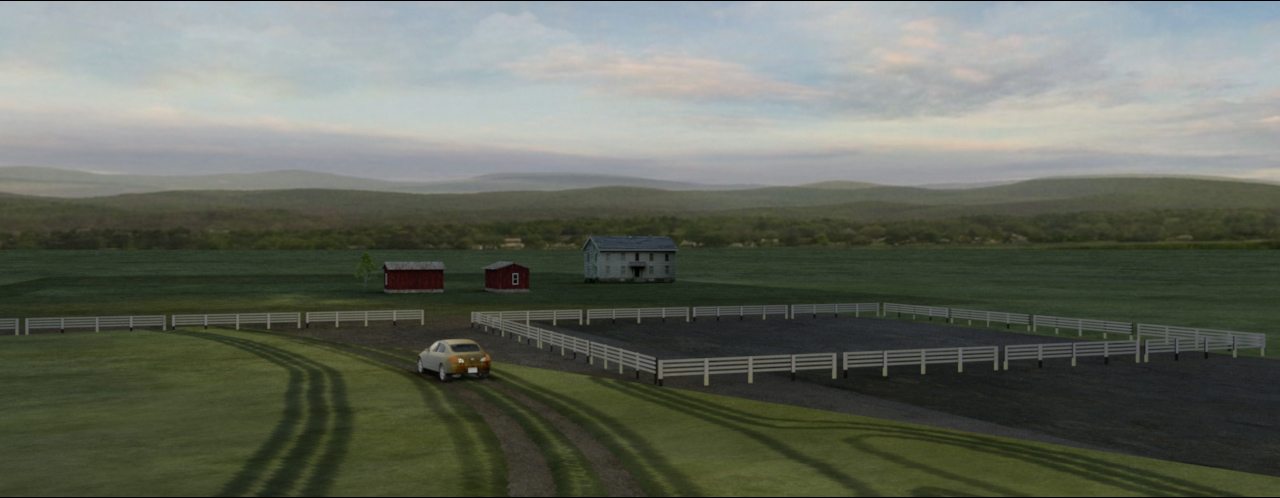
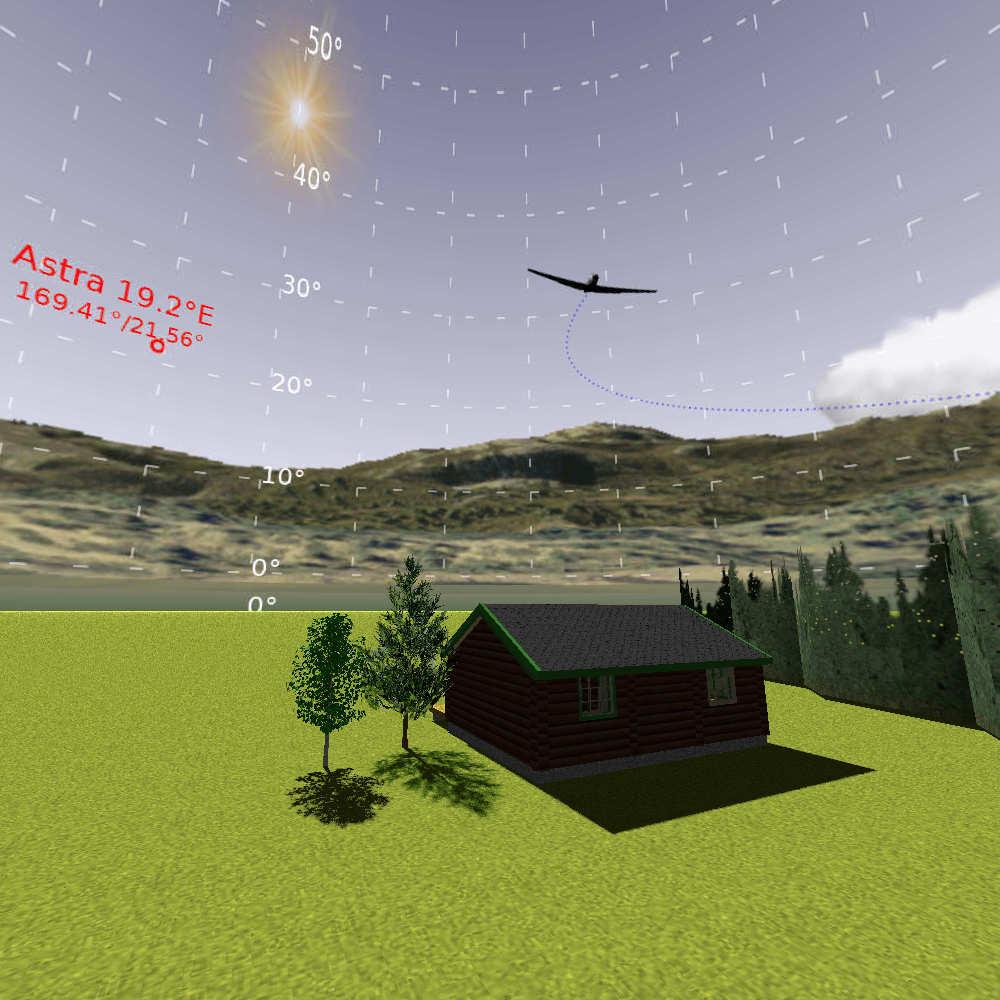
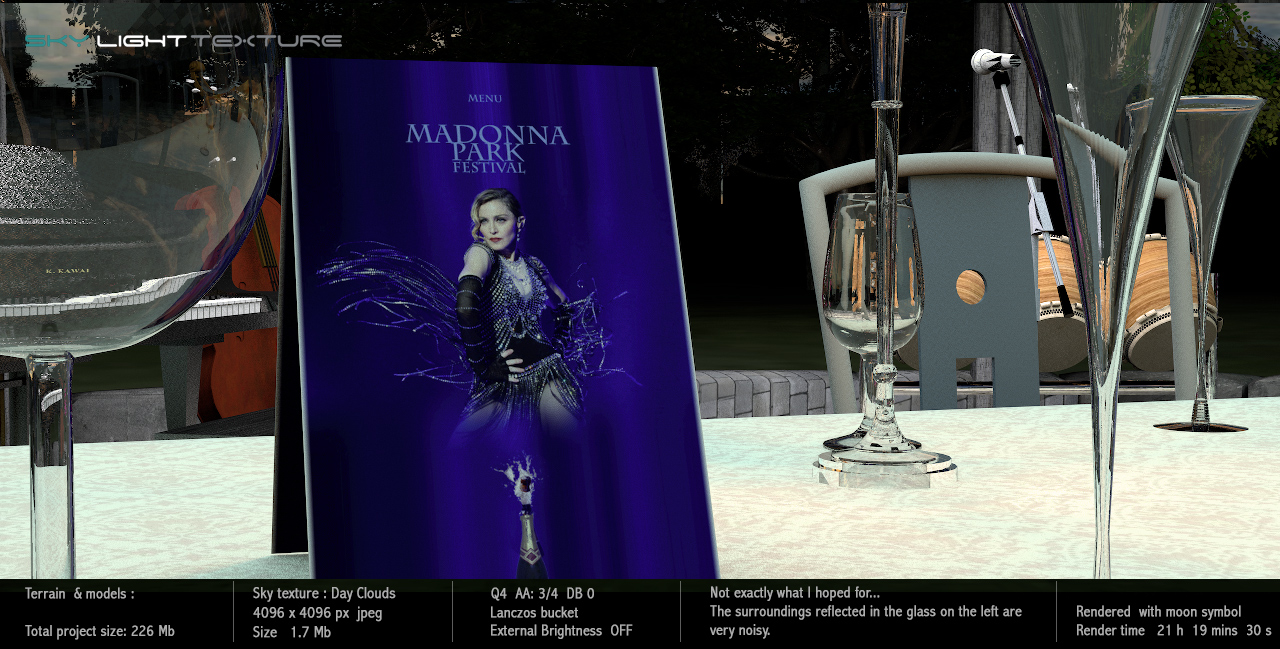
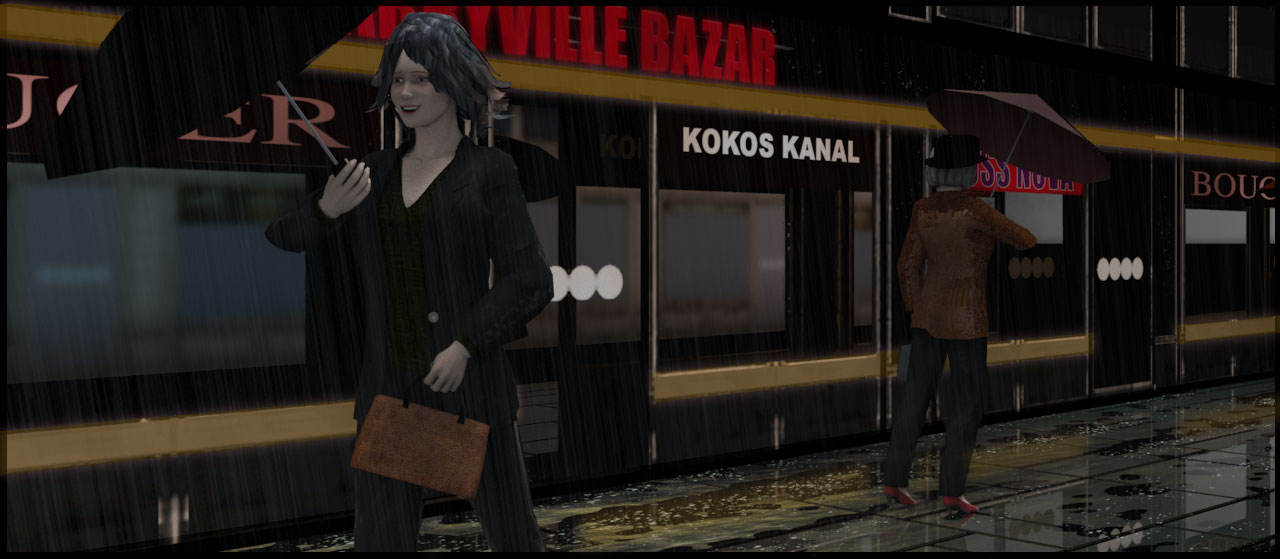
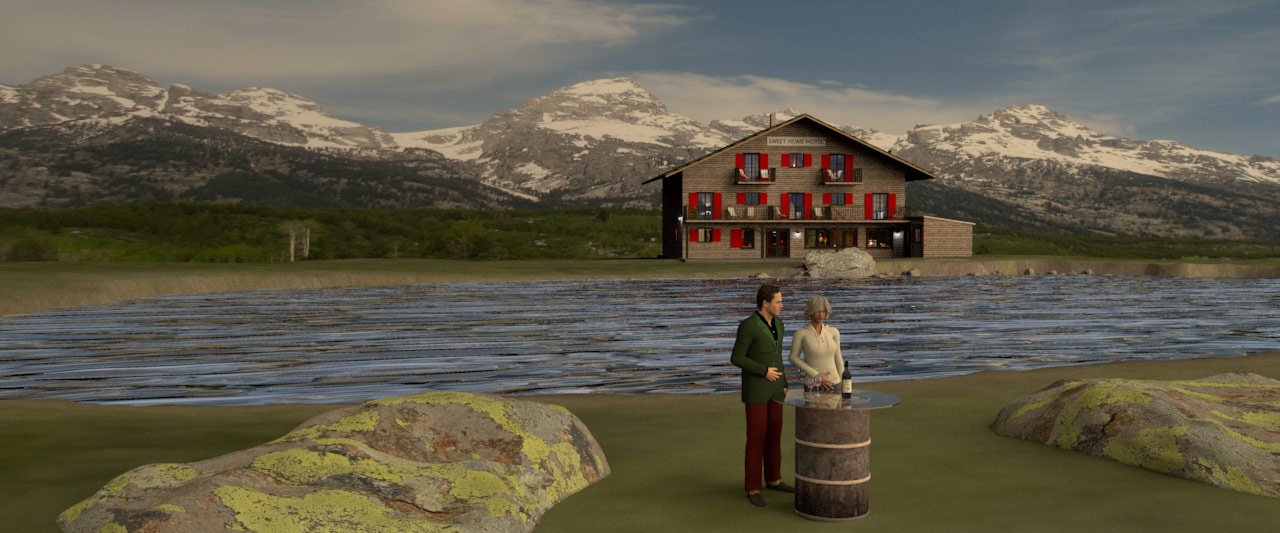
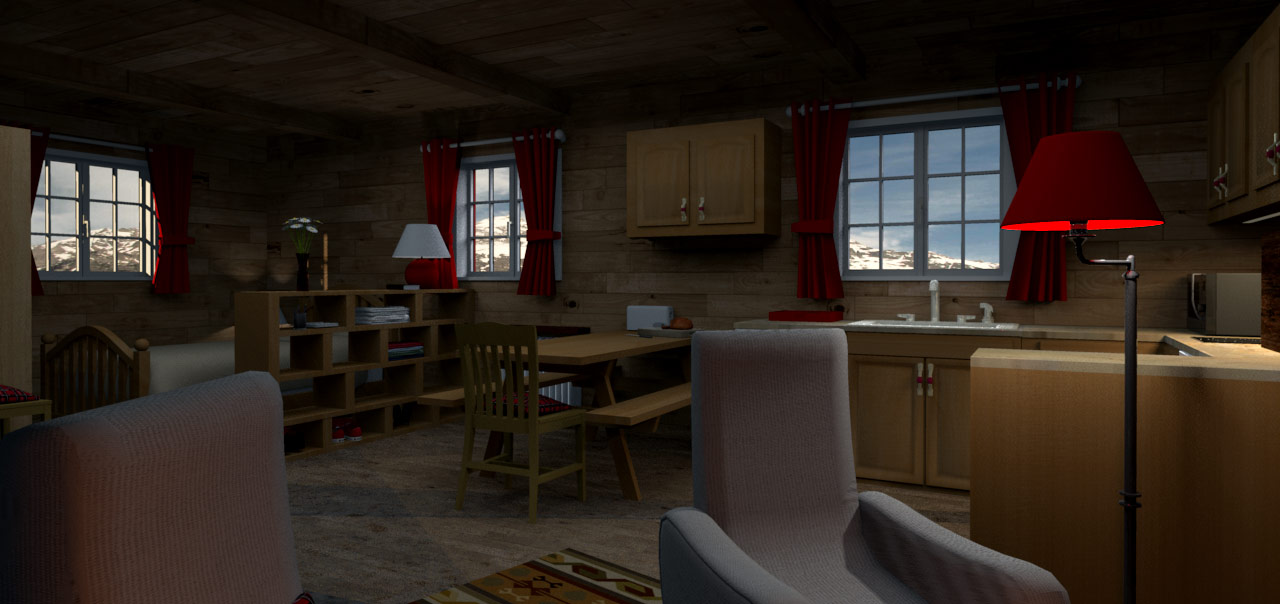
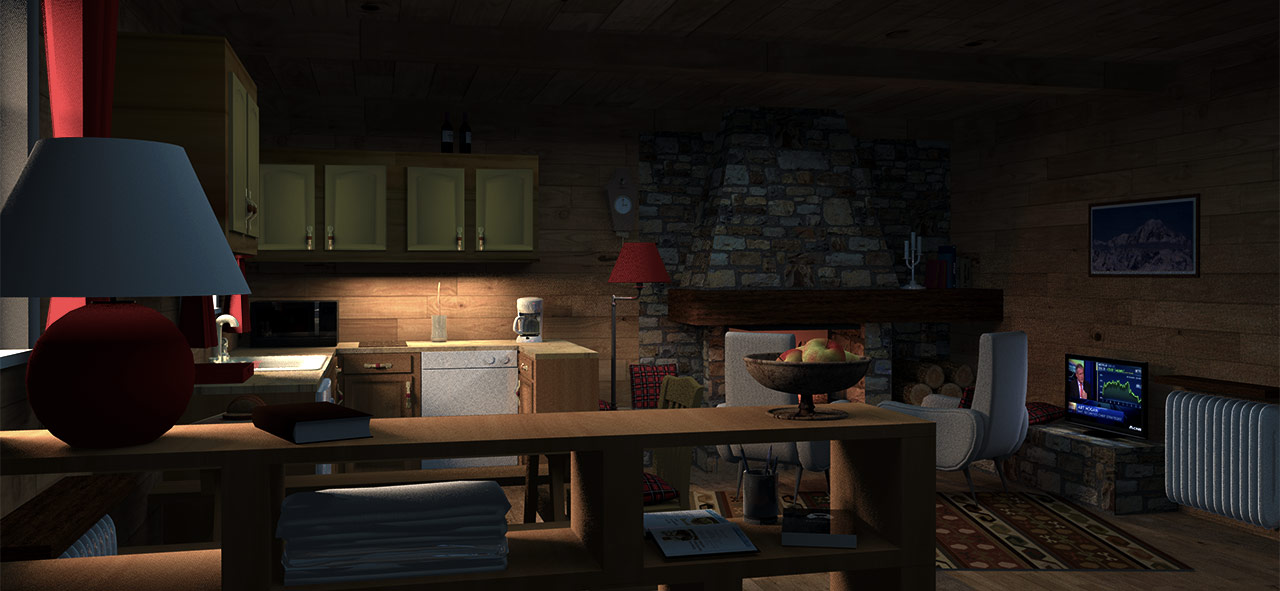
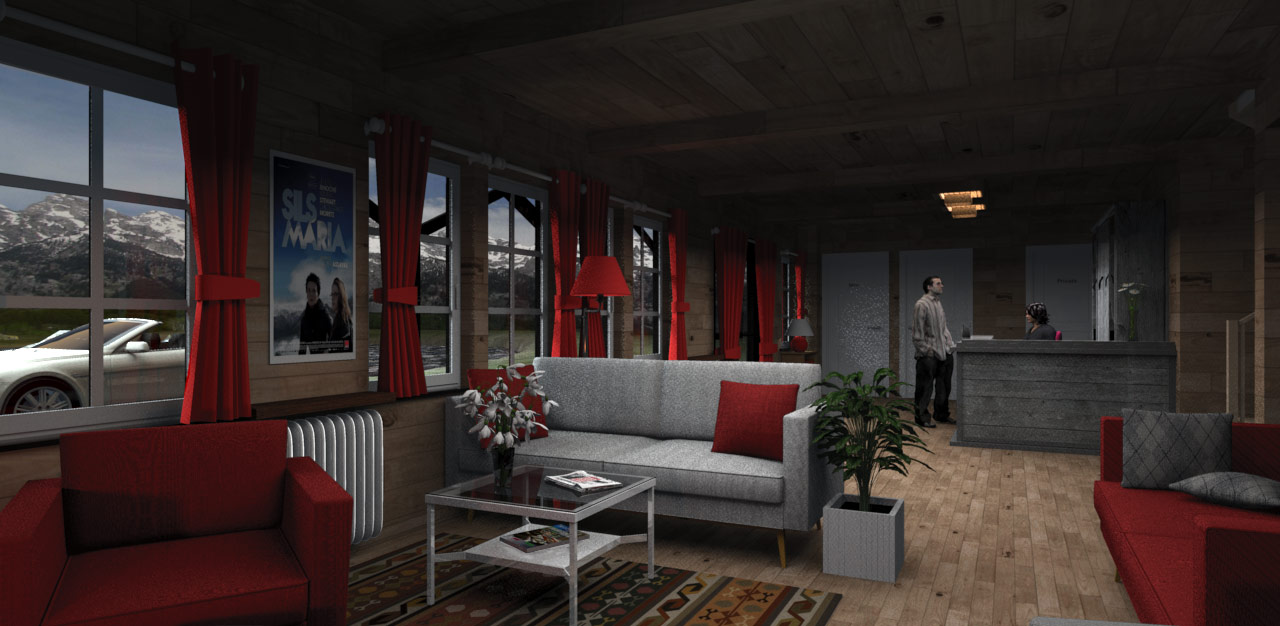
 , but, unfortunately i couldn't see the morning sky, all 3 had the same, would love to try that with my recent project if that is possible.


 Re: Light & textures - rendering examples of this and that.