I admit to a fondness for the 360° panorama textured sky. This works quite well if you - for whatever reason - want as little clutter in your plan as possible, have a distant view from the construction and want to limit the file size.
Yes, the 360 panorama sky/horizon works well. I can admit that.
The cluttering is avoided if you use Levels and Shift+Command+H for hide and view.
A distant view will in fact become more realistic with a 3D horizon, because the size of the sky projection is locked to the field of view.
And yes, the size is increased – but not a lot though, since a high resolution panorama image can weigh just as much as a 3D-modeled horizon.
And then, of course,if you are seeking realism, you are stuck with the direction of the shadows, and have to find the right position of the sun.
And lastly, the real world offers a lot of details. It's dirty, eroded and organic.
3D-models with limited file-size are mostly clean to the point of being sterile, since tiny textures tends to become tiles if they have any irregularities in them.
The models will not blend in properly, like you can see when looking more closely at the 5th image in my last post. Even if I did my best to colour-correct the highlights and match the shadows, it's still obvious that the picture is a combination of two different images.
Well... I'm just looking for arguments...
However, I have looked at the blog post you recommended, and feel I need to comment on the methods that are suggested.
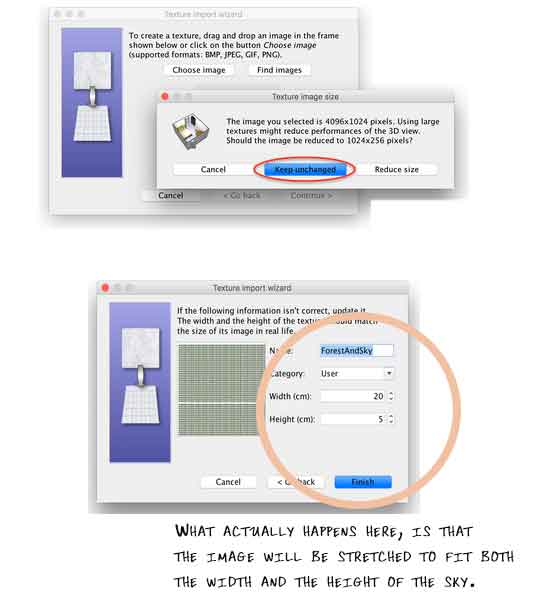
Using a non-square image will not give the best result, as the sky is actually projected from a square image.
A rectangular image is automatically stretched to fit a square when it is applied to the sky, and it will appear oversized and loose a portion of it's original resolution. A 4096X1024 image will lose 3/4 of its resolution.
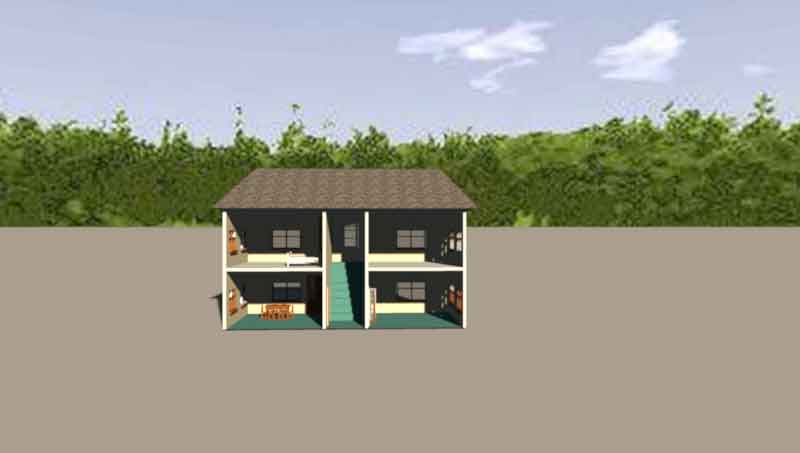
Applying a rectangular 4096x1024 image will look like this:
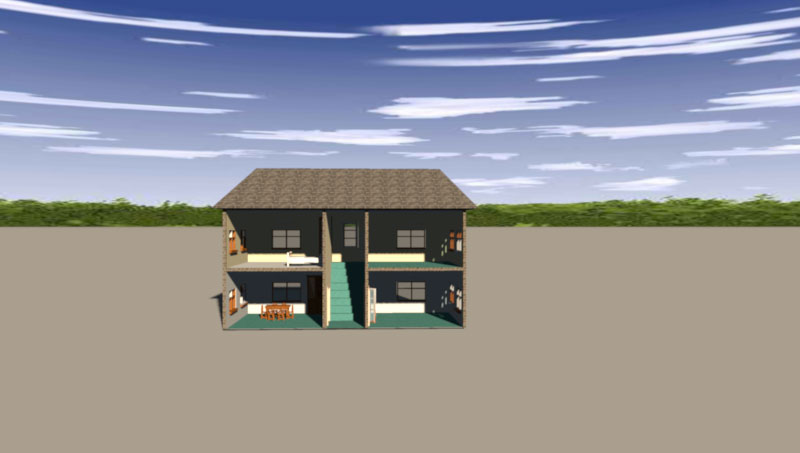
Fitting the image to a square matrix is a better way to apply an image to the sky. Then it will keep most of it's qualities:

And it will render like this:
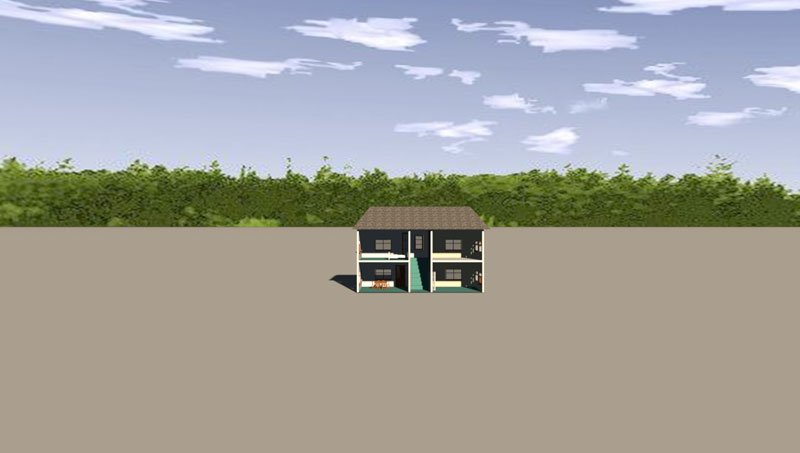
But then there's the distortion that we have to adjust for:

Now it renders like this:
The sky image used in the above renderings is the one used as example in the blog-post, and not a high quality image.
Here I have changed to a better quality image:
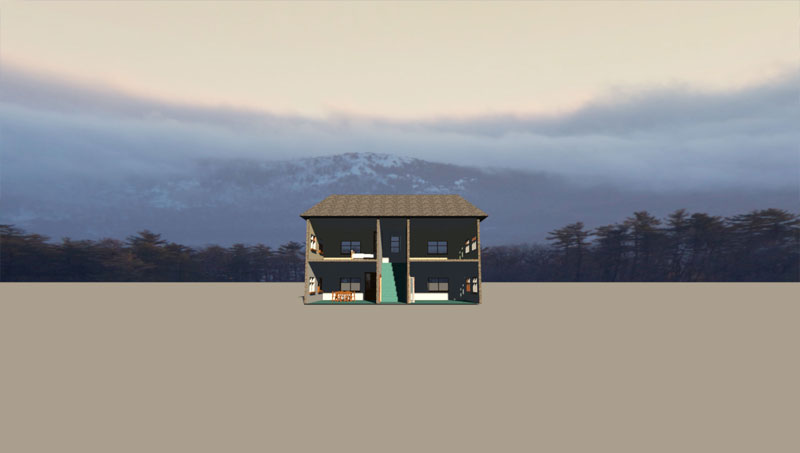
So it's absolutely possible to get a great looking sky.
But I' don't think the same goes for the horizon.
In my opinion, the drawback with having the horizon fixed to the sky, is that it will not change perspective or size
unless you change the Field of view on the camera.
Moving the camera further back, will only change the size of the 3D objects, and there's no way to avoid a mismatch unless you zoom in or out.
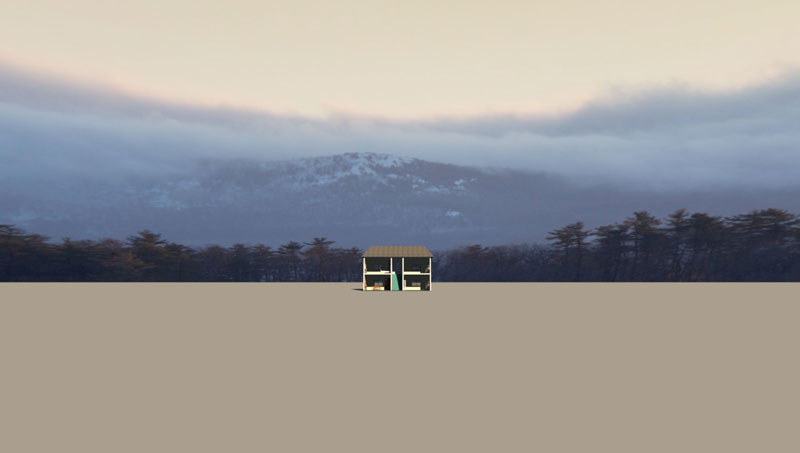
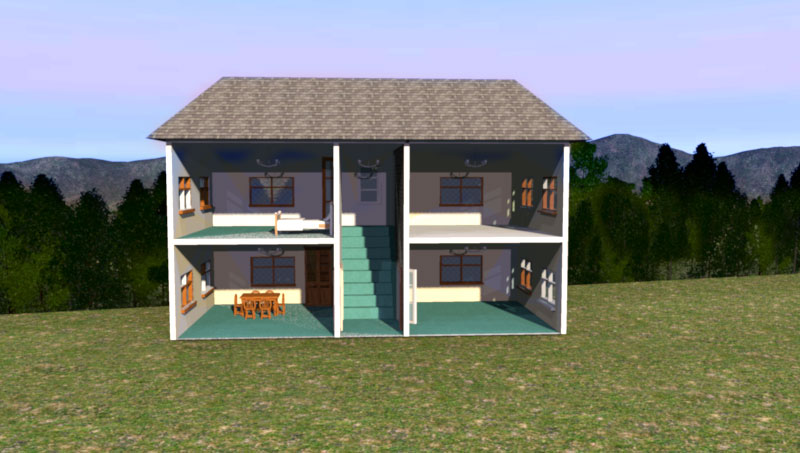
When using a 3D horizon, that's not an issue.
Here is a close camera position:
And moving the camera back, here is a far cameraposition, with the same field of view:
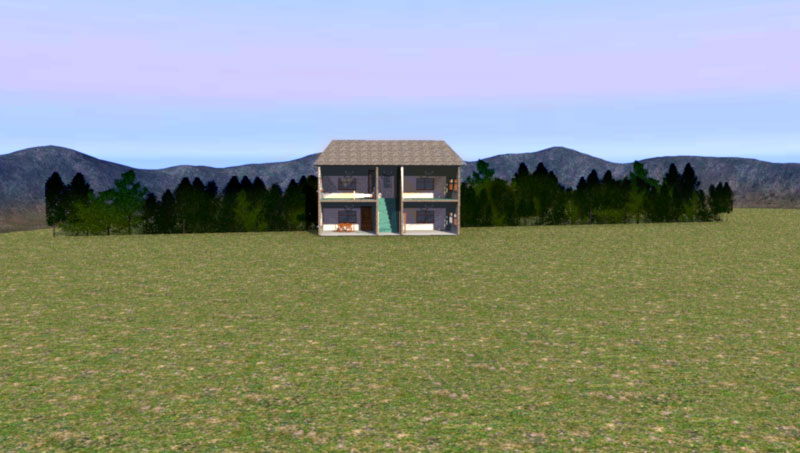
The size of the horizon and the trees will follow the camera movement.
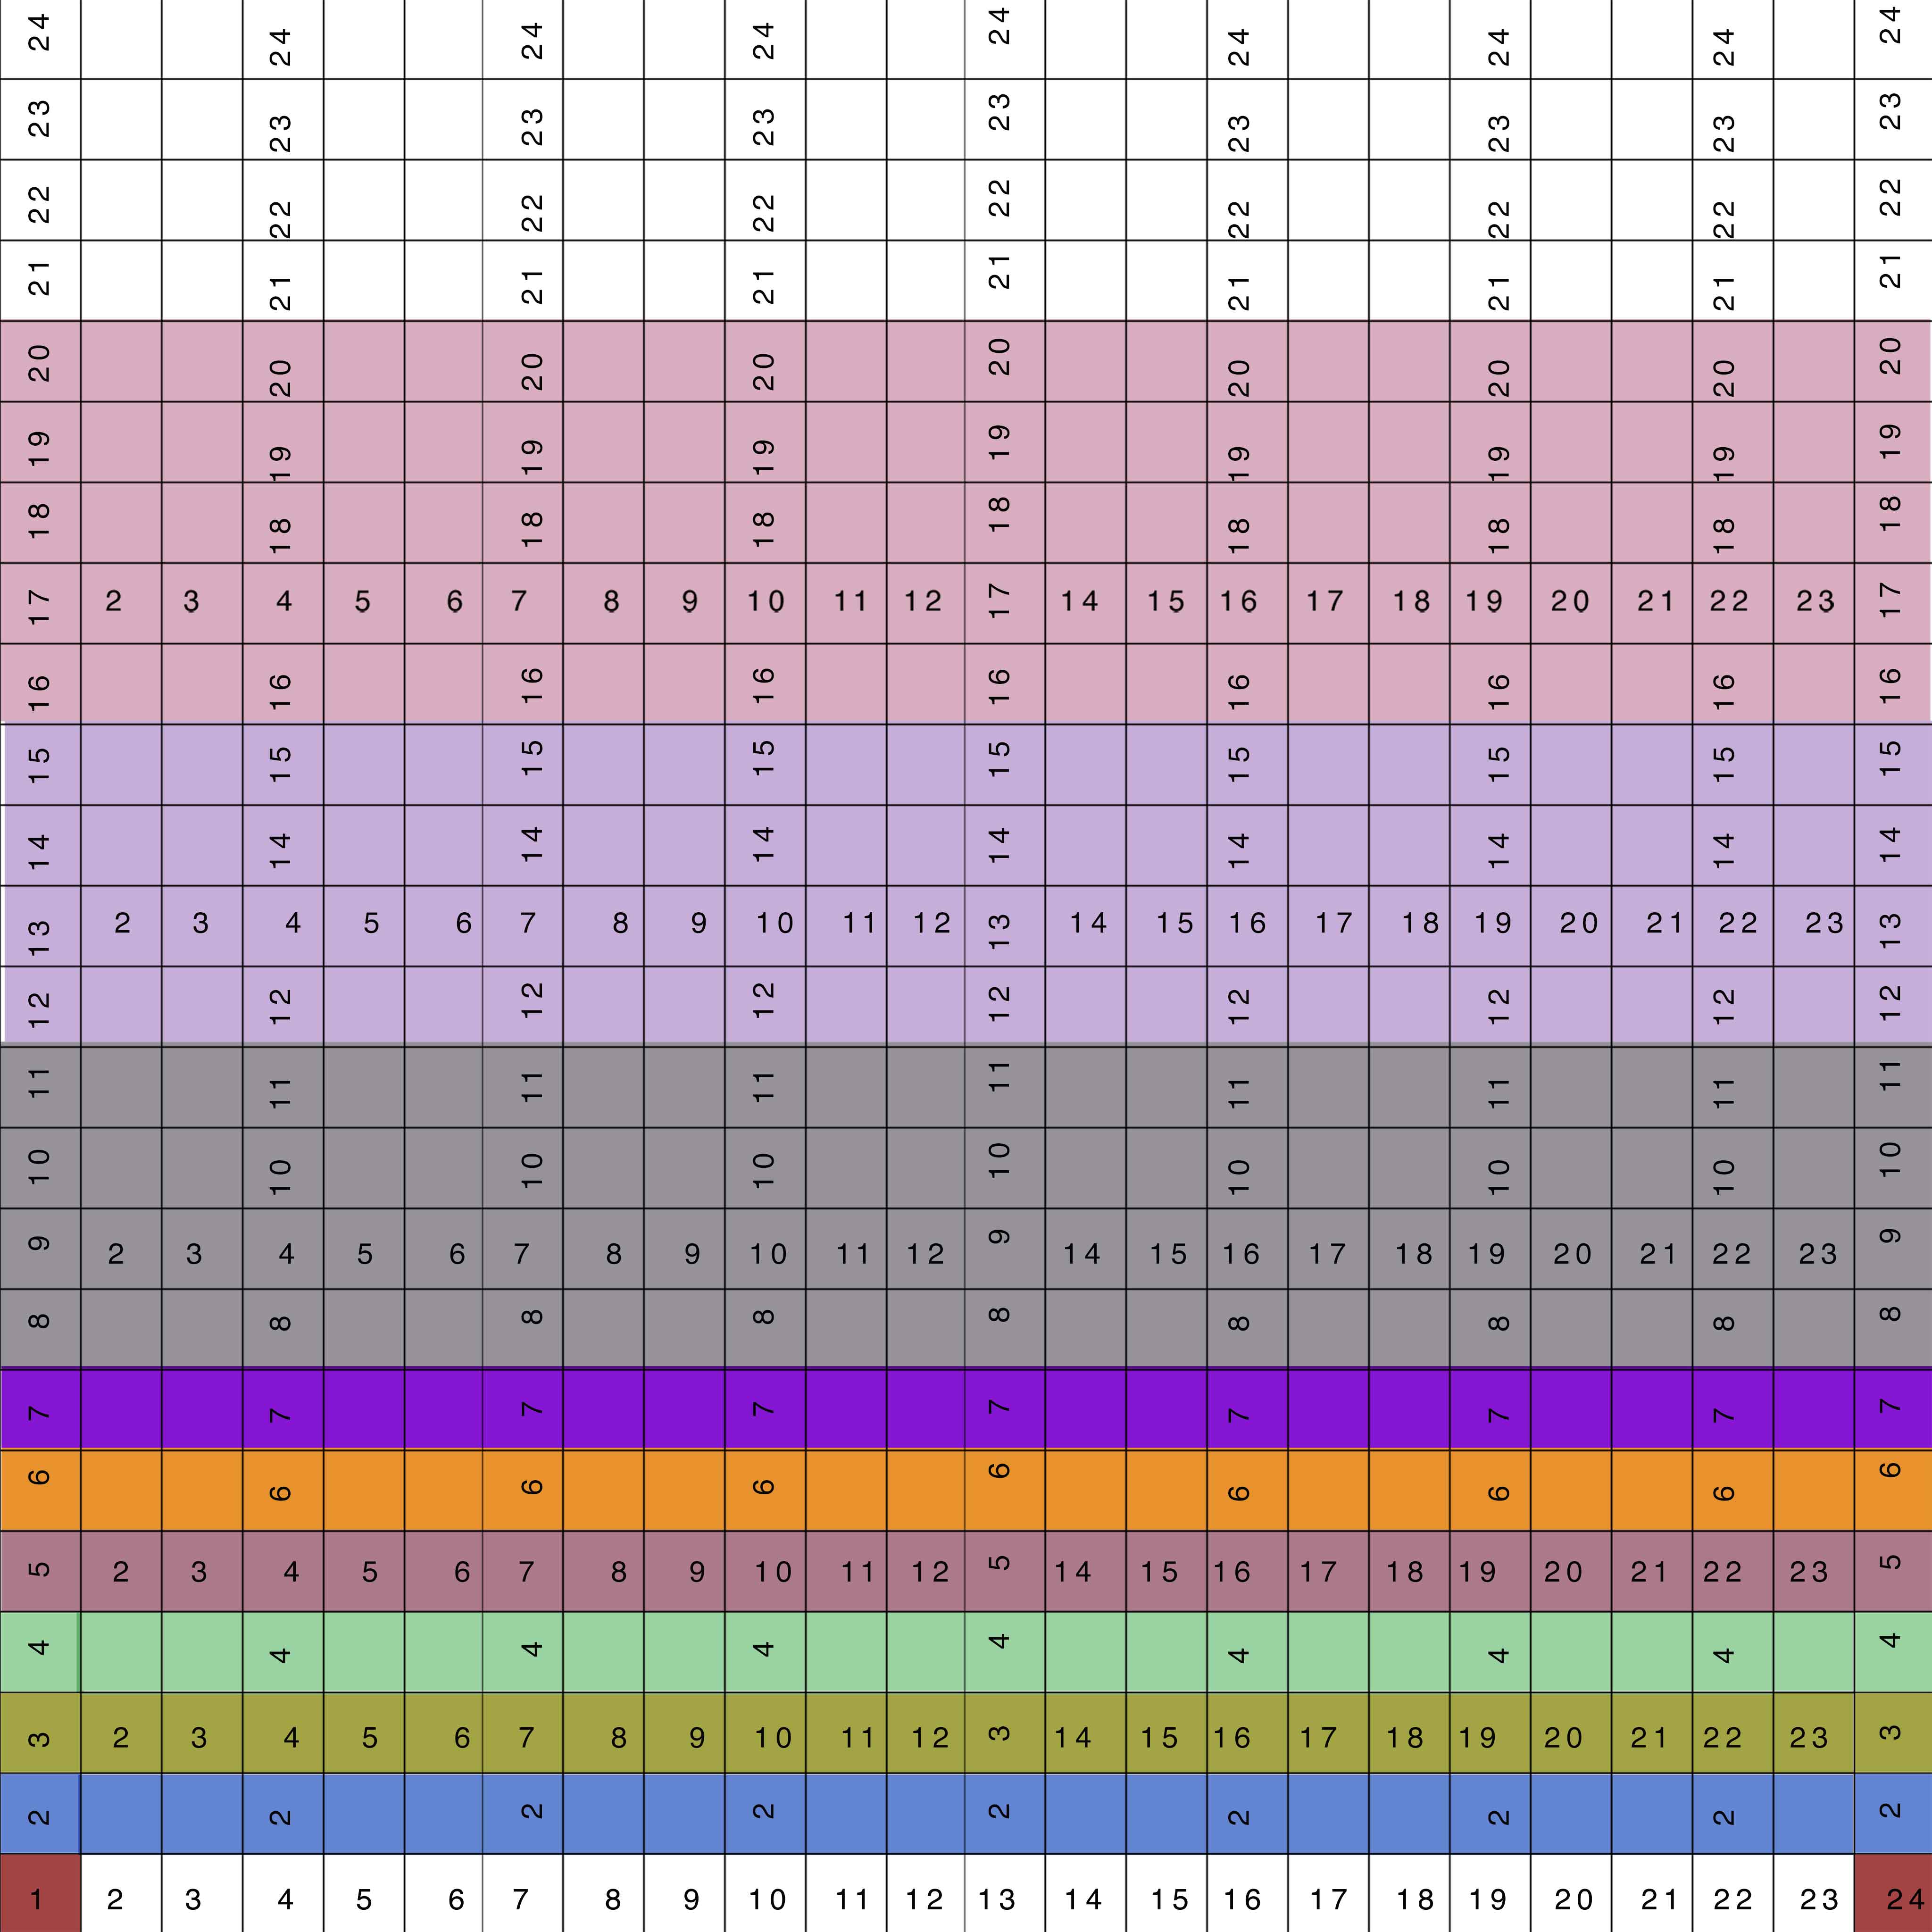
I have constructed a Matrix that is quite handy for users who want to make a distortion-free sky without to much trial and error. It's a 4096x4096 jpg-file, 454 kb. It's also handy for making UV-maps.
I have also discussed this in an earlier post.
Snowmantest
I have learned a lot since then.
I will address the problems with using a textured wall as a backdrop later.
Cec.