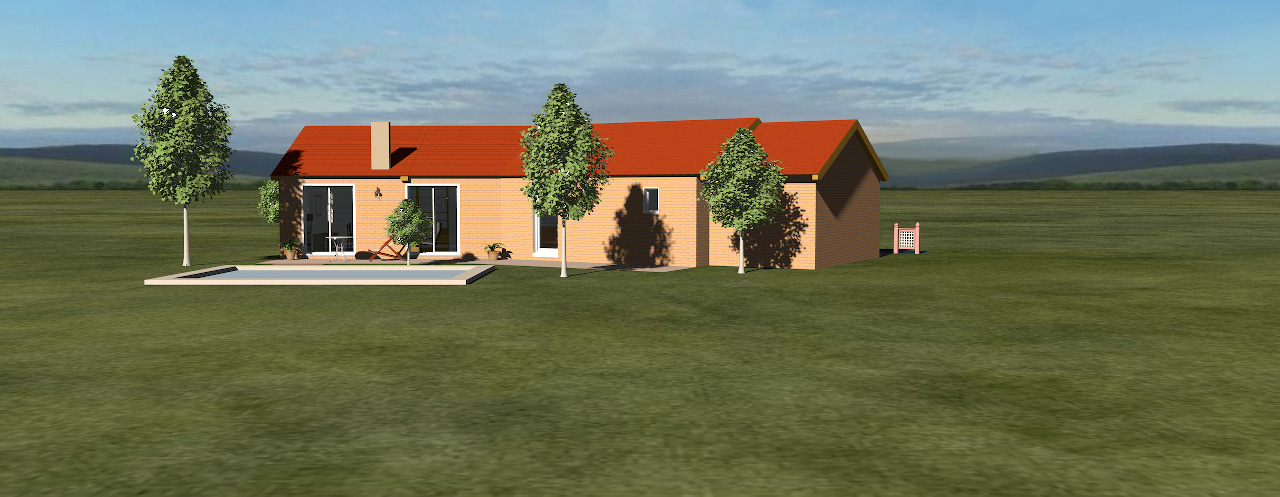
The final output of any 3D project will often be an illustration of some sort, like f.i. this snapshot of SweetHome3DExample4 ,
here placed in a rural environment,
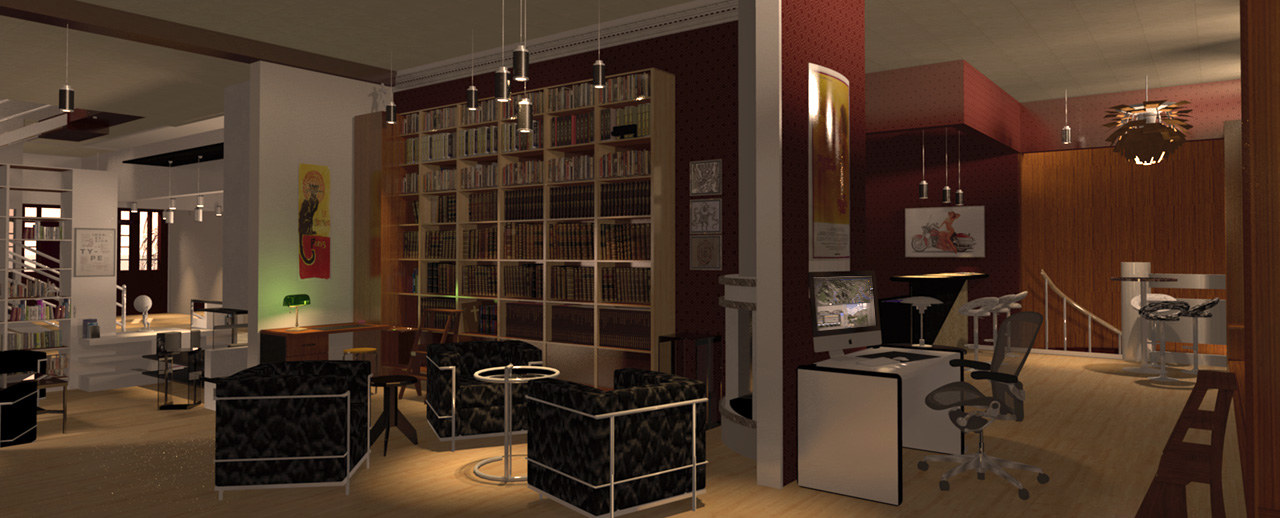
or like this interior from 2014 (one of my first projects),
or a snapshot of a toxic camping ground,

or something completely different.

So...
ABOUT THE SKY
Yes – I am aware of the fact that for most users the technical quality of a snapshot from SH3D is of less
importance – but since the program offers to create photographic snapshots (and since there has – in the past –
been held competitions here to score the best SH3D-rendering), I assume that for some users both the artistic and
the technical quality of the end product has a certain value. Being one of these users myself, I prefer to have
something other than a tiled lawn, a pixelated sky and a sharply drawn horizon surrounding my creations.
Avoiding that, has been a priority since I first started using SH3D.
EXAMPLE
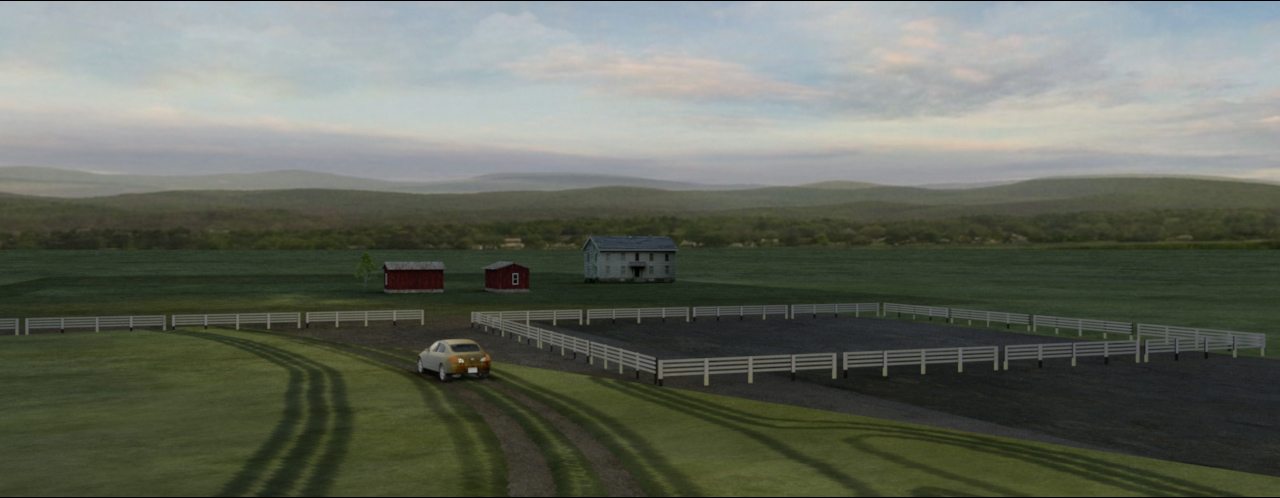
A morning shot of a small farm surrounded by a lively horizon:
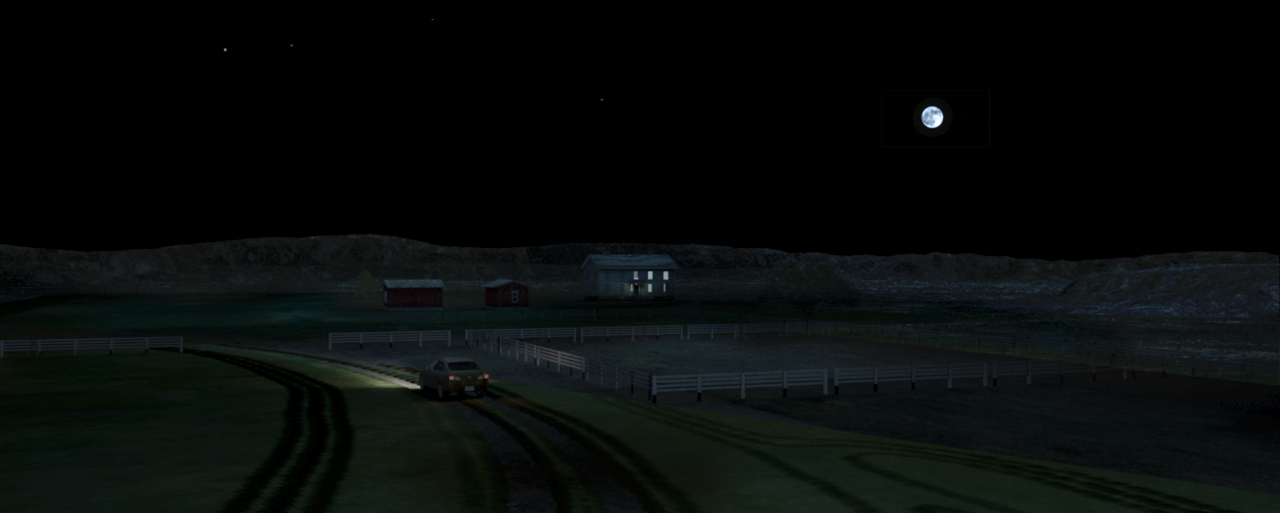
or in a totally different mood – created by a sky with a moon and a couple of stars:
This is easy to do for anyone with basic knowledge of any photo-editing software.
I use Photoshop, but Gimp is a totally free open source equivalent that's easy to use.
The sky is basically a 360° backdrop.
When I want to create a certain environment and atmosphere for my projects, I can either use one or several separate
standing backdrops, or I can use the sky.
The advantage of using the sky is that I don't have to move my backdrops around and adjust the lighting every time I
want to shoot from a different angle or change the perspective.
The disadvantage is that it can be a bit tricky to determine where to put things on the sky: The equirectangular projection
has played tricks on me for several years, and it's only recently that have I been able to uncover the basic principles –
and how to handle it.
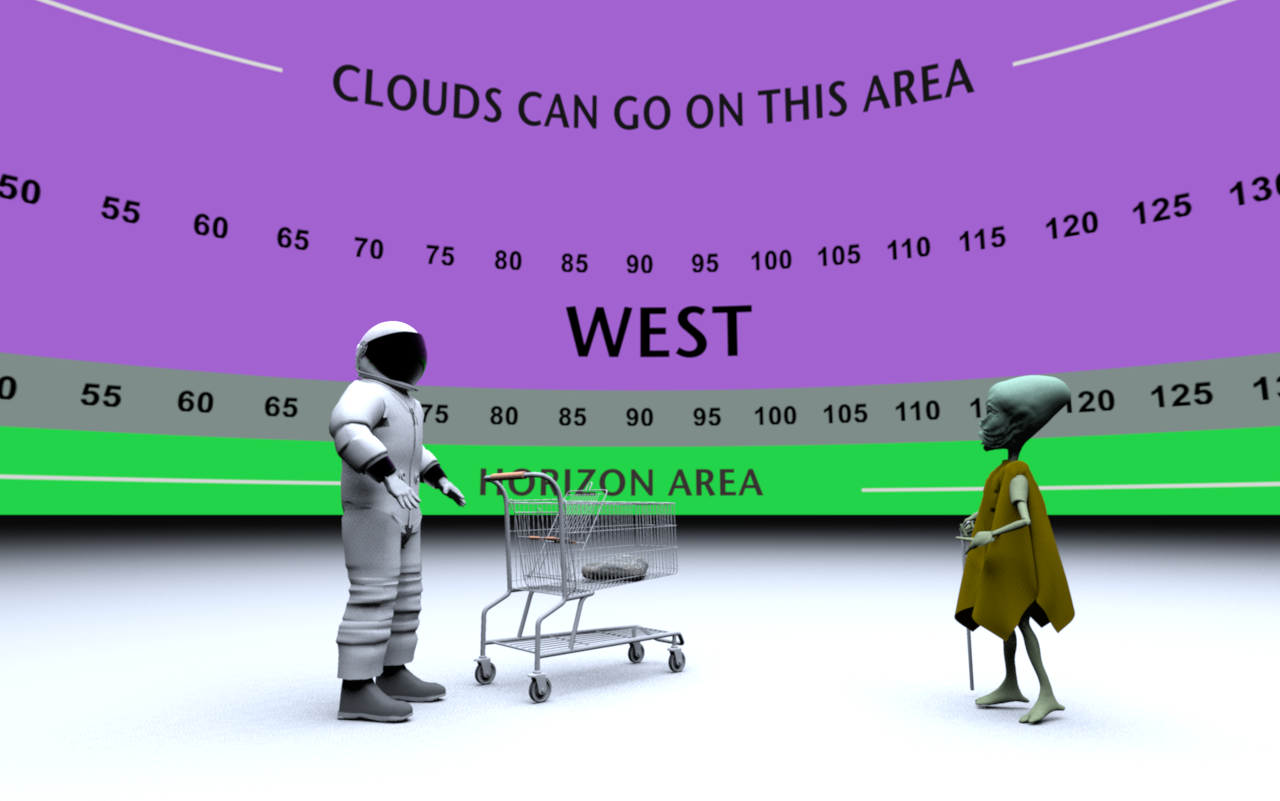
To help me find my way around it, I have constructed a handy template that enables me to pinpoint quite precisely where
to place a moon, a sunset or some decorative clouds on the sky image, in order to make them appear exactly where I want them
to be on the final renderings.
The template looks like this:

and renders like this:
________________
So, if anyone think they can find it useful: Right-click on the links to download.
Sky Template 6000x1500px (390kb)

Sky Template 15000x13750px (1.1Mb )

The smallest image is often enough, but for close-ups (from FoV 40 and closer) I always use the bigger image.
________________
Sky template project file if anyone wants to experiment with it: SKY-template.sh3d
_________________
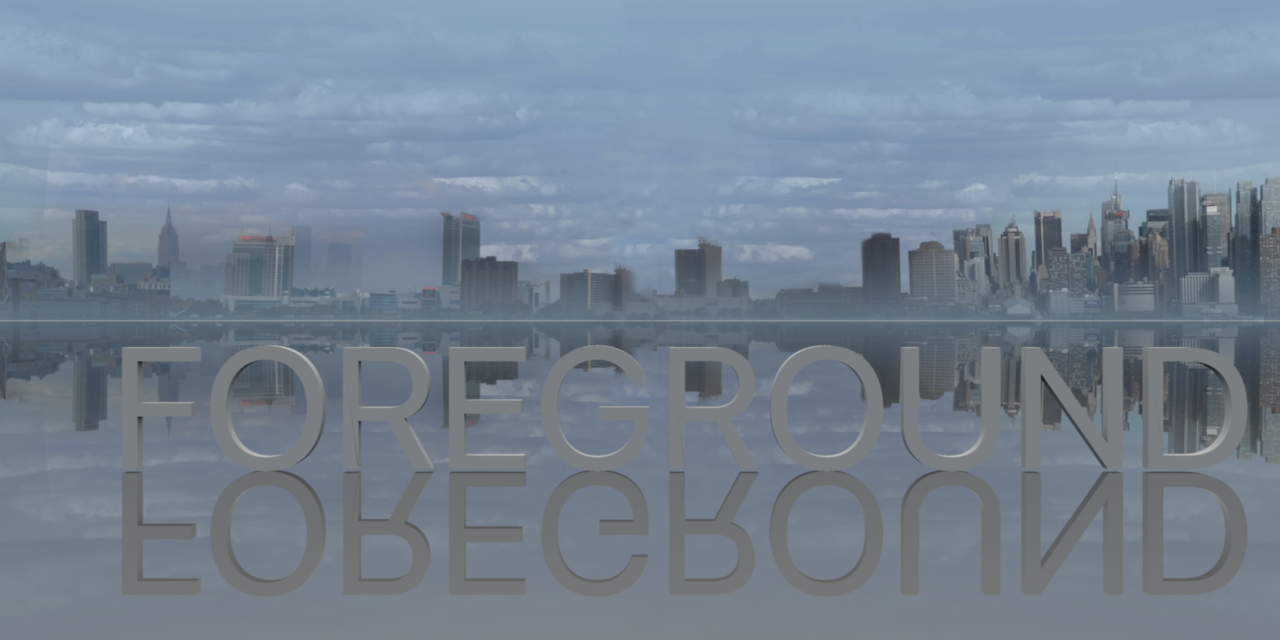
Here are some sky and horizon snaps to show the curvature and the sector at three different FoVs:
SkyImage-spherical:
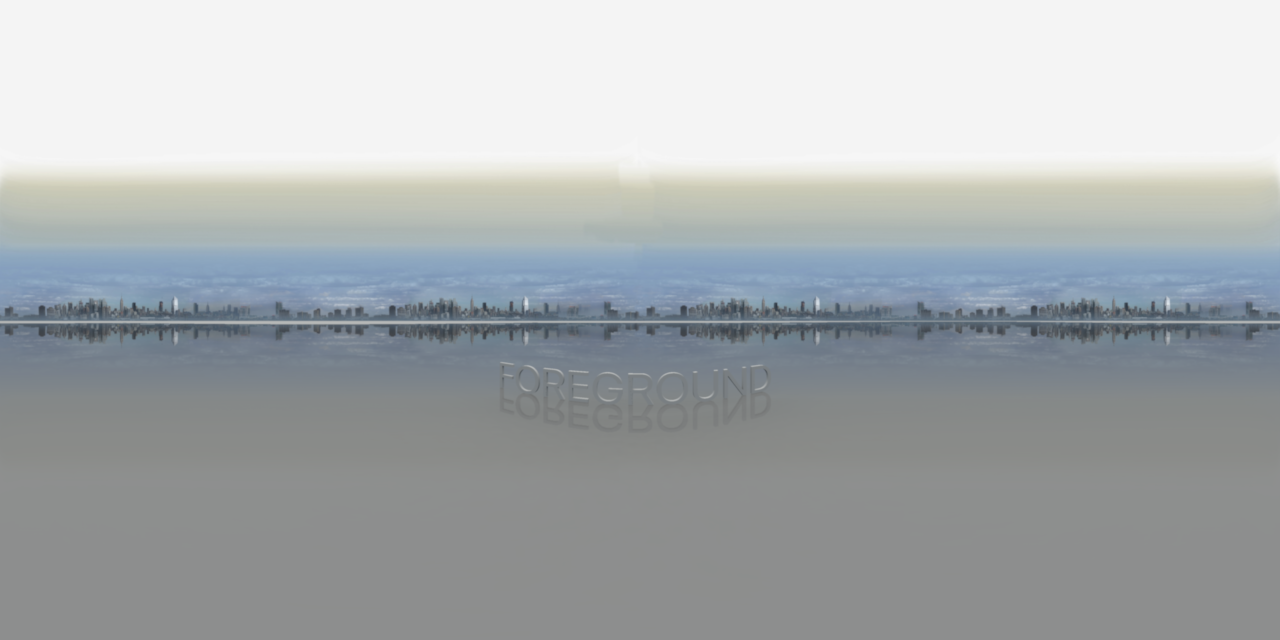
SkyImage @ FoV 120:

SkyImage @ FoV 60:
_________________
More later...
Cec