Here are some images of a new project. The inside is not done yet so this is the outside and some detailing.
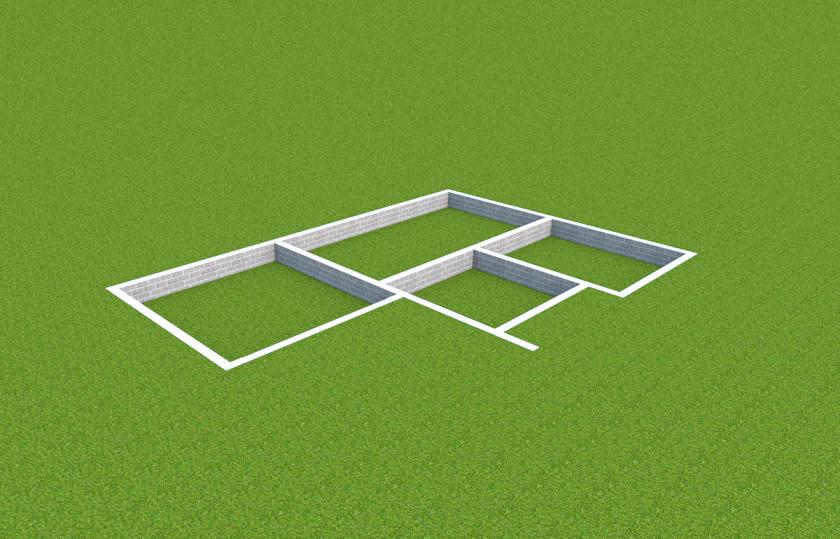
Footings
Damp Coarse
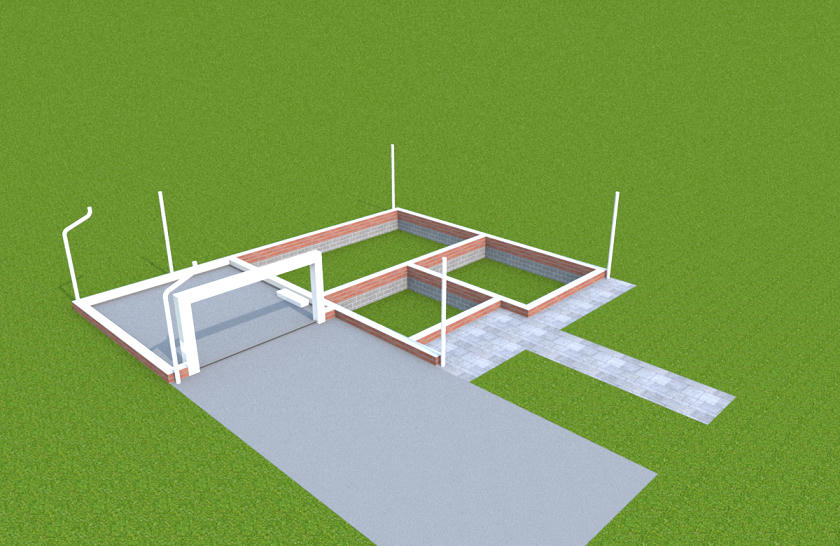
Ground floor
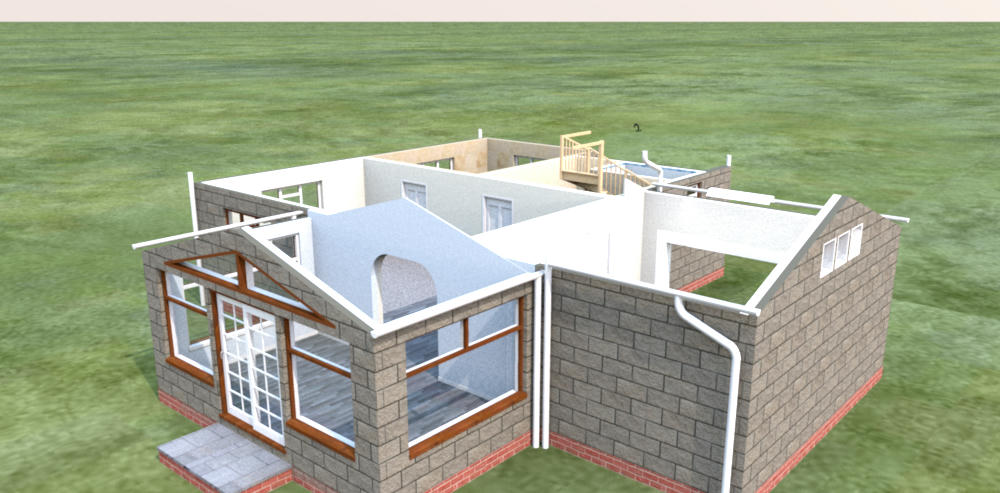
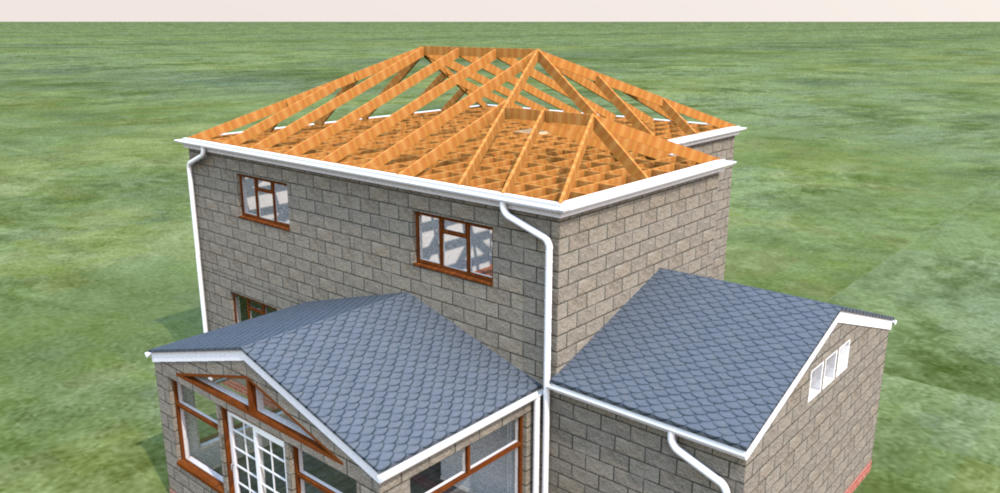
Timber framing
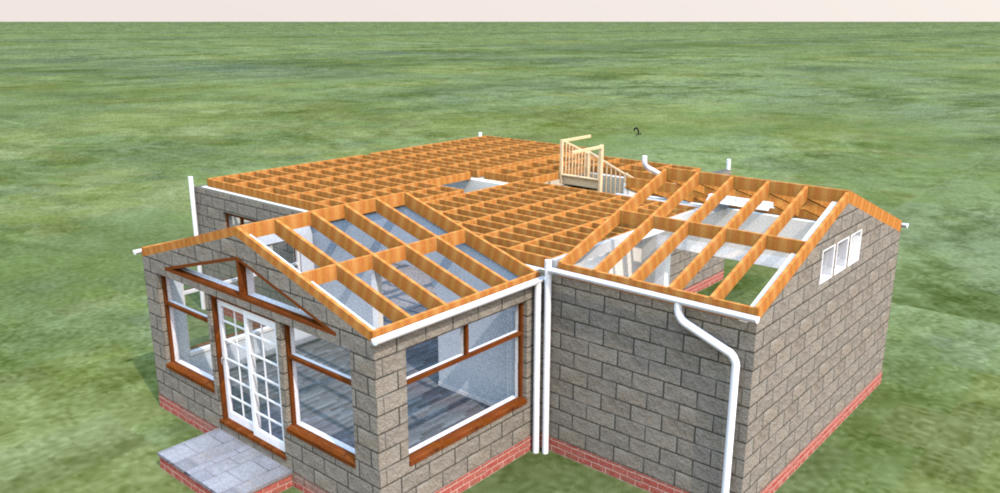
Ceilings
fascias and soffets
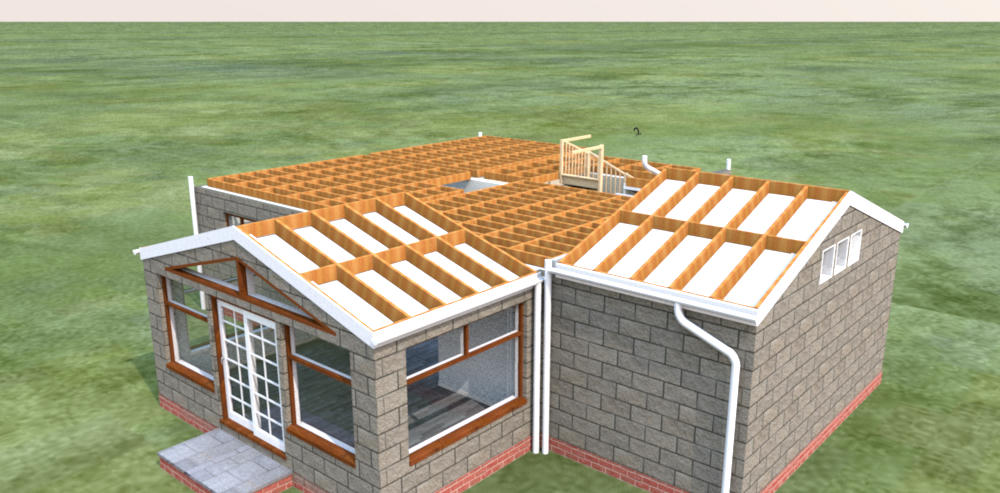
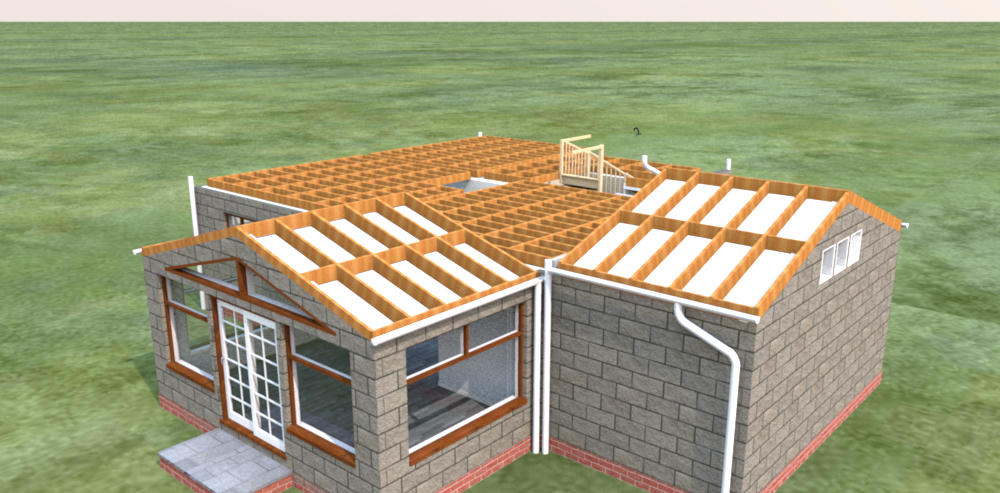
Roofs
Finally the front, following Cec's excellent tutorial
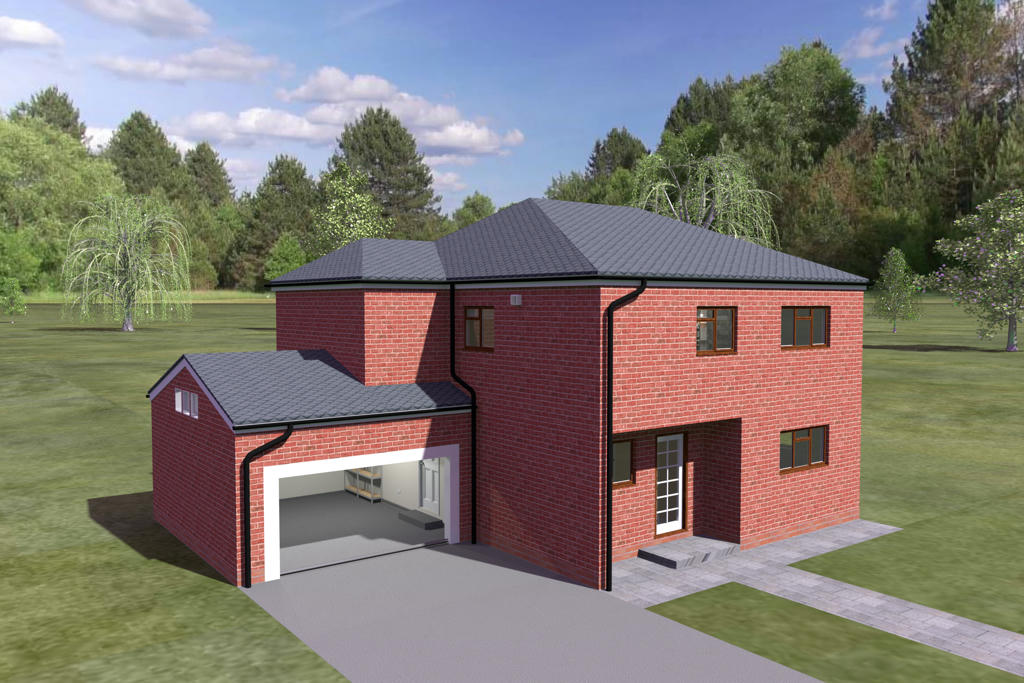
I have made a few tweaks since some of these were made, they will show later.
Feel free to comment, advice is always welcome.
Mike