GaudiGalopin3324
Advanced Member
Russia
Joined: Aug 13, 2022
Post Count: 481
Status:
Offline
|


|
|
Re: Apartment project with lighting by invisible hemispheres. I continue advertising
|
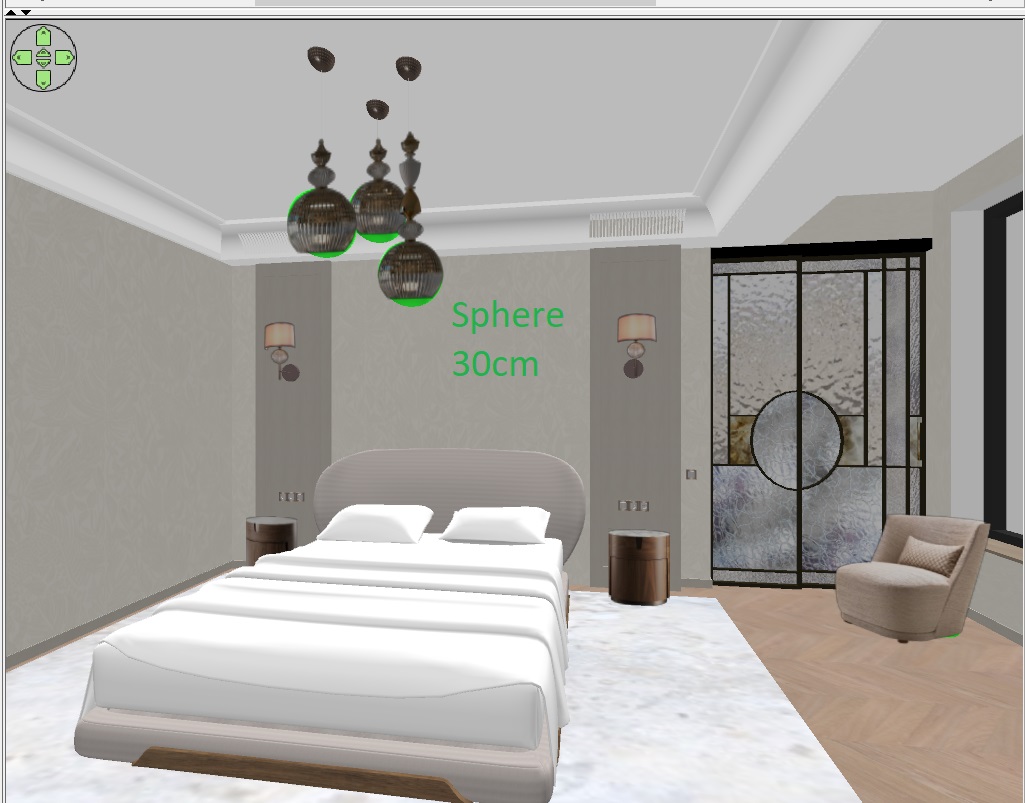
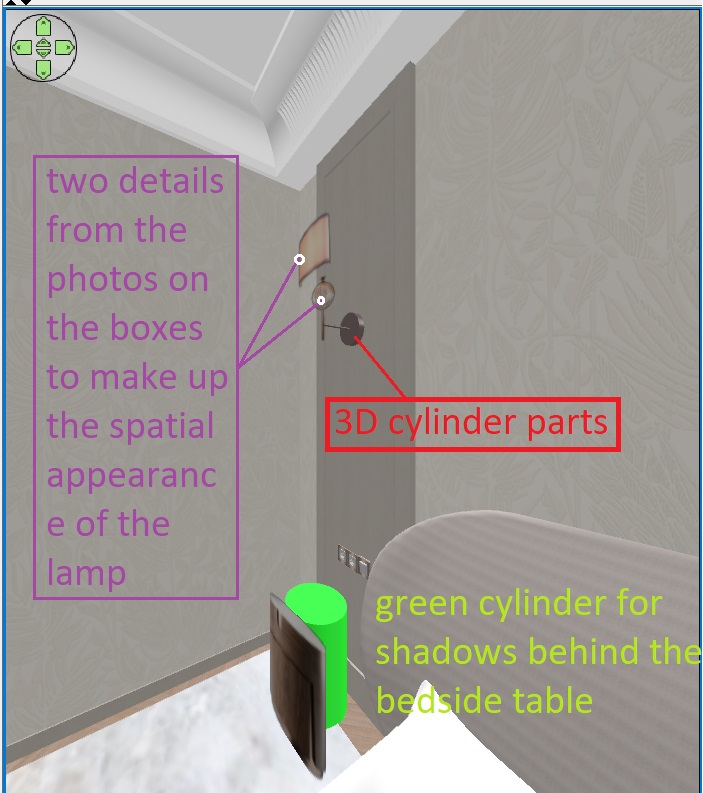
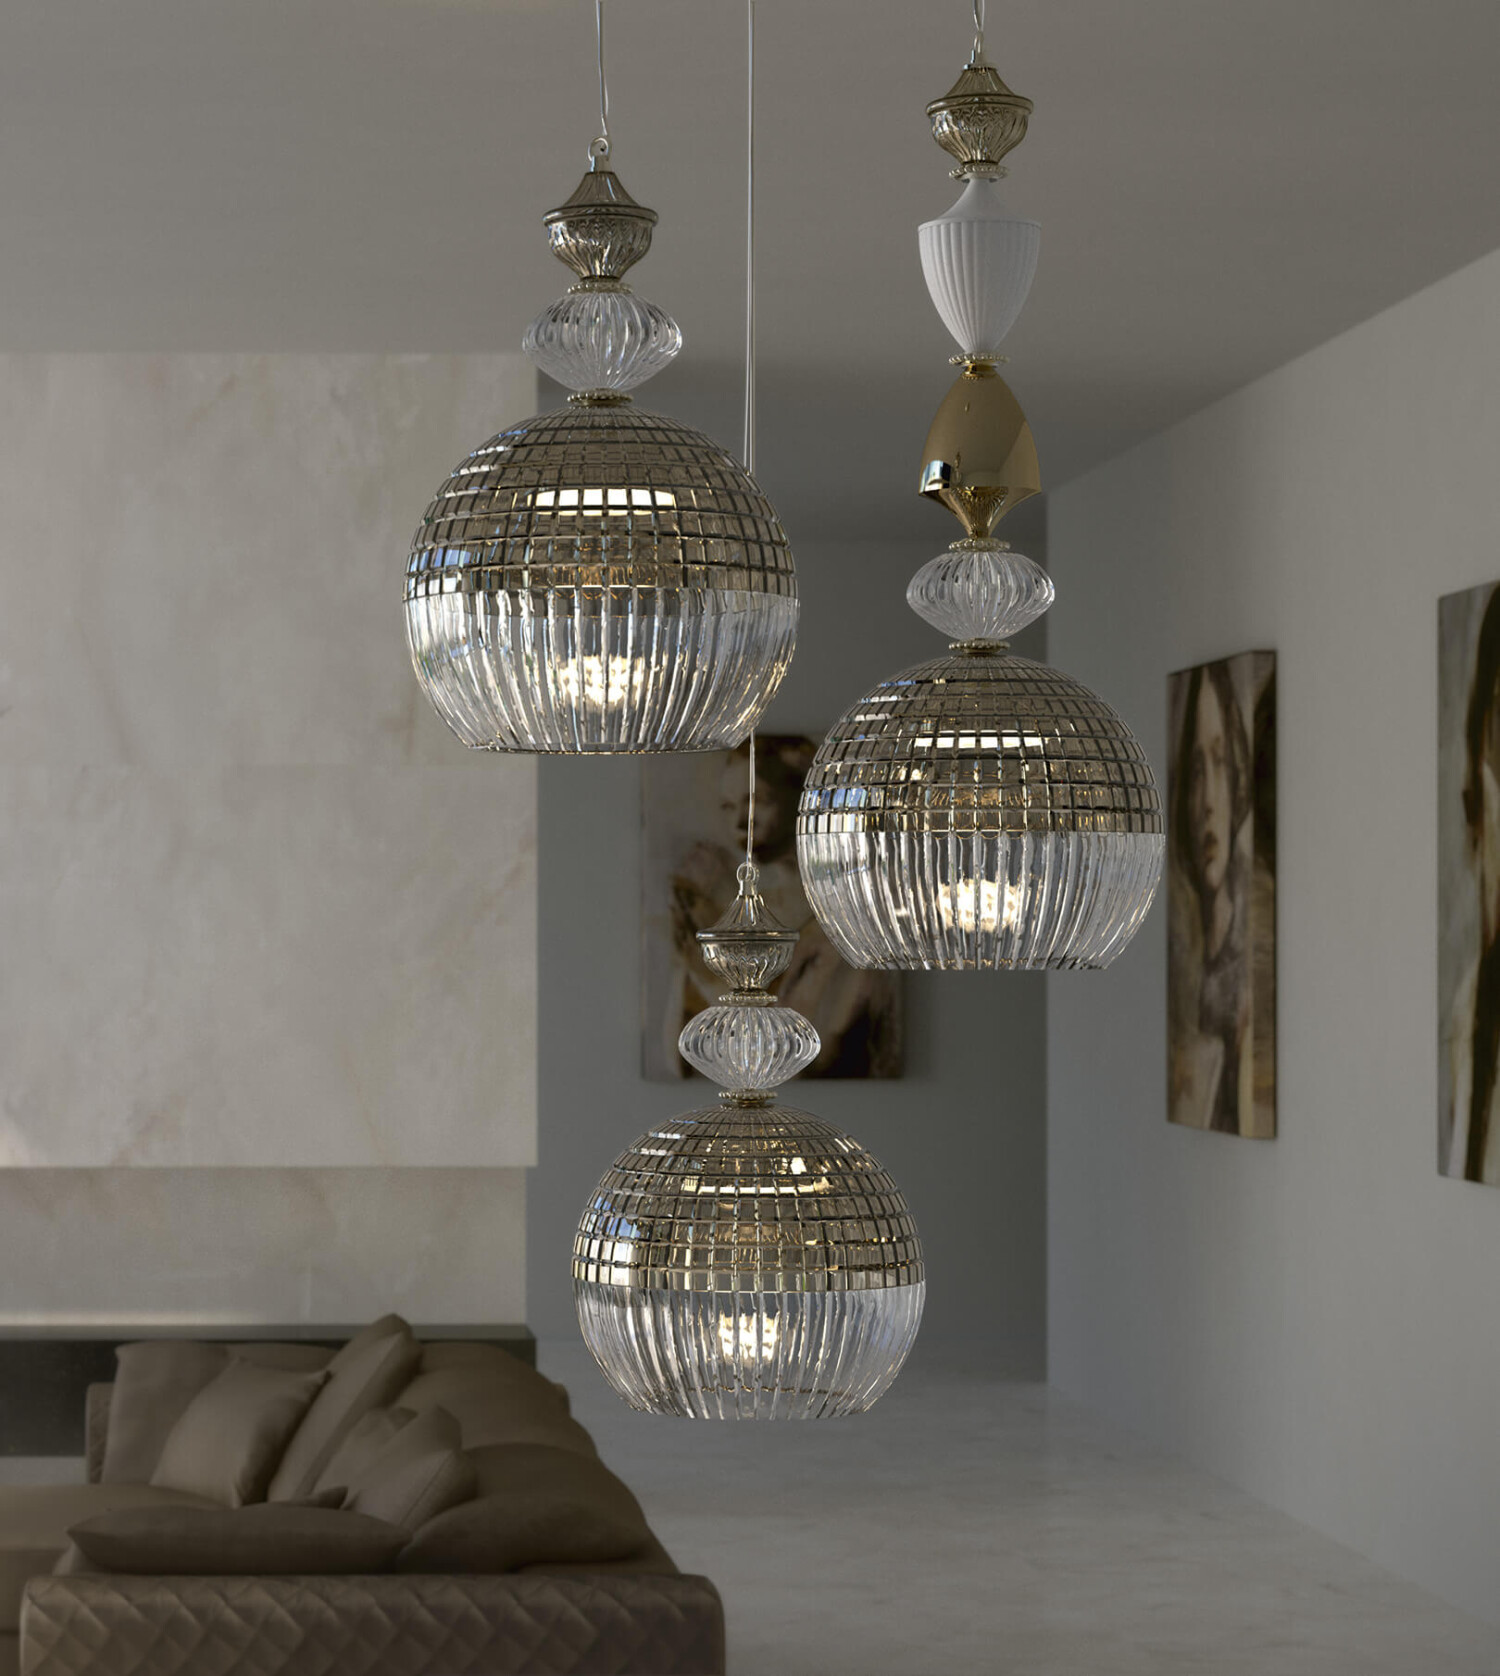
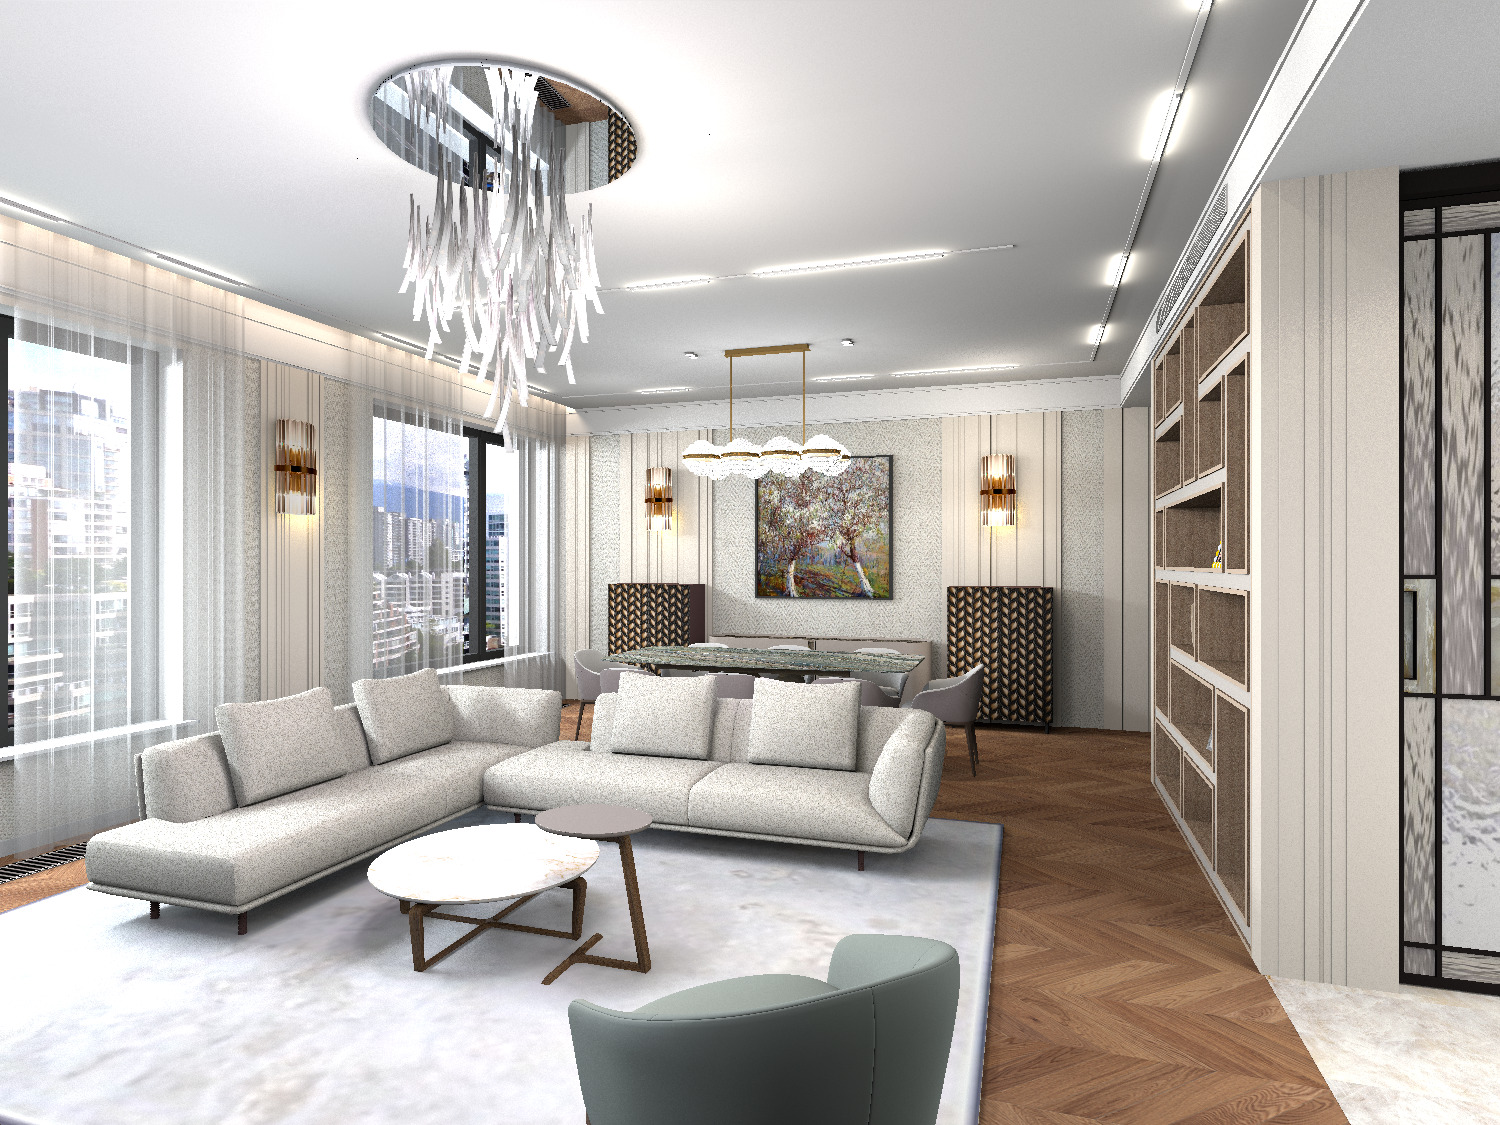
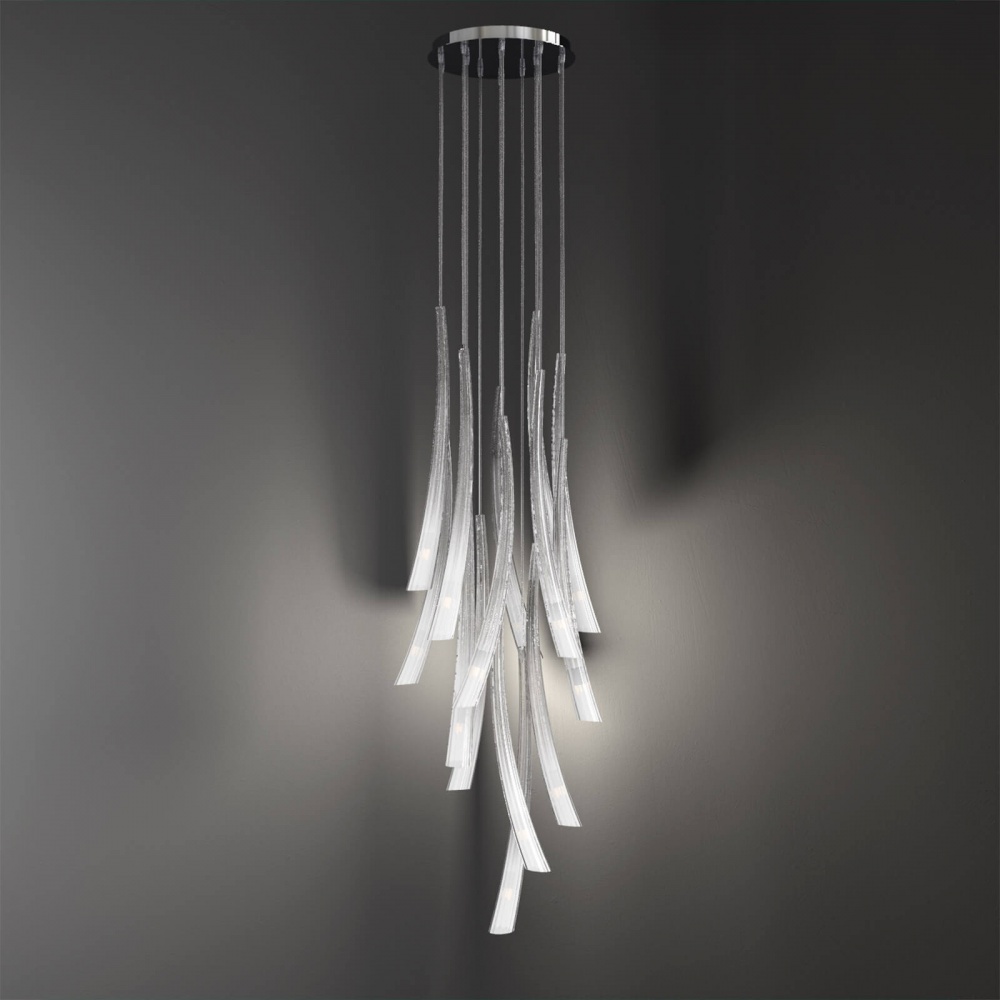
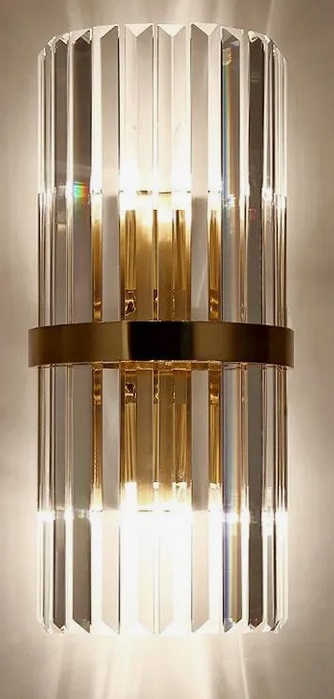
Here I decided to do almost everything with the help of photos on the boxes, the 3d model is just the bed. All the lamps, bedside tables, and armchair are PNG photos. For example, a chandelier. I prepared three lamps on a transparent background from the general photo, I needed to arrange them in a different order. The main volume of each lamp is a round glass shade with a diameter of 30 cm. C arranged the green template spheres in the right order at their heights. I put up boxes of photographs in front of them, stretched these boxes while maintaining the proportions so that the photos exactly match the green templates in terms of the dimensions of the ceiling lights. I lifted the boxes to the required height. After that, I prepared a group of a sphere and a thin cylinder (these will be 3D details of a cup and cord for each lamp, they create the impression of a real spatial model of a chandelier). The sconce also consists of a 3D base element and two separate photographs of a lampshade and a vertical stick with a hanging ball are attached to it. The real wall lamp model, for example, weighs 256MB, horror. And this imitation doesn't weigh anything. And the wall lamp can be viewed from different angles, because there is a 3D element that creates the appearance of a spatial model. The photo boxes are highlighted with narrow colored hemispheres at the ends, so you get bright photos from the right edge. To make the bedside tables and the armchair cast shadows on the walls, I placed bright green real cylinders behind the boxes of photographs, carefully reduced them so that they were not visible in the frame behind the photographs. They cast shadows as if from bedside tables and armchairs. This picture with a complex heavy bed model took 5 hours to load, with heavy lamp models it probably wouldn't have started at all, and I didn't try. I made a mistake, I had to flip the mirror photo of the chandeliers, the light comes from the window. But for me, on the contrary, I did not notice.
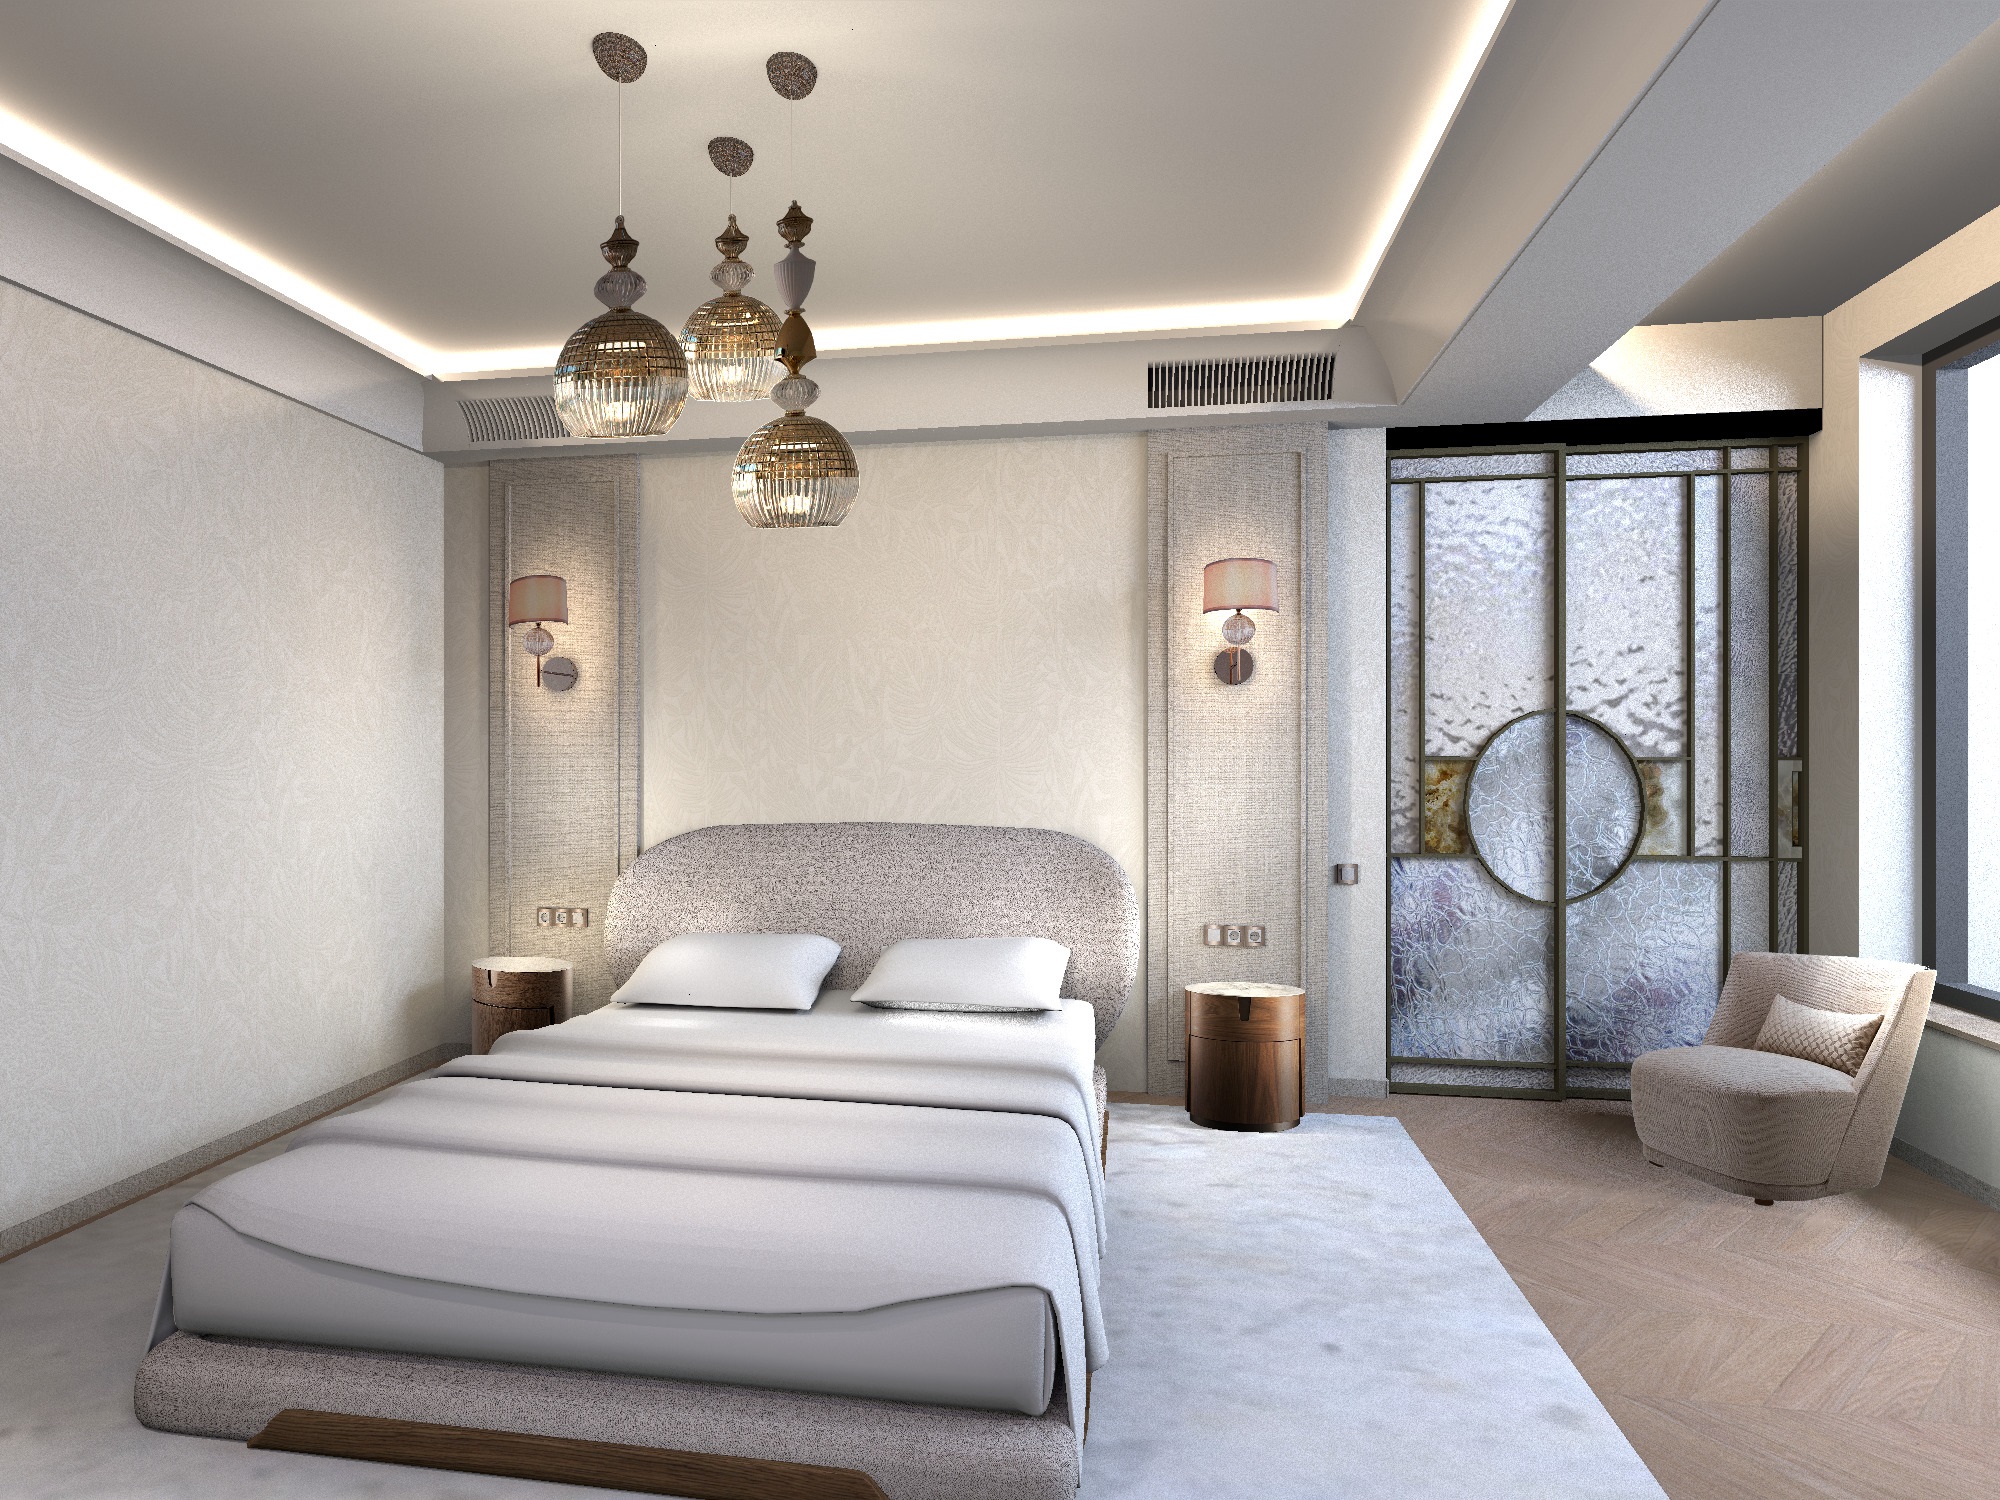
Here, too, the chandelier and sconces are made with the help of photographs. I realized that if you combine 3D spatial details and objects with photographs, you can imperceptibly create very complex interiors that can be processed by the SH3D program.
|
[Feb 13, 2025, 9:17:43 AM]

|


|
[Link]


|
|