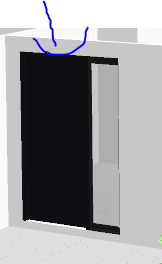
Schralen already gave you the answer for the wall above a custom door: Check "Door or window" in the import dialog and the door will cut a hole in the wall surrounding the door.
how can i paint different parts of a wall?
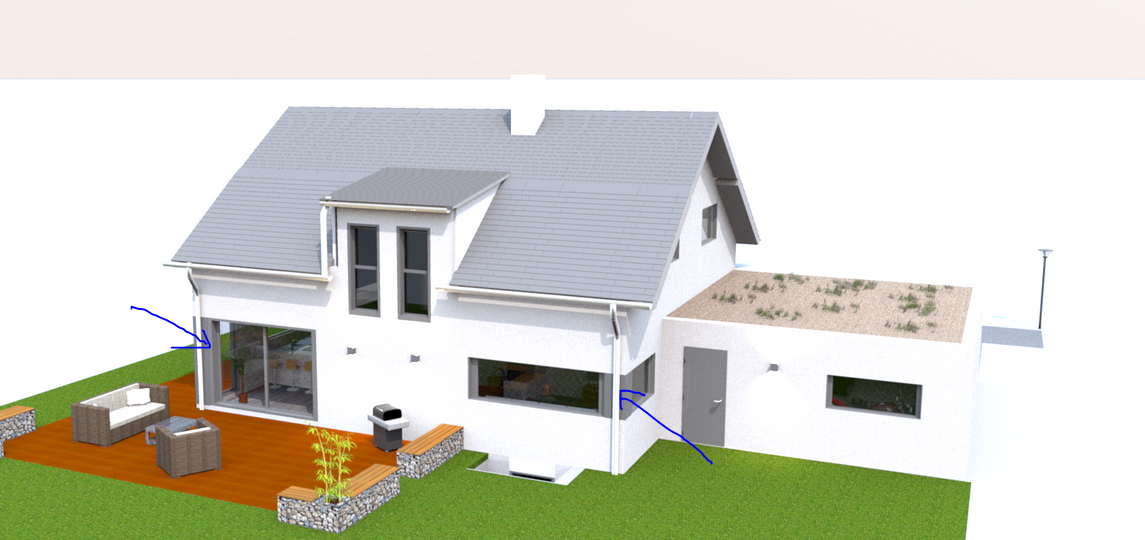
The answer is levels. For vertically different colors you have the option of baseboards but with these you can only color one part. Your image shows a gray part of the wall between a bottom and top wall. You will have to create levels to accomodate the different wall heights. Start with the 0 level as you already have it. This is for all (white) walls starting at the bottom. The white wall part under the gray colored column has a height only up to the different color. (Split the walls to allow different parts to have different heights.) Add a level with an elevation to where the gray color starts. There you place the column part with a height that reaches the top of the part. Another level is needed to fill in the white top part.
That is the "walls/levels" way. You will have to take the floor thickness into consideration when defining the level elevations. Check the manual "Levels_Explained.pdf" on the dodecagon.nl site to understand the relation between elevations, heights, and floor thicknesses because walls sink to the bottom of the higher floor.
A different way is creating the grey column part as a separate object and export that part. Import it as "Door or window". Now you can elevate and insert that part and it will cut into the full height walls. A little navigation will place it exactly in the corner. This way you don't need multiple levels but the column part will not be a wall, i.e. you can't place doors or windows in it to cut a hole because the part itself is a 'window'. In your case that doesn't seem to be a problem and might be the easiest solution. You probably can use the same object and change its height for the left corner that starts at the bottom.
Dodecagon.nl
1300+ 3D models, manuals, and projects