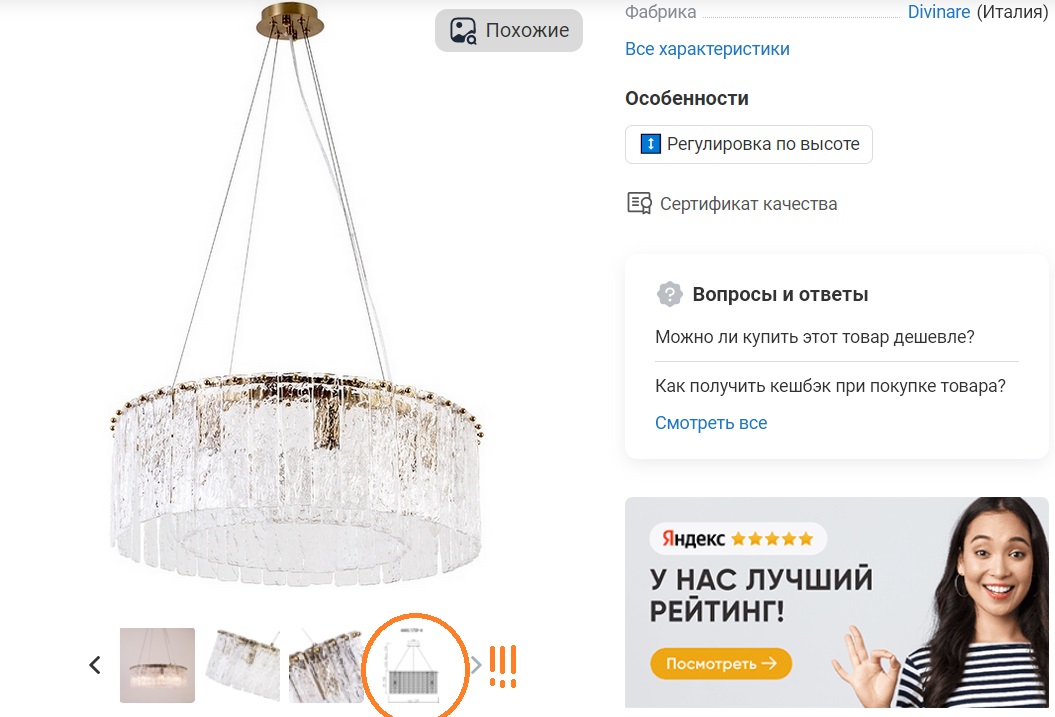
look. We really need a photo in the enabled mode (it is there). And the drawing. Now let's start using it.
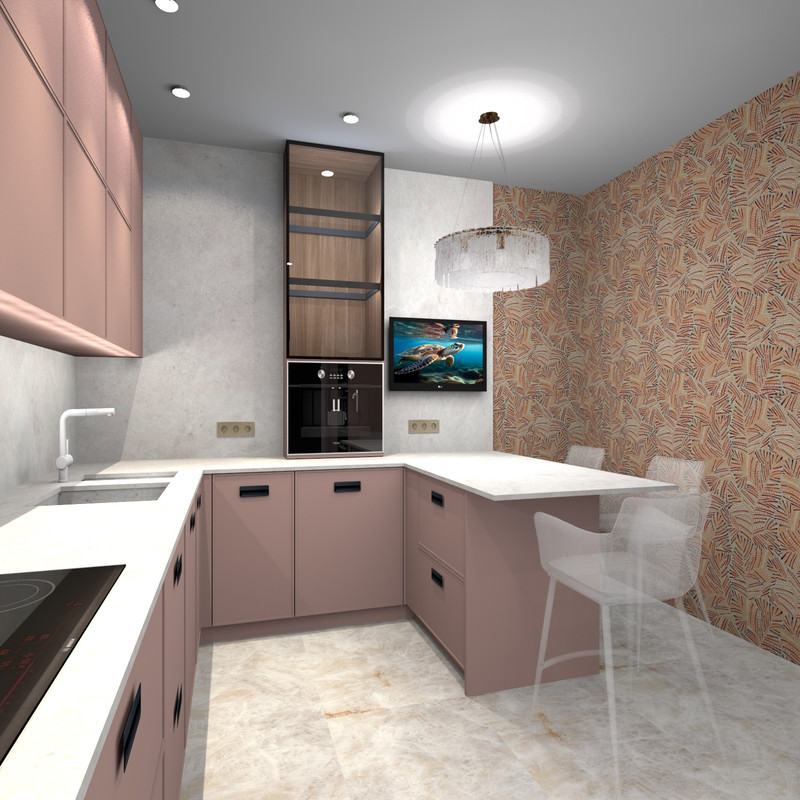
To show this chandelier in the interior, you first need to create a template that accurately shows the location of the chandelier in the interior. This chandelier looks like a saucepan suspended on a string, a cylinder on strings. We will make a colored cylinder of the desired diameter and height, and position it at the desired height. We will see how this chandelier in the right size will look above the kitchen table. So far, this is just a template.
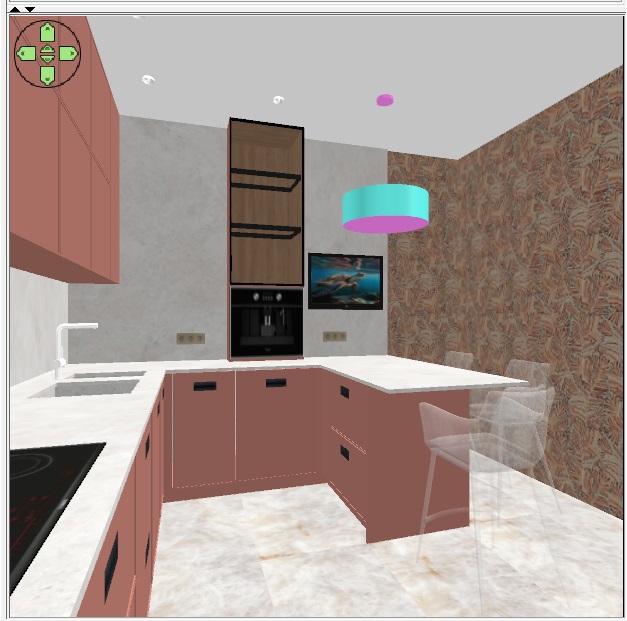
it has all the elements - the pan itself and the upper suspension base. These are the colored cylinders that will now be our landmarks.
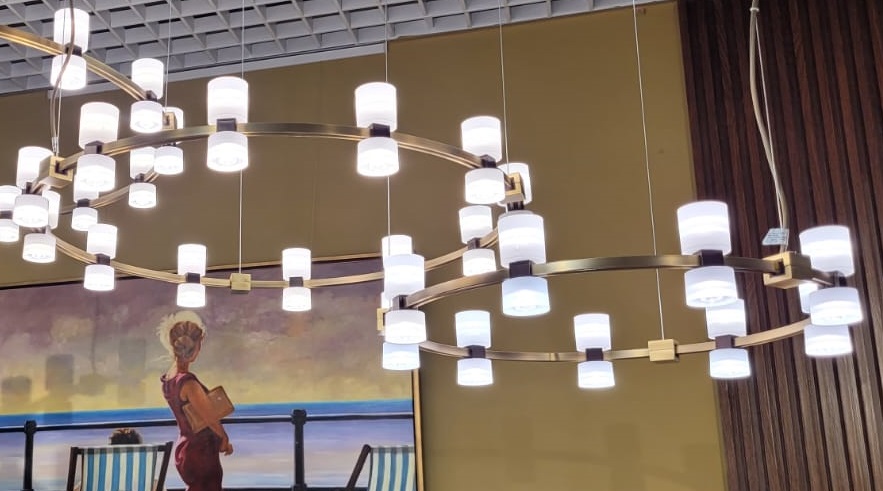
Now we take out our magic wand. We need a photo of the chandelier with the lights on. We have it, the seller showed us everything on his website. But on a white background. You need to remove this white background and get an image of a chandelier on a transparent background in PNG format. There are different ways to remove the background. I use the free version of photoshop. You can use other programs. It doesn't matter. The main thing is to get a chandelier on a transparent background and save this image as a texture in SH3D. The image has its own size, it is very important to write it down or remember it. There will be a correct image only if the proportions of the image are correct. It is important. So our picture is a square. Everything is very successful and everything is very simple. now you need to make a box with square proportions and a small depth. Assign the front side with the PNG texture of the photo, and make all other sides invisible. This box should be made with dimensions like the width of the chandelier - 60x60cm. Now you need to hang the box in the air in front of the templates in order to match the image of the chandelier on the box against the background of the template cylinders as accurately as possible. Use the arrows to raise the box with the photo of the chandelier to the desired height. It doesn't matter how far away this box is from the template. On the contrary, it is better that the box is far from the template, somewhere in the middle between the template and the camera. The main thing now is that the width of the template and the photos on the box match as accurately as possible. Usually, a photo of a chandelier is taken from the gas level of an ordinary person, so almost always everything turns out at once and the shape of the template and the shape of the photo on the box almost match.
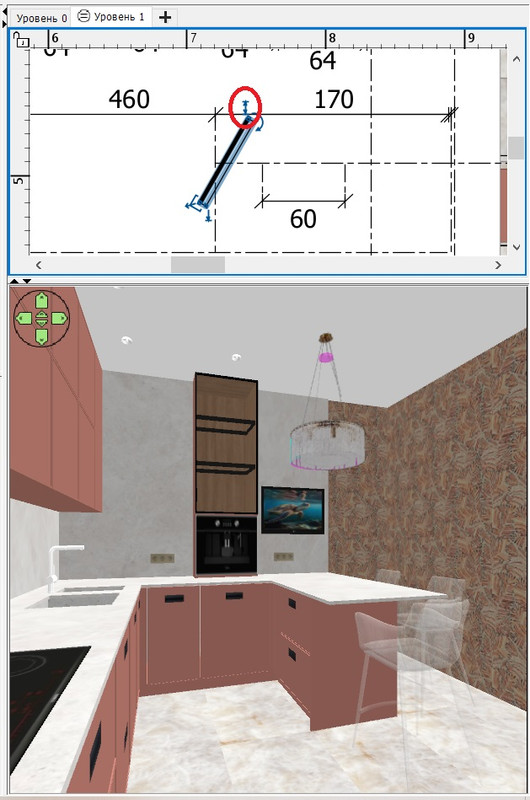
use this arrow (purple oval) to pull out the photo (the height of the box) so that everything fits into the template. Then our photo will be realistic in the space above the table.
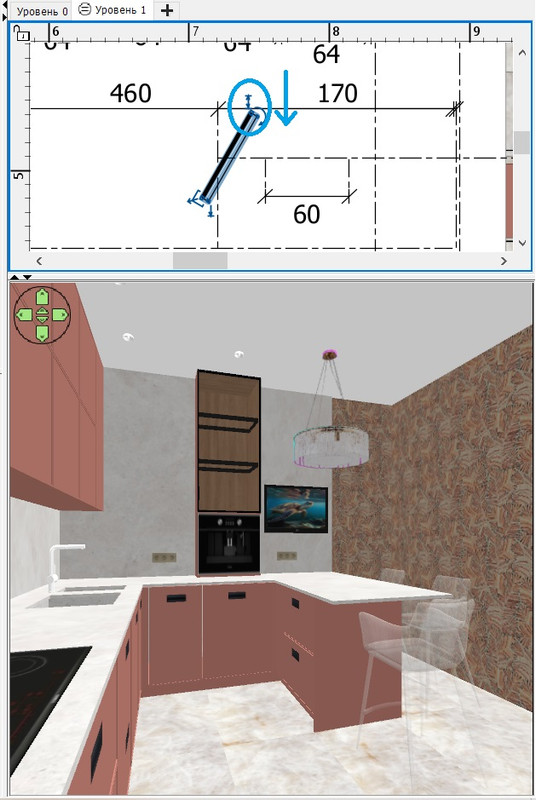
now you need to properly highlight the photo on the box with hemispheres. The most important illumination is a flat hemisphere, worn like a cap on top of a box, white in color. The power of this hemisphere is 1%. To highlight the brightness of the lower part of the chandelier, there is a thin hemisphere of very low height, the upper edge follows the outline of the bottom of the pan so that this bottom glows brightly. The power of this illumination is 6%.
There is a complex mix of light circles on the ceiling. The central part is a hemisphere pointing up at the ceiling, and the rings on the edge are high-power hemispheres that only slightly descend from the ceiling level, only 4 cm lower, so glowing rings are obtained. These hemispheres simulate the complex illumination from the interior lamps along the circular wire fittings inside the chandelier. I guess so)).the capacity of these hemispheres is 10%. Hemispheres are a very interesting tool for simulating different effects. I have already said that by its nature it is a spotlight with a directed stream of light, so it is interesting to use these streams for the desired effects. This is creativity!
 [:D]
[:D]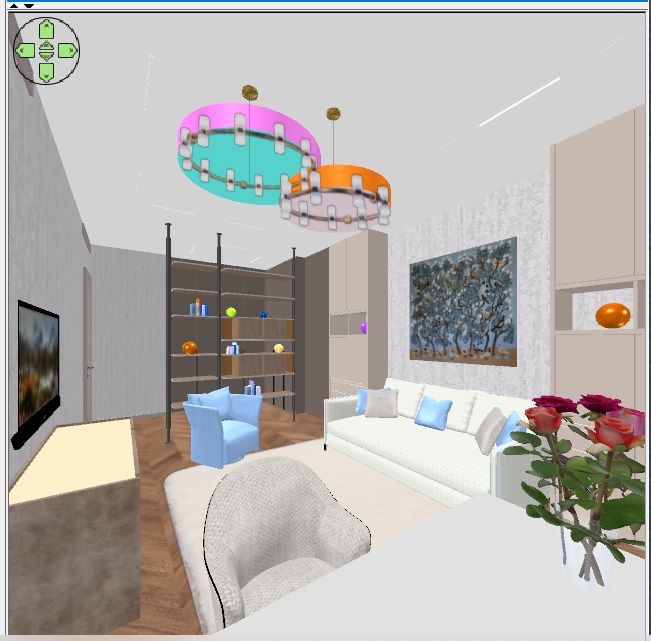 [:">]
[:">]