CITY LIVING – a dream project.

This topic has been viewed 71431 times and has 34 replies
Thread status: Active
Share your snapshots made with Sweet Home 3D here [img]http://www.sweethome3d.com/images/flags/en_small.gif[/img]
User avatar
Ceciliabr
Posts: 637
Joined: Sun Jul 07, 2013 3:41 pm
Country: Copenhagen, Denmark
Contact:

CITY LIVING – a dream project.

Post by Ceciliabr »

According to mental helth experts, some research suggests that city living might hurt our mental health. But they cannot say exactly why.
I don't know – and I don't care – I just needed an intro.

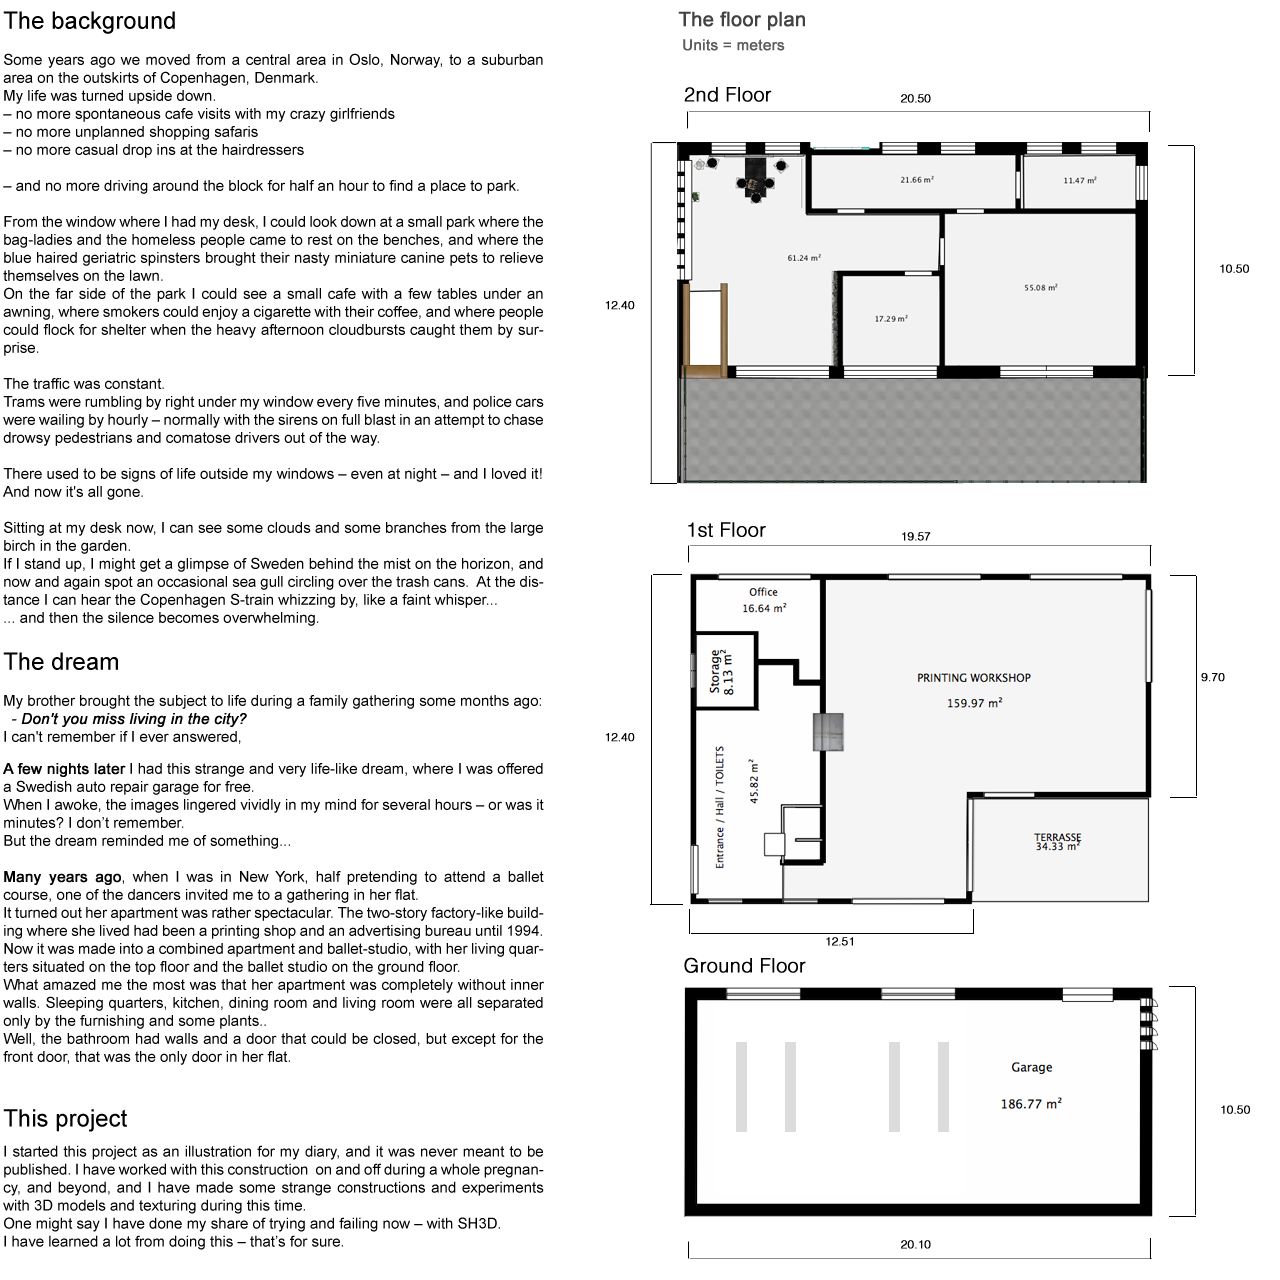
Image

Image


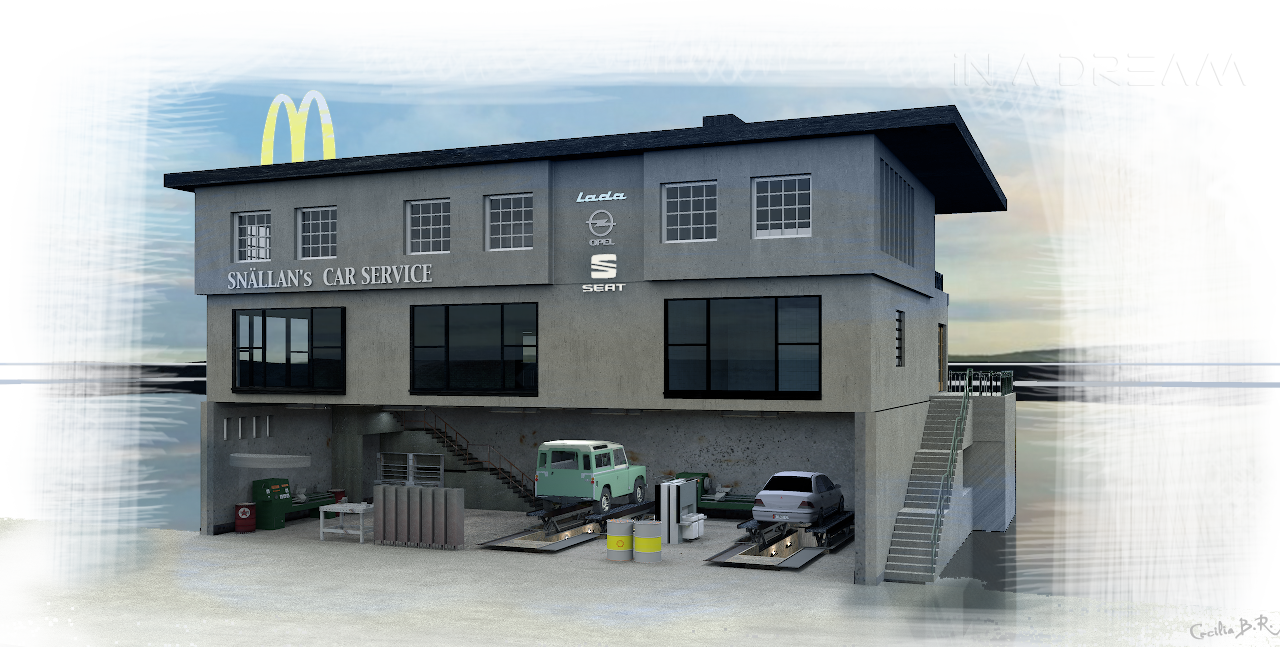
It started with this illustration for my diary ...
Image

Since it was just an illustration, I removed one of the outer walls of the ground floor, the one facing the park, just to establish that the garage
was furnished and operational.

But the garage was not a priority.

The first floor was where I wanted to start, and I wanted it to look old and used, especially the floor.
I wanted the floor to look as if there had been big printing machines in the room, and that workers had trodden on it with dirty boots – and I wanted it
to look like someone had unsuccessfully tried sanding the floor to get rid of the stains, but had used the sander the wrong way – leaving marks across the
grain for the whole width of the floor.
But how could I do that? There had to be a simpler way to do that than to paint the entire texture... and what if I needed to change the texture later?
The solution was of course obviously simple: Just make a 3D model of the floor, with all the planks separated - one by one, like in real life.
Then changing floor-textures could be done in a jiffy.

The floor was easy to make. It ended up weighing 270Kb, which was not so bad, considering that I have earlier constructed bottles that were 6Mb ( or more).
Using the floor as a template, it was done in minutes to create a couple of tiled floors with different sized tiles – one for the entrance and one for the
storage room.

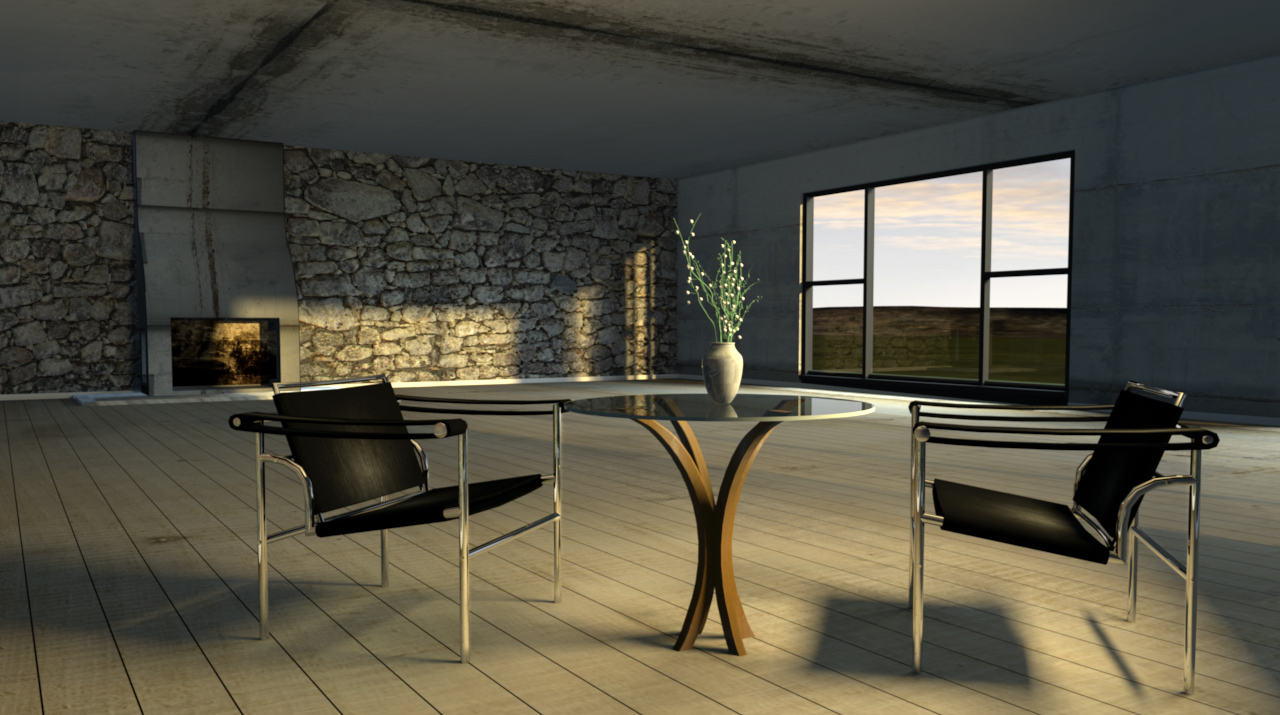
I imagined it was early morning – seven o'clock on a bright summers day, with the sun just creeping up over the horizon.
I added two chairs, a table and some flowers, so I had a nice place to sit while contemplating my next move.
Image

It was then I got the idea that maybe I should make a stone wall in 3D, to replace the textured stone wall behind the fireplace with something more realistic.
For me, one of the problems with textures is that they are 2D and flat – but the worst problem is that they already have predefined shadows for any
unevenness that was protruding from the original surface when the photograph was taken.
It breaks the illusion when I see shadows pointing the wrong way.

Constructing a 3D stone wall was a bit more complicated than I had suspected, but as you can see: The wall is there – on both sides of the fireplace.
My 3D model of a stone wall ended up being 12.46Mb textured. I could live with that.
I'm still proud of that wall!
Image
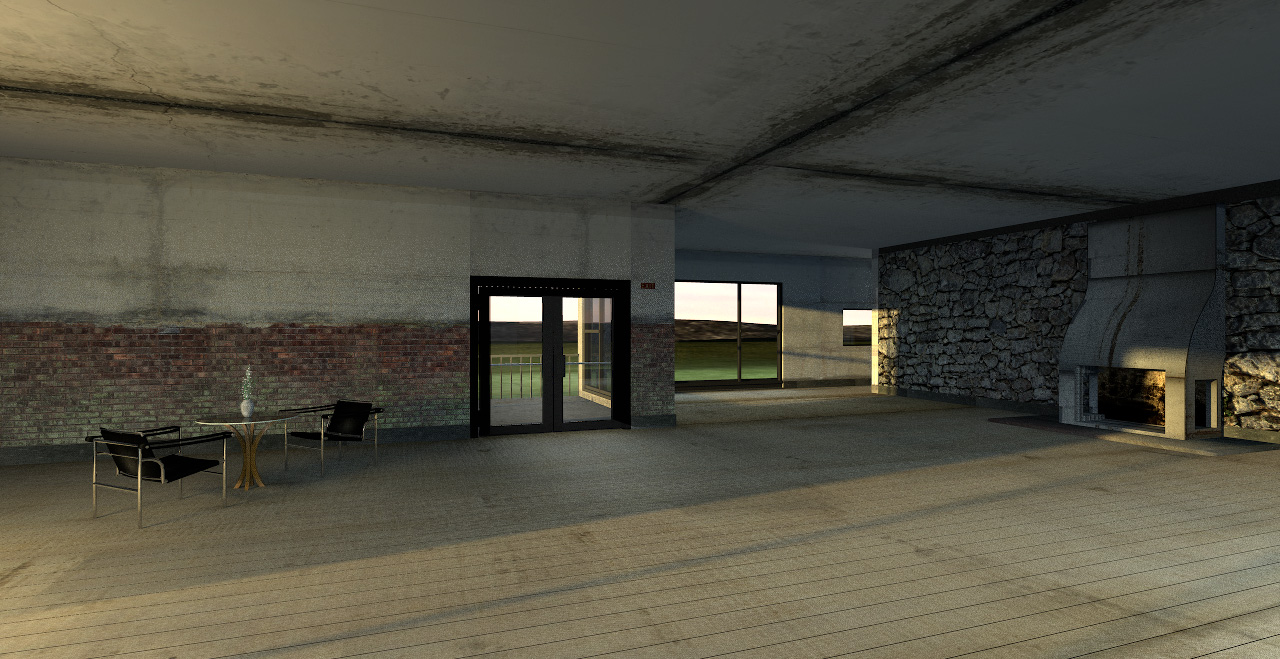
So... the big room, with a new stone wall. This was going to be the living room, the dining room and the kitchen.
I thought I would keep the walls and the floor – but not the ceiling. It was too ugly, even for me.
The ceiling would would have to go.

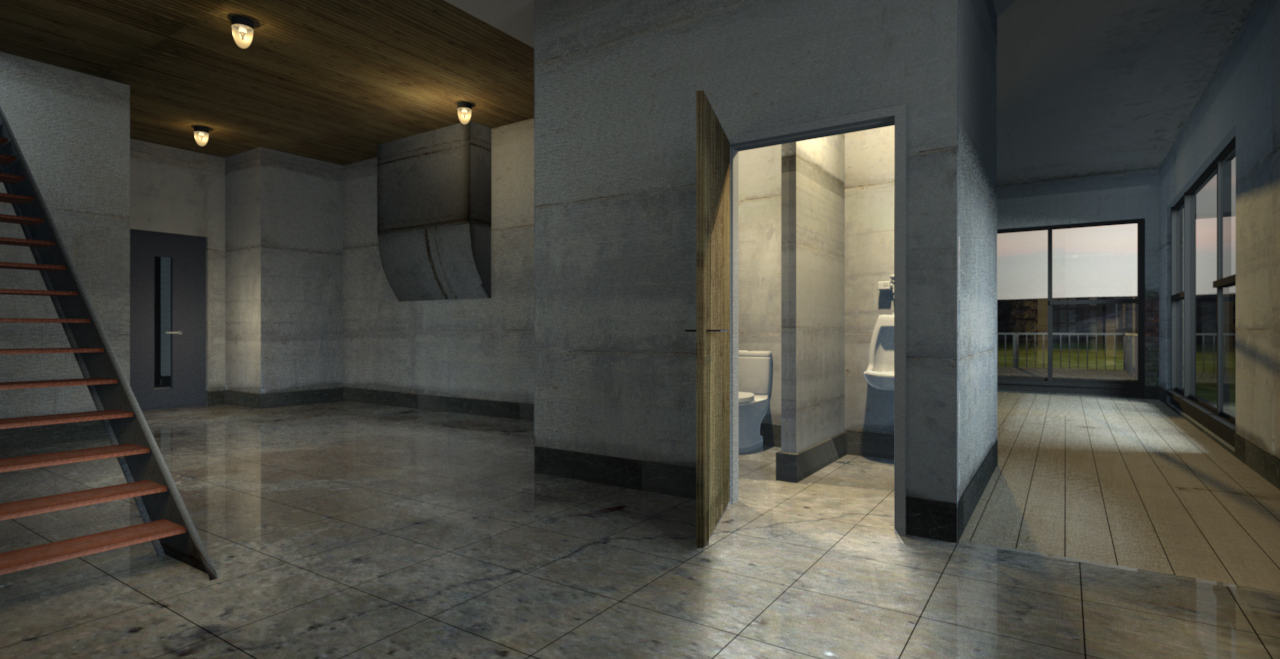
The old entrance – with the toilets.
Image
The toilets would have to go.


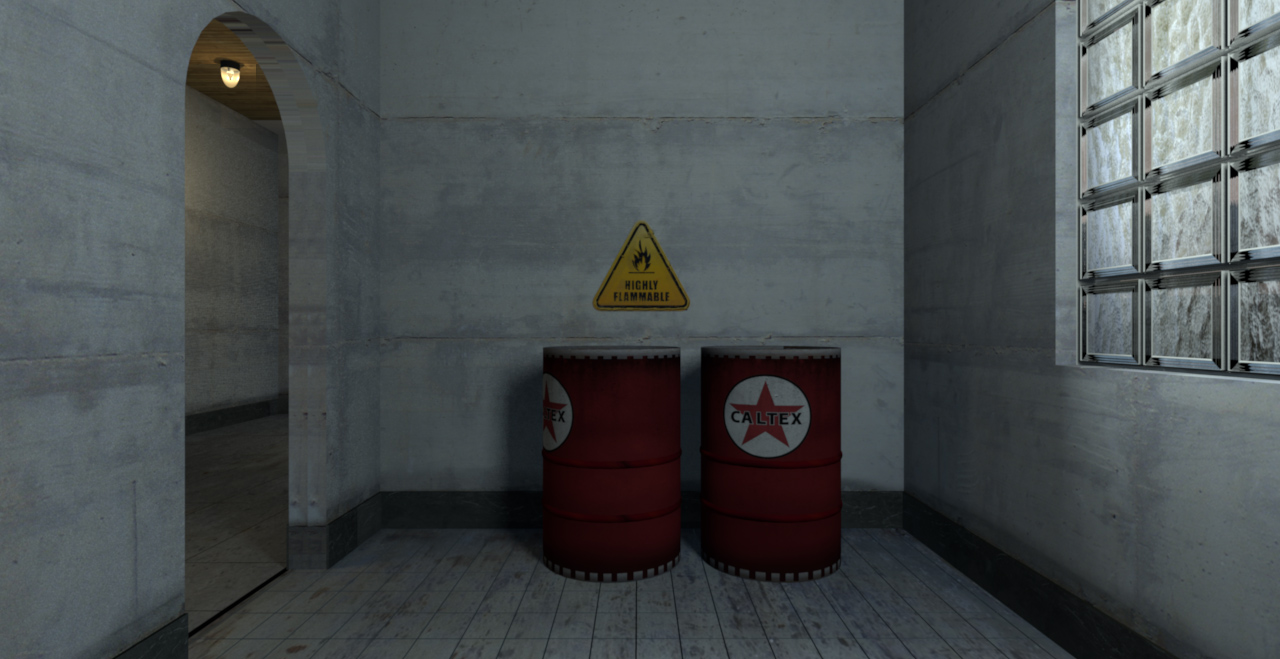
The storage. Some old barrels with God-knows-what inside. Highly flammable... not good!
Image

This room could be a toilet, in fact it could be a bathroom, with a shower – after a good cleaning.


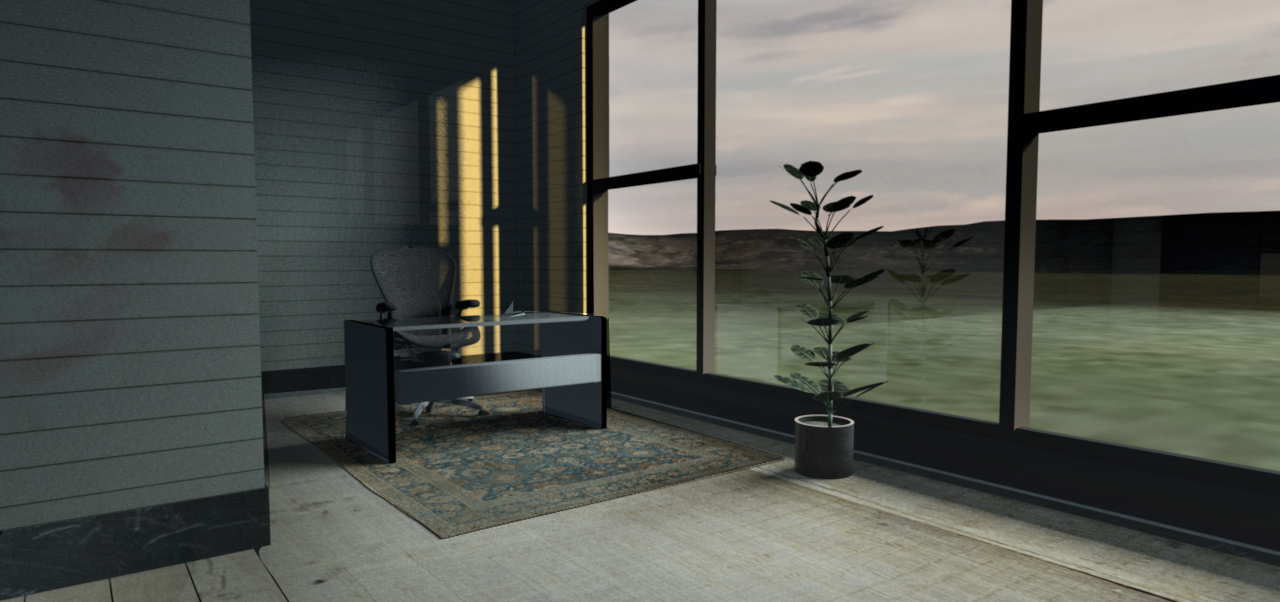
The former owners office.
Image

A desk and a single rubber plant – a plant most likely in need of water.
I liked it. This could be my future working desk... but I really had to change the view.


The surrounding view.

The next step was placing the building in an urban environment.
I already had the perfect place – a fake city that I had made a few months earlier.
Too bad there's no way to merge projects is SH3D – or even to copy/paste levels between projects.
But it turned out that there was an easy way around:
Make a group of the whole thing - scale it down a lot before copying, and paste it into any project. Rescale – and voila!
Of course walls and rooms are not group-able and scalable, so they have to be copy/pasted separately.
But I didn't have any walls or rooms, and my entire fake city is only 60Mb – textured.

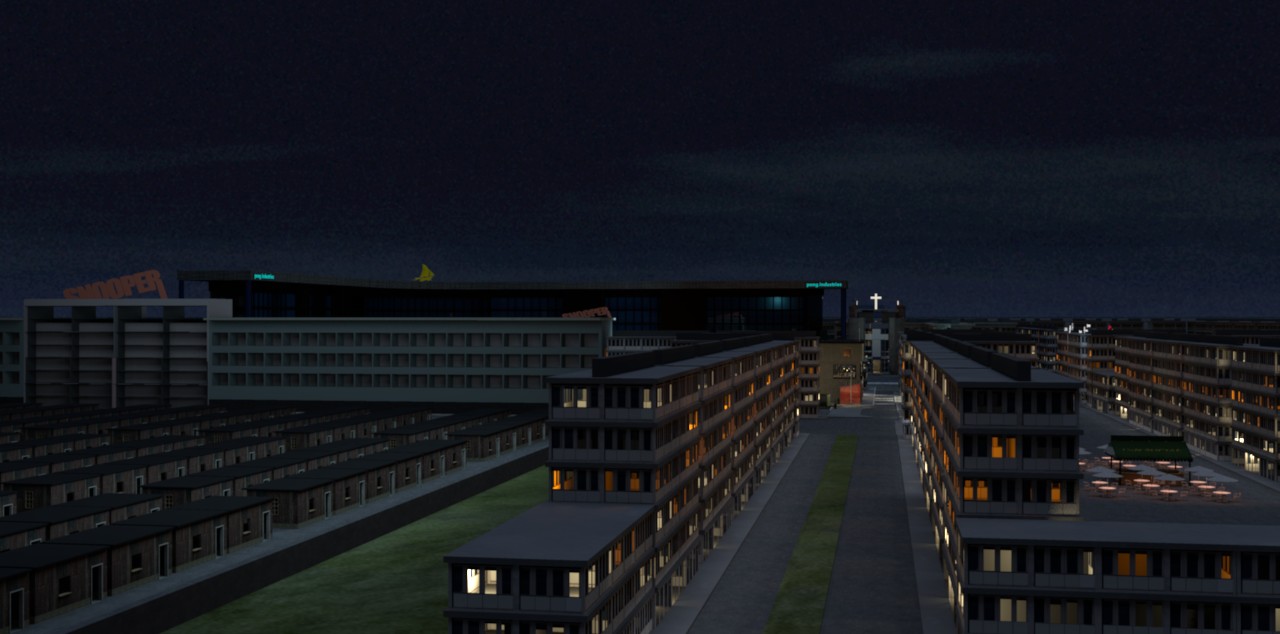
A wide shot:
Image

Zoom in...:

Image

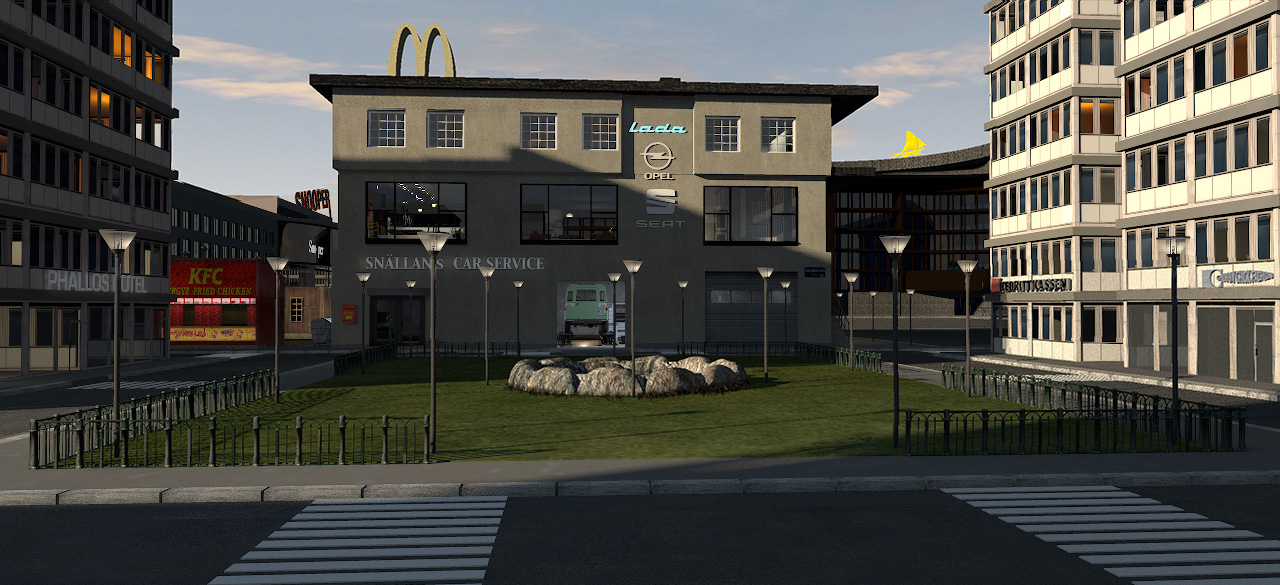
A city with a church, a park, a Kyrgyzian street food kitchen, a bus stop and a dumpster.
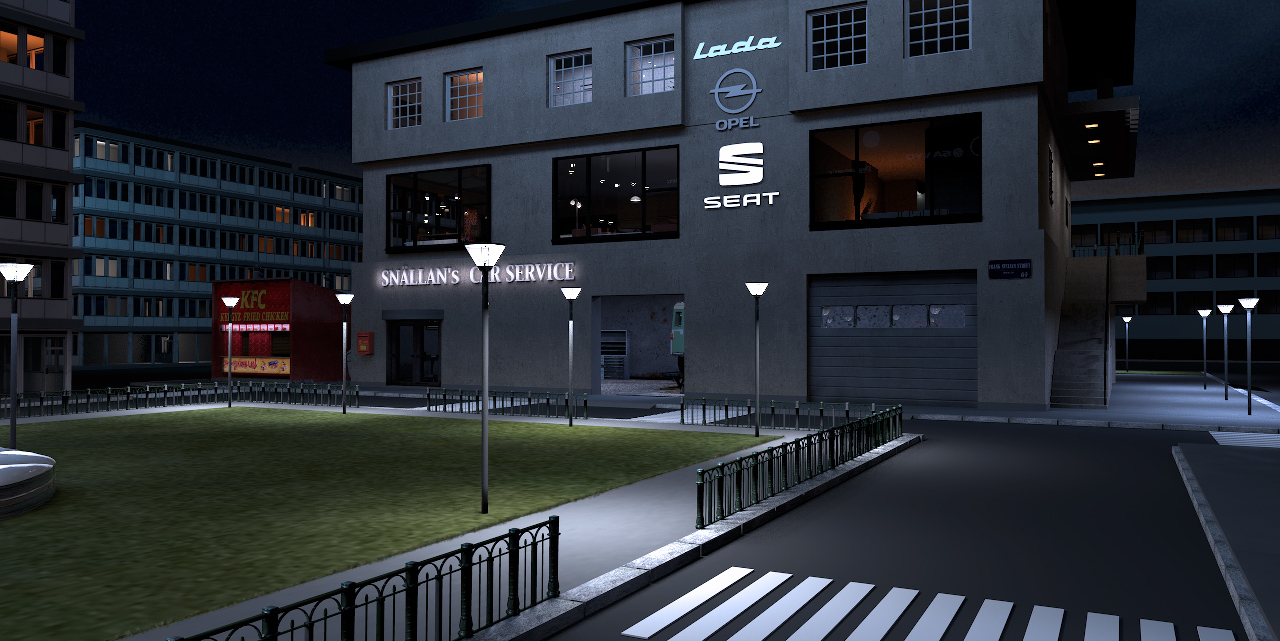
And Snällan's Car Service overlooking The Dick van Dyke Park - a popular place for the LGBT-people to gather – after dark.


The front, seen from the park - at night...
Image


and at daytime.

Image


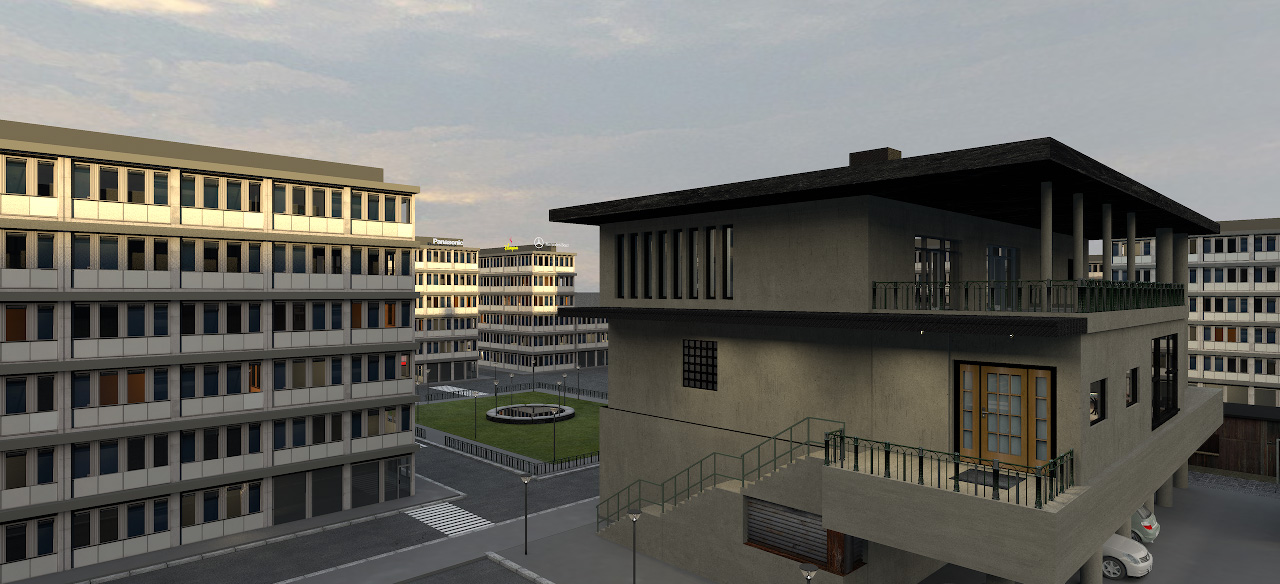
A shot from the side.

Image

That should cover the exterior.
Time to redecorate.


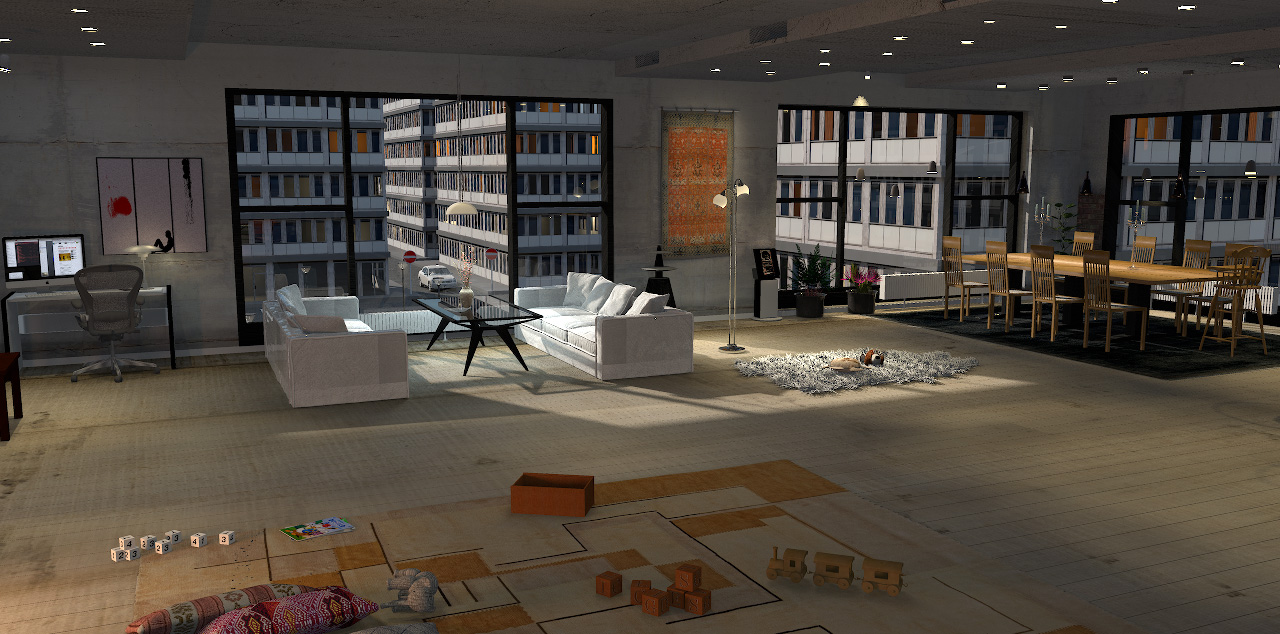
I have decided that I will go for white.
Two white leather sofas, a black glass table and the black window frames,
a contrast against the ruff walls and the old floor.
Image


The entrance has gotten a wardrobe where the toilet used to be, and the floor tiles have been polished.

Image


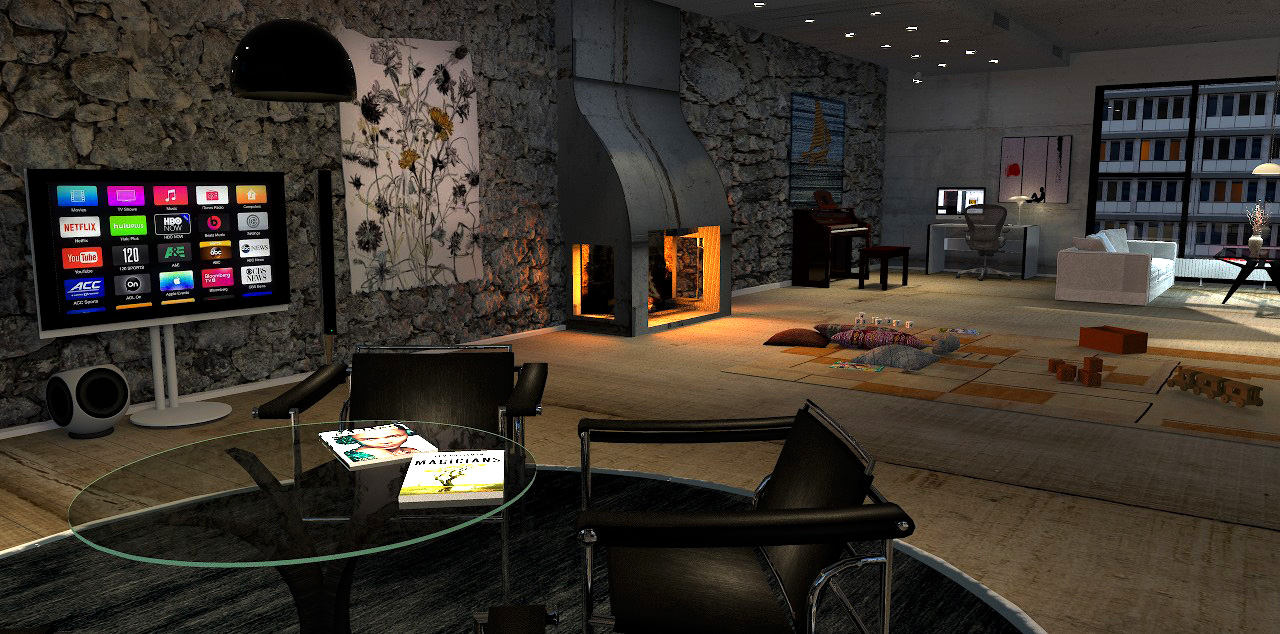
The fireplace.
Yes, I know – it's quite ugly, but notice how nicely the light is falling on my 3D stone wall.
Image


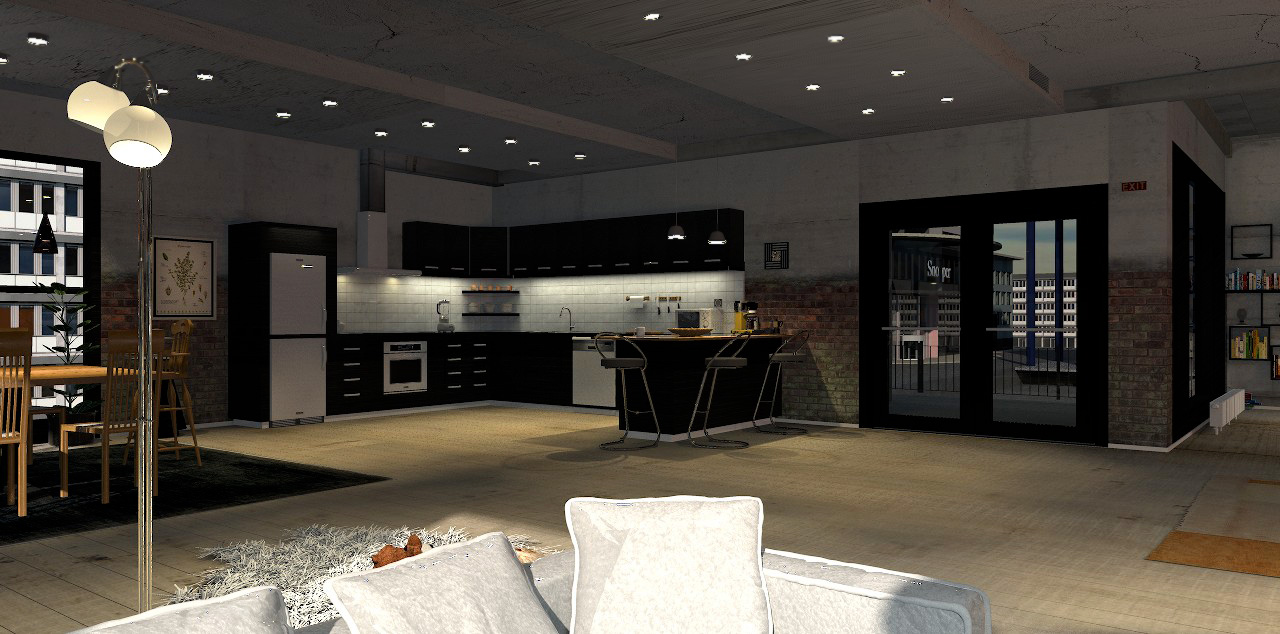
The kitchen, black and white - and shiny.
Again a nice contrast to walls and floors – in my opinion.

Image


A closer view of the kitchen.

Image


The dining table

Image


I think I could live here...


Image

The laundry room is the only room I have finished.
A night-shot, with the moonlight shining through the windows.

Image


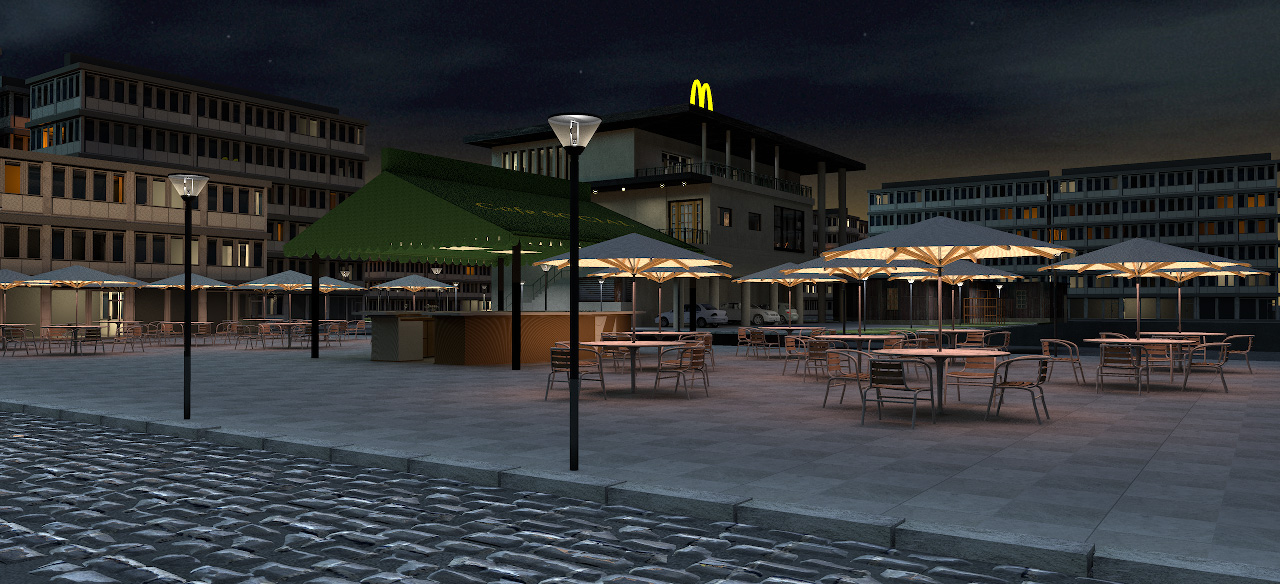
... and I've finally got my outdoor café.

Image


That's it for now.

Cec
User avatar
AdeleAlli
Posts: 155
Joined: Wed Jul 18, 2018 10:13 am
Country: Italy

Re: CITY LIVING – a dream project.

Post by AdeleAlli »

A very nice project! :)
Thanks for sharing!
User avatar
Xiste
Posts: 269
Joined: Fri Apr 18, 2014 10:22 pm
Country: Oslo, Norway
Contact:

Re: CITY LIVING – a dream project.

Post by Xiste »

How do I start this comment?
I’m amazed, to put it mildly!

I had to look twice at the fireplace picture. It looks so real that I first thought it was a photography.
Your city looks quite big. You say it’s just 60 MB? How is that possible?
How big is the total project?
I can see there is a difference between the textured and the 3D modelled stonewall. But it seems you are using the same texture?
I’m guessing your model is based on the same image. Could you explain how you went about making it?

I could probably ask enough questions about this project to fill an entire page, but will just ask two more:
How was your advanced render settings for the interior images, and how long did it take to render them?

What more can I say?
A mega-cool presentation of a unique project!


Xiste
User avatar
UbuntuBirdy
Posts: 421
Joined: Thu Aug 31, 2017 10:31 pm
Country: Switzerland
Contact:

Re: CITY LIVING – a dream project.

Post by UbuntuBirdy »

Is the wooden toy train flying?
Pascal

SH3D 6.6 / Ubuntu 22.04 (Mainline-Kernel) / Radeon RX580 / Ryzen 7 5800x
rontant
Posts: 113
Joined: Wed Jul 04, 2018 2:26 am
Country: Singapore

Re: CITY LIVING – a dream project.

Post by rontant »

Cec, outstanding, but out of safety concerns, I must urge you to put a handrail for the stairs. You have a toddler living in the house, don't you?
User avatar
Ceciliabr
Posts: 637
Joined: Sun Jul 07, 2013 3:41 pm
Country: Copenhagen, Denmark
Contact:

Re: CITY LIVING – a dream project.

Post by Ceciliabr »

s the wooden toy train flying?

Flying? Duh! It's called levitating!
On page 173 of Dr. Luftig Fup's recent work "Herausforderung für spielzeuge", the problem with levitating hand built toy trains is being addressed in the following way: "Schwebende Züge können bei Großeltern zu Realitätsmangel führen".

I rest my case...

cec
User avatar
Ceciliabr
Posts: 637
Joined: Sun Jul 07, 2013 3:41 pm
Country: Copenhagen, Denmark
Contact:

Re: CITY LIVING – a dream project.

Post by Ceciliabr »

out of safety concerns, I must urge you to put a handrail for the stairs. You have a toddler living in the house, don't you?

Given that the toddler is not included in the illustrations, I consider the occurrence of serious accidents highly unlikely.

But thanks for your comment ( and your concern ).

cec
Mike53
Posts: 678
Joined: Sat Jan 06, 2018 1:02 am
Country: UK

Re: CITY LIVING – a dream project.

Post by Mike53 »

Beautiful images again Cec, more for me, us, to aspire to.
Mike
User avatar
Ceciliabr
Posts: 637
Joined: Sun Jul 07, 2013 3:41 pm
Country: Copenhagen, Denmark
Contact:

Re: CITY LIVING – a dream project.

Post by Ceciliabr »

@Mike53

Thank you.


@Xiste
Your city looks quite big. You say it’s just 60 MB? How is that possible?
The city is mostly made of boxes with a small .png texture ( explained in this thread ) When textures ( not models) are re-used, it doesn't add to the file-size.

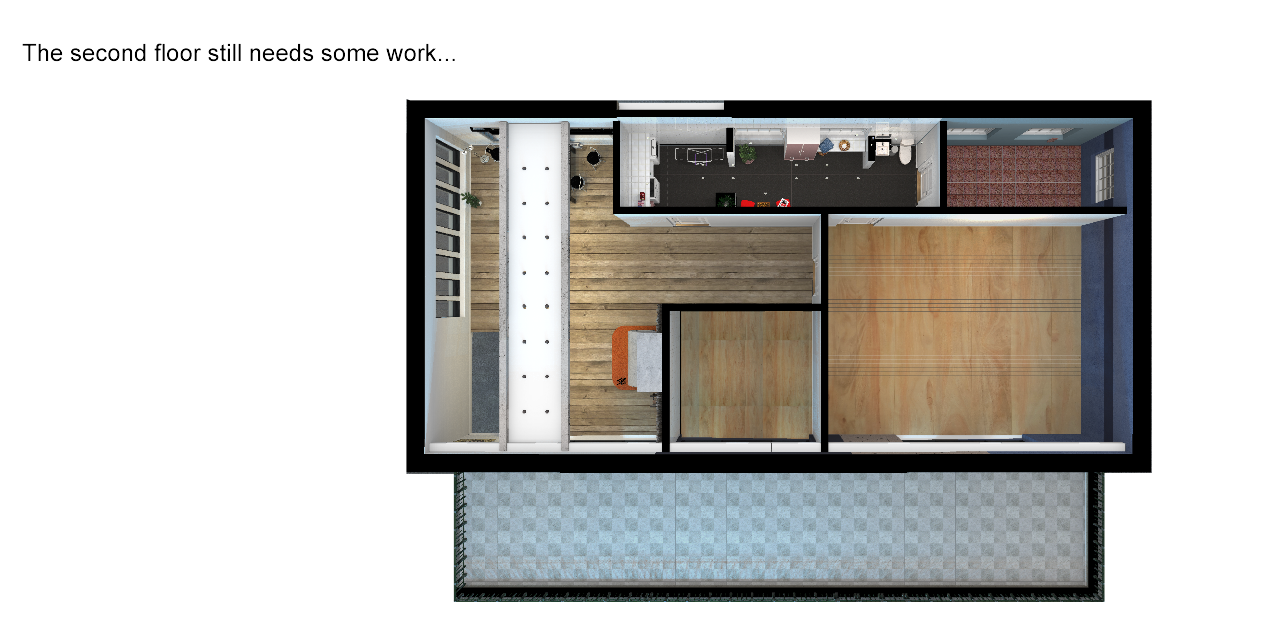
The project file is 902Mb ( now, but it will increase as I finish the top floor)

About the 3D floor: I’m planning to write something more about 3D model creation and texturing in another thread.

ow was your advanced render settings for the interior images, and how long did it take to render them?
I really don't remember. I normally use the Q4 "default" setting for my renderings, but sometimes I substitute Blackman-Harris with Lanczoz.

These images are not very complicated and do not take long to render. Maybe an average of 20 minutes.
Rendering time has decreased a lot with Enko’s new light panels.

Thanks for your comment, and sorry for the delayed answer.


Cec
User avatar
Xiste
Posts: 269
Joined: Fri Apr 18, 2014 10:22 pm
Country: Oslo, Norway
Contact:

Re: CITY LIVING – a dream project.

Post by Xiste »

These images are not very complicated and do not take long to render. Maybe an average of 20 minutes.


I was thinking about the interior images, where the daylight is reflected on the floor. You are not using the path setting for global illumination?

X
Post Reply New Topic

Who is online

Users browsing this forum: No registered users and 1 guest