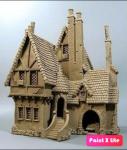
Tudor Castle version 2

This topic has been viewed 134701 times and has 68 replies
Thread status: Active
Share your snapshots made with Sweet Home 3D here [img]http://www.sweethome3d.com/images/flags/en_small.gif[/img]
User avatar
AeowynFraser
Posts: 557
Joined: Wed Oct 08, 2014 1:02 am
Country: Lancaster, CA, USA

Re: Tudor Castle version 2

Post by AeowynFraser »

Looking back at what I've created, I find that I've gotten better (I think) at using the program, and better at making things work for what I'd envisioned.

So, I've gone over what I'd created for this house (the 3-story, 2-car garage version that is) and have made some changes to some of the rooms. So far only the main floor, but I am working on the middle floor and should probably have pictures rendered shortly.
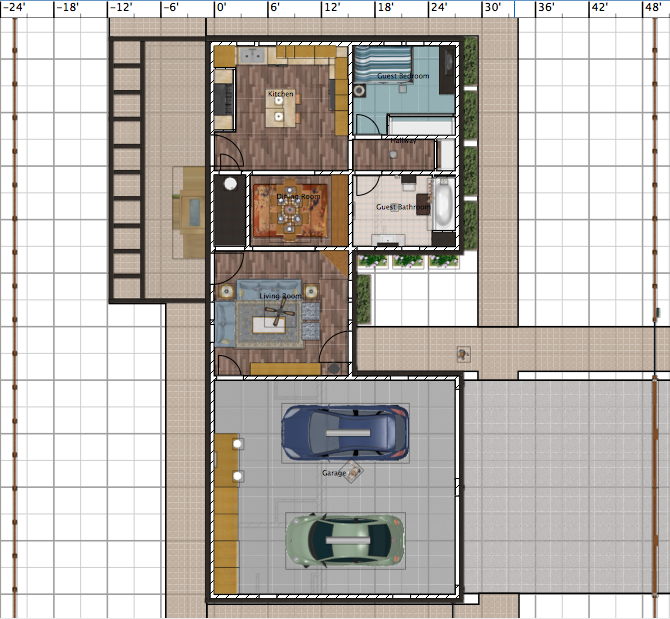
Image
As you can see, no change to the structure (except for the brickwork surrounding the stove), but most of everything else has some sort of change. In all rooms I changed the ceilings to the "white roughcast" texture. I changed the flooring from the dark wood (it matched the door frames and that is just not good) to the darker English parquet texture, except where there's tile or carpet. I lightened all the glass in the windows and doors. I changed the colors used for the doorknobs. In rooms that I didn't have ceiling lights (I used the add light source option when rendering), I added lights.
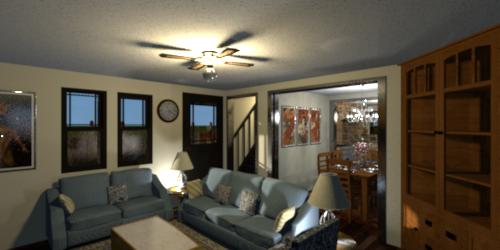
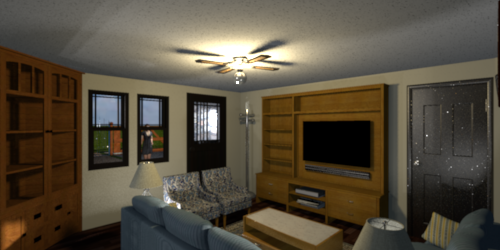
Image

Image

Image
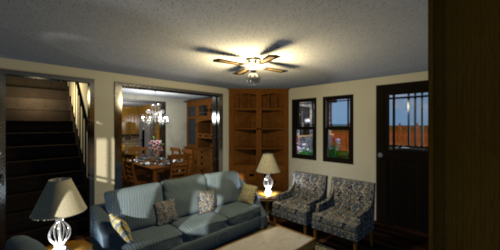
The Living Room. I thought that there didn't seem to be enough seating and had to come up with an arrangement that would be alright for adding the larger couch. I also changed the styles of the smaller couch and the two chairs. I took out the bookcase in the one corner and changed it out for a built-in corner curio cabinet. I swapped out the arched doorways for the regular door frames. I changed the entertainment center, in doing so I had to take out the floor lamp. I changed the texture and size of the rug (I'll probably go back and enlarge the rug some more since now that I look at it again it looks kind of off). Oh, I also added the ceiling fan, a framed painting to one wall and a wall clock.

You can also see from two of those pictures that changes have been made to the Dining Room and Kitchen as well.
Image

Image
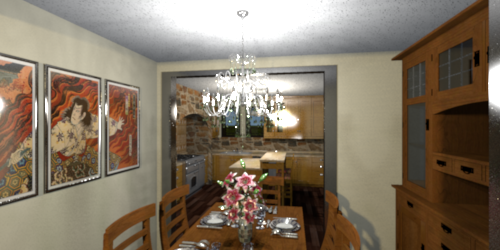
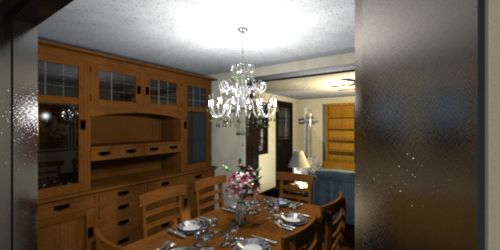
The Dining Room. First off, you can see that the mirror wall is gone. It's now just a plain wall with a set of three framed pictures (that make up one single picture). I changed out the dresser and cabinet for the large Craftsmen style china cabinet. I changed out the table and chairs, and replaced it with a single-library-file table set, and changed the wood texture used. I changed the plates to have the pattern on it instead of the grey border. Lightened the glasses. Changed the petals on the flowers from the pink to Stargazer Lily petals. Added a texture to the vase. Changed the texture of the rug.
Image

Image
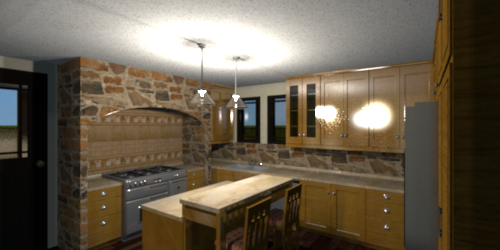
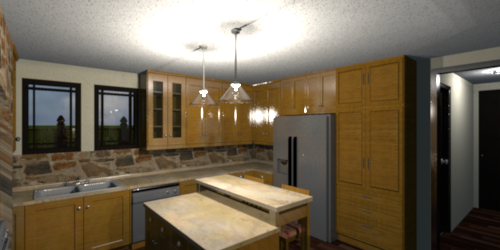
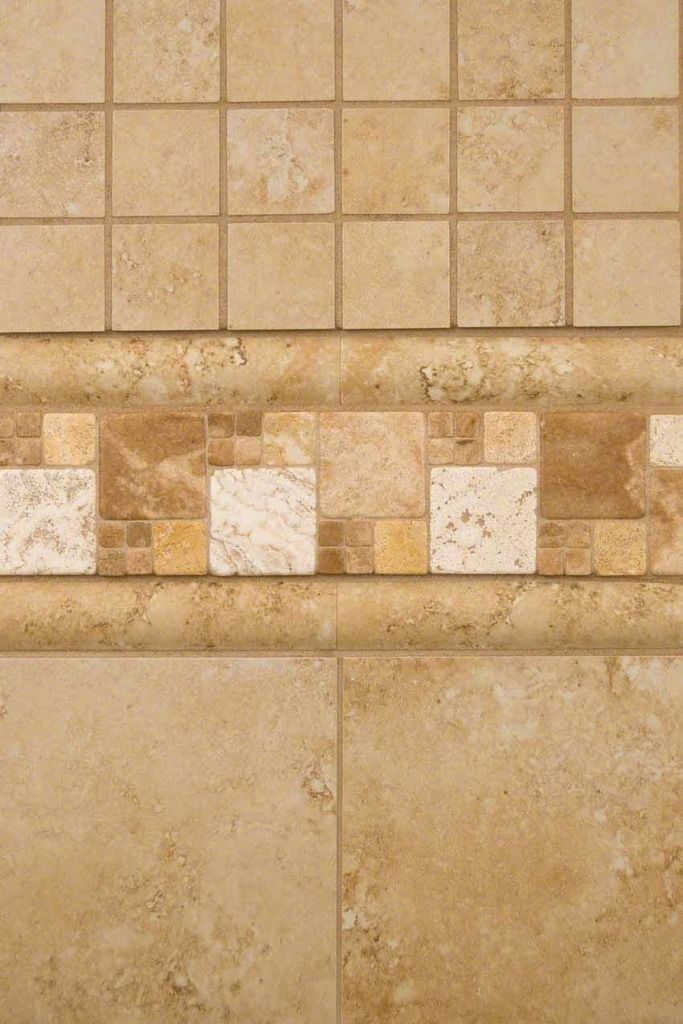
The Kitchen. I completely changed out the cabinets used, although I did use the same textures as before. I kept the same pieces for the island - except for half of it which I copied the other half this time. Raised the table part of the island. Changed the size and colors of the refrigerator. Changed the colors used on the stove and hood. Changed the colors used on the pendant lamps. Changed the direction the back door opened. Added a different tile to the wall behind the stove inside the brickwork (below is the picture I'd found on the internet that I used).
Image

I did make a couple of changes in the hallway, but since it is just a hallway I didn't take any pictures of it. I changed the sliding doors to ones, and added a closet pole and shelf, both of which I'd downloaded from 3D Warehouse.
Image
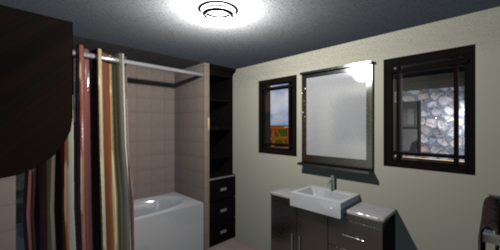
The Guest Bathroom. I didn't like how the shower head was facing the outside wall as I'd had it before so I switched it to be on the inside wall while putting the linen storage to the outside wall. I also changed the tub used for the wider one. I enlarged the vanity with mirror since it seemed so tiny before, and changed the countertop on it to the white marble. I didn't like the striped fabric for the bathmat or the towel so I found a picture online of a brown terry cloth (below).

Image

Image
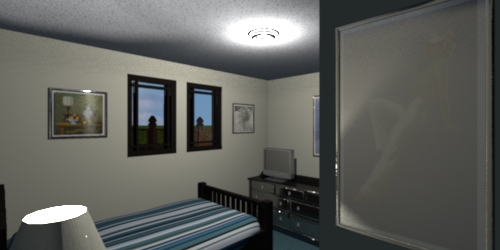
The Guest Bedroom. Only a few changes here. Changed the colors and textures used in the lamp. Changed the pictures in the frames. Changed the TV used. Added a framed picture near the TV.

No changes to the garage.
Image
User avatar
AeowynFraser
Posts: 557
Joined: Wed Oct 08, 2014 1:02 am
Country: Lancaster, CA, USA

Re: Tudor Castle version 2

Post by AeowynFraser »

Finished working on the middle floor.

Image
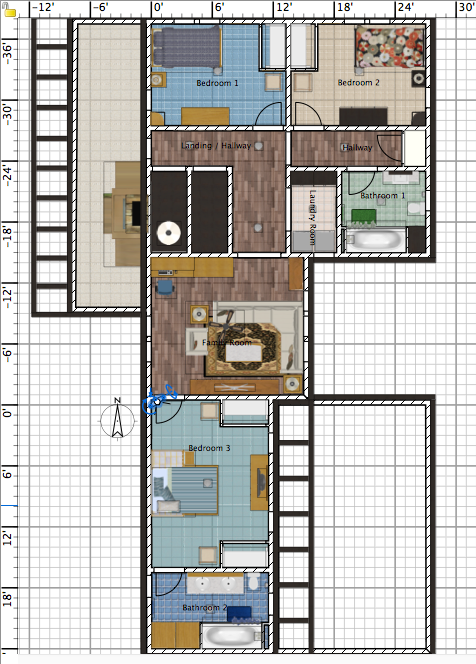
Floor plan. Basic structure unchanged. Small changes to the doors and windows - just like the main floor.

Image
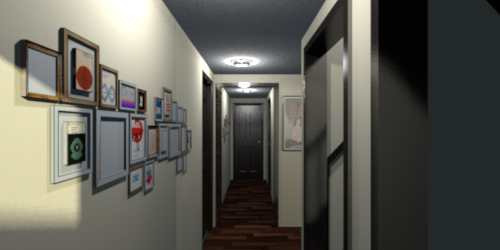
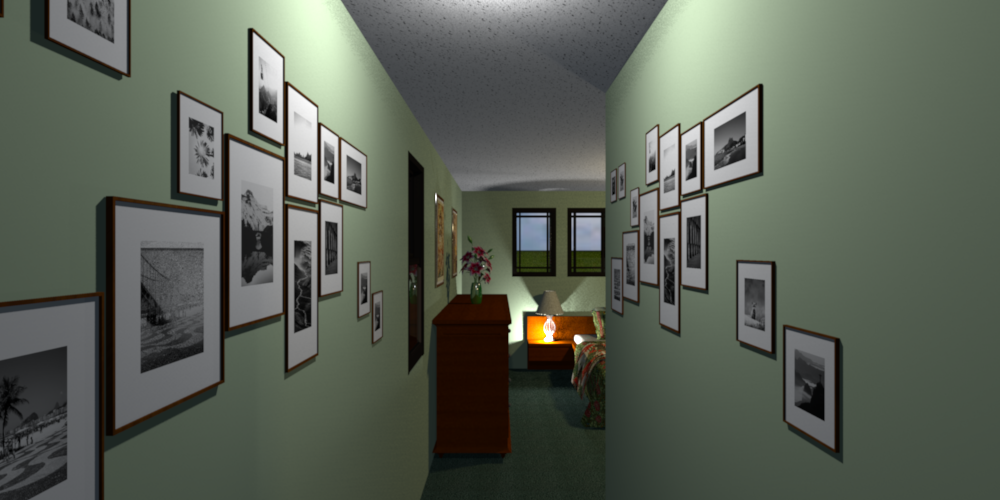
The Hallway, taking in front of the window near the stairs. Mainly to show the changed door frames.

Image
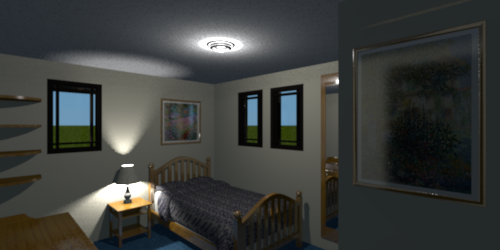
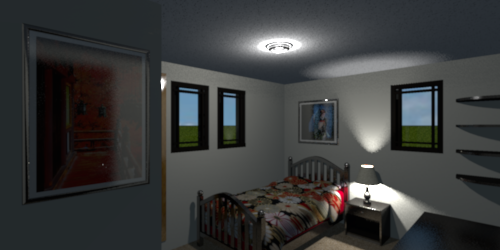
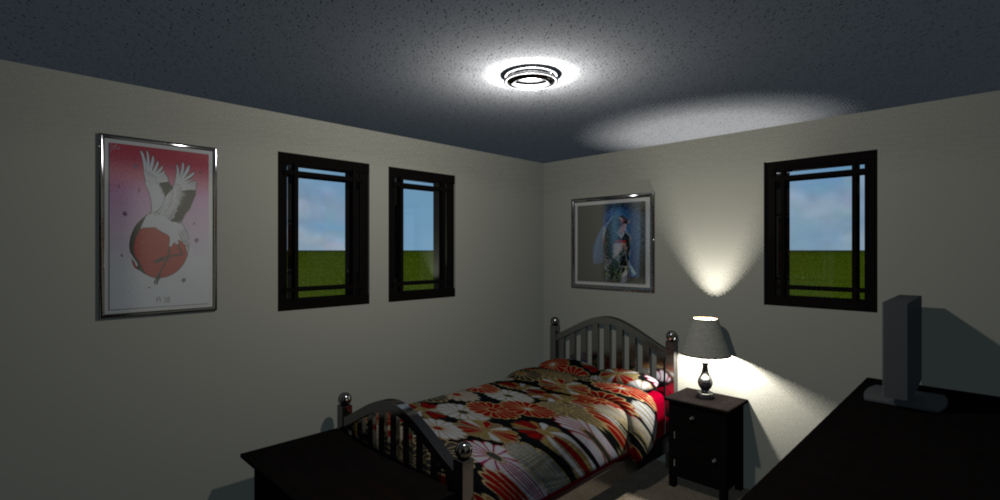
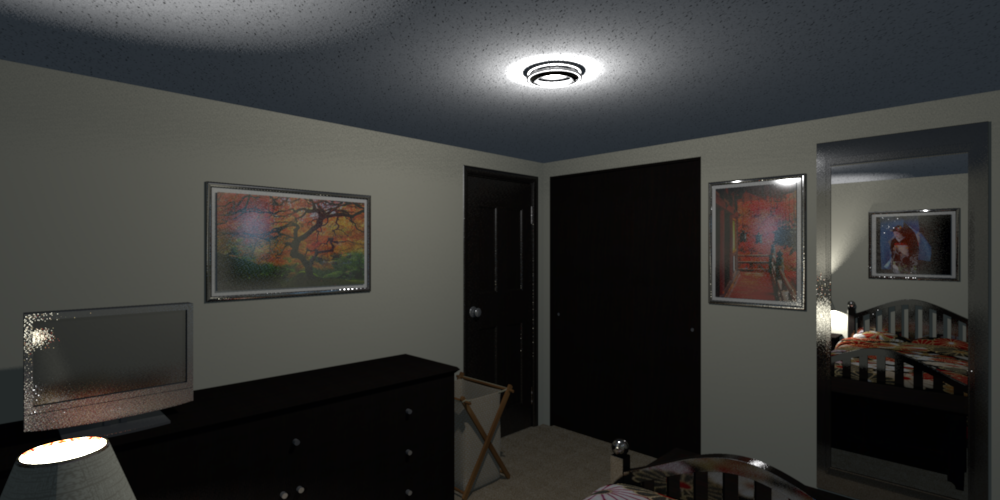
First Bedroom, taken from the door. Not many changes here. Added some artwork, clothes hamper near the door, and a full-length mirror. Changed the closet doors which I know isn't visible in the shot. Changed the pattern on the bedding.
Image
Second Bedroom, also taken from the door. Same basic changes as the First Bedroom, just different textures.

I think I have these rooms a bit dark...

Image
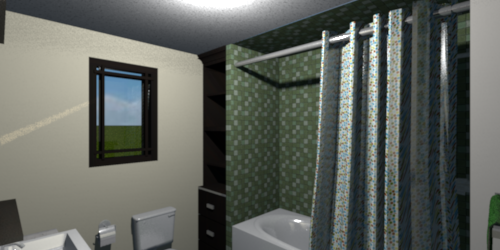
First Bathroom, also taken from the door. Few changes... Wall color, floor tiles, print on the shower curtain, towel and bath mat texture. Enlarged the vanity a little bit.

Image
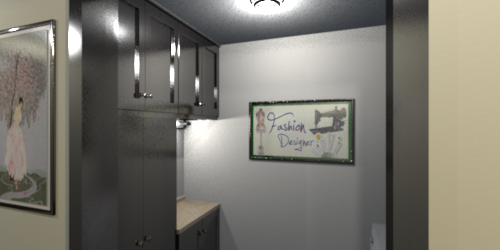
Laundry Room, taken from the hallway looking in. Changed door frame, most of the cabinetry, added the counter.

Image

Image
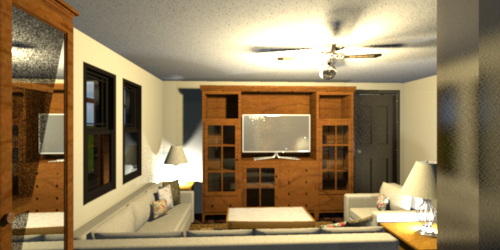
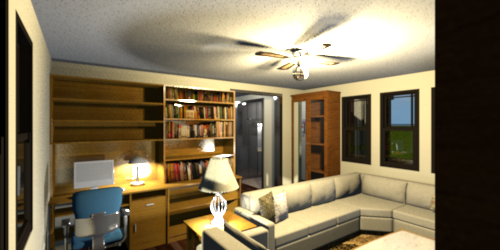
The Family Room; first picture taken from the hallway looking in, second picture taken from the door to the Third Bedroom. Quite a few changes here. Changed the wall color, the bookshelf near the hallway, entertainment center, sofa (now a corner sectional instead of just a three-seater), the end table, the pattern on the rug, the shelving above the desk. Added a second end table and lamp near the entertainment center, and the ceiling fan.

Image

Image
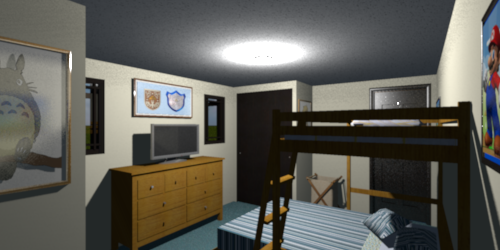
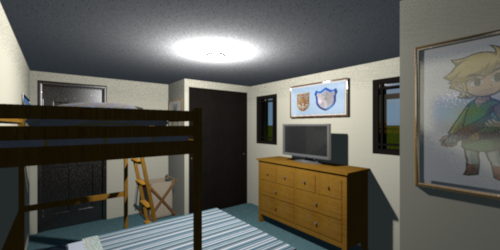
Third Bedroom; first taken from the door to the Family Room, second taken from the door to the Second Bathroom. Also quite a few changes to this room. Took out the two tall dressers and replaced it with a single wide one. Changed the bunk beds from two twin sized beds to one twin and one full size bed, and moved where it was. Took out the windows facing the backyard. Changed the closet doors. Added clothes hampers, artwork and a TV.

Image
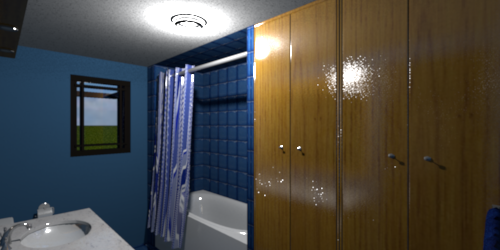
Second Bathroom, taken from the door. Changed the wood to the storage units, changed the wall color and tiles, changed the counter on the vanity, changed the texture on the shower curtain, bath mat and towel.
Image
Miker777
Posts: 426
Joined: Sun May 08, 2016 7:30 pm
Country: UK

Re: Tudor Castle version 2

Post by Miker777 »

Hi Aeowyn
Layout and images certainly look better to me, nice one [:)]
User avatar
AeowynFraser
Posts: 557
Joined: Wed Oct 08, 2014 1:02 am
Country: Lancaster, CA, USA

Re: Tudor Castle version 2

Post by AeowynFraser »

Thank you Miker777. [:)]

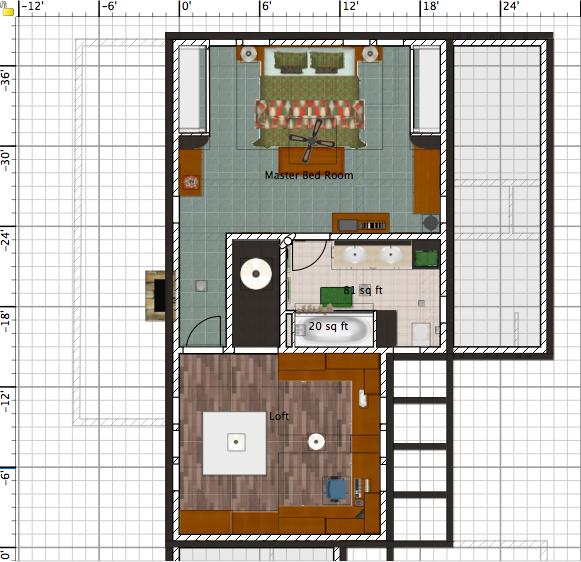
I've finished making changes to the top floor (easily done; only 3 rooms).

Image
No major structural changes; only walls changed were to one closet (so that it matched in size to the other one) and around the bathtub (turned the bathtub around). Doors, door frames, windows, lighting, flooring and ceilings changed just like the other floors.

Image

Image
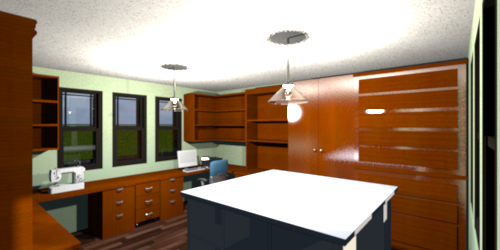
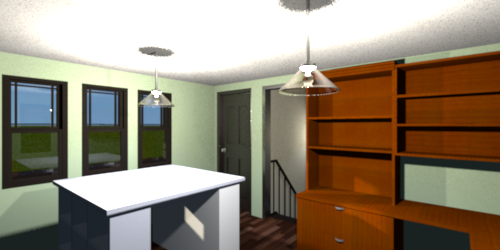
The Sewing Room/Loft area, two different shots; first from the door to the Master Suite, second from between the chair and computer. There are only a few things that remain from the previous version (the chair, the large cabinet in the one corner and the wardrobe next to it, computer and mouse, sewing machine), a new corner desk unit added to two corners with a hutch added onto each, added the rolling cabinet between the two desks, changed the square table out for the crafting table, and changed the color of the glass on the pendant lamps, and added a mouse pad (actually used the Persian rug and reduced its size to fit on top of the desk then put the mouse on top of it [:D]). The two desks with the hutch and stuff above them are actually mirroring each other.

Image

Image

Image

Image

Image
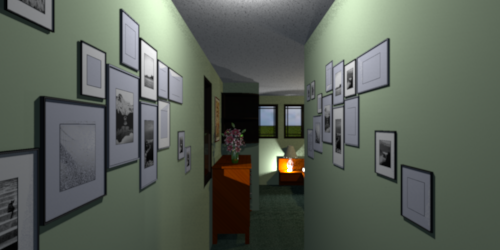
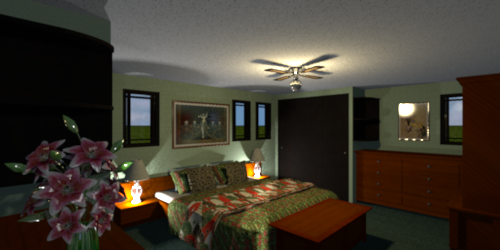
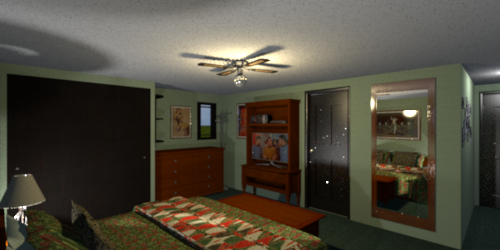
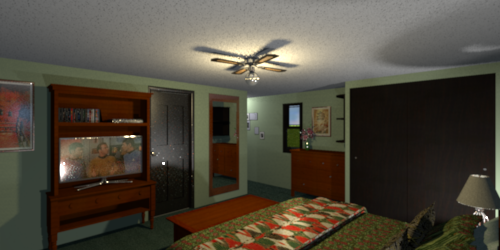
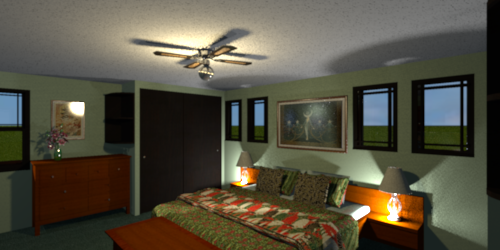
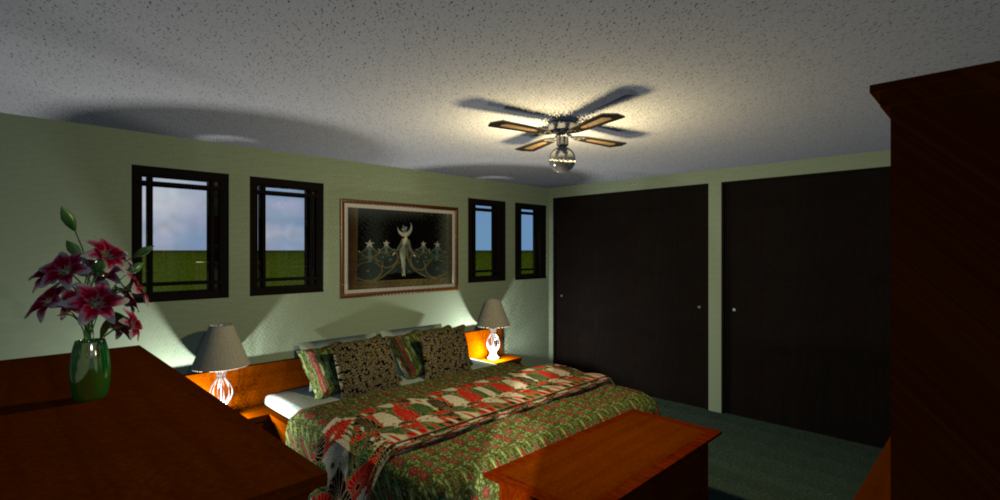
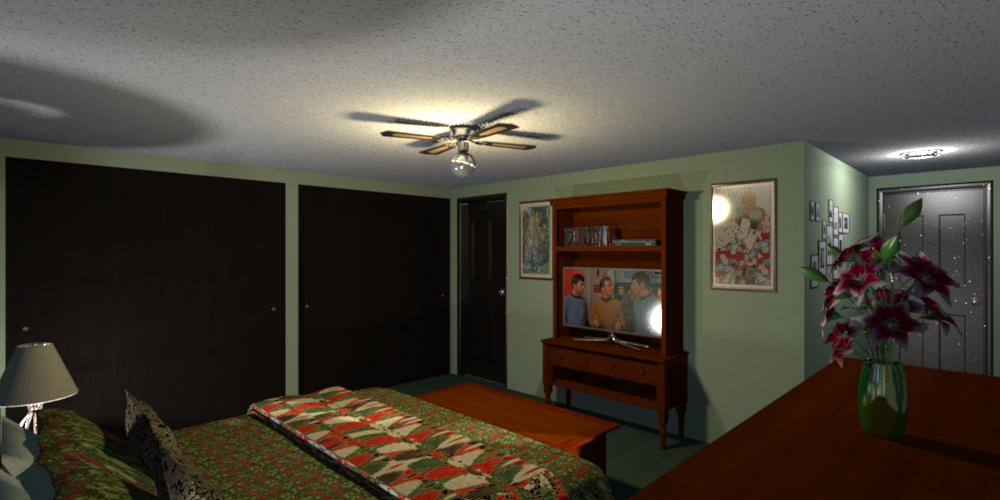
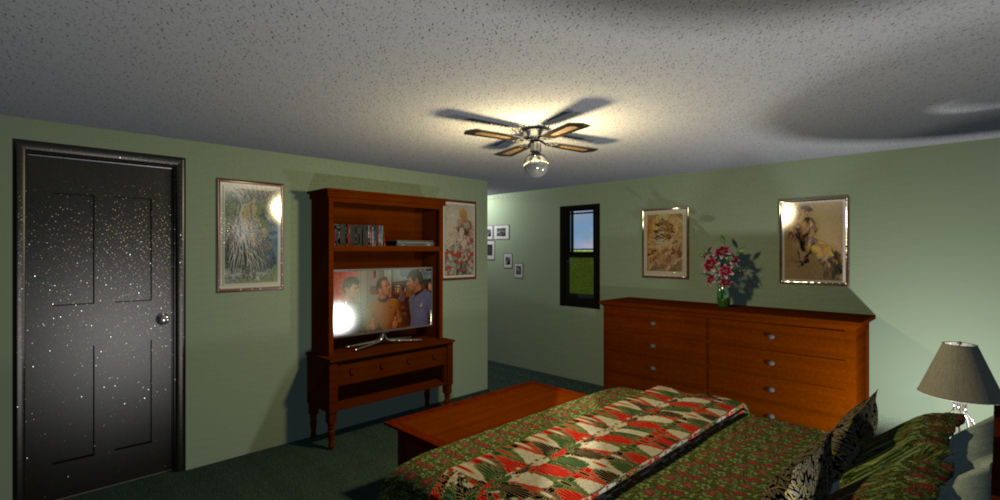
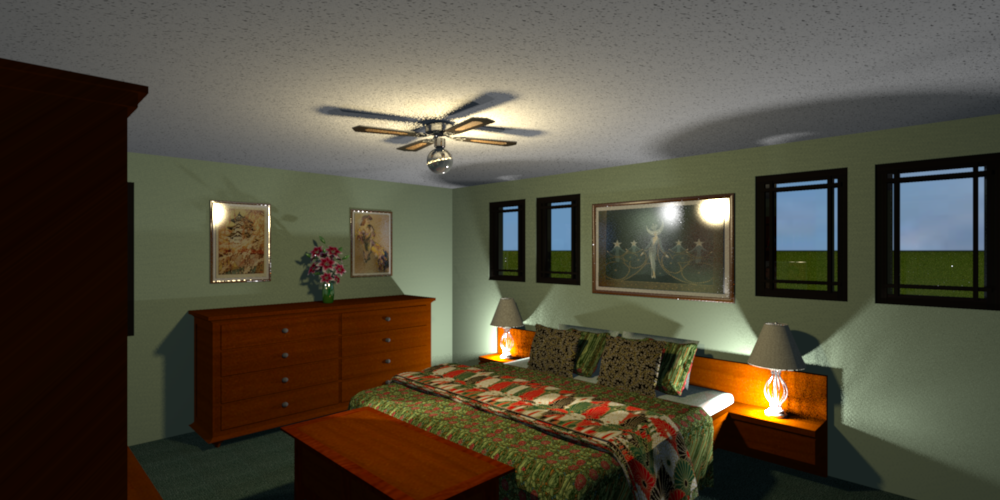
The Master Bedroom, five views; first from the door to the Sewing Room/Loft area, the rest from the different corners of the room. Changed the framed pictures near the entrance area, changed the bed (kept the same lamps), took out the one small table near the entrance and changed it for a dresser, changed the corner shelvings near the closets from being four floating rounded shelves to a single unit with two shelves. Changed the petals on the lilies to Stargazer lily petals, changed the closet doors and added the closet pole and shelf in each one, took out the bookshelf and moved the TV stand (actually a different one from what I'd originally had) to the other side of the bathroom door, added the full-length wall mirror, changed the dresser in the one corner to a different one. Added a few more pieces of artwork, the Hat and Coat rack in the one corner, and the ceiling fan (including the light source). I think the lighting in this room is just a little too low for my taste, but not too bad (more "mood lighting").

Image

Image
The Master Bathroom, two views; first from the door, second from next to the toilet. Changed the tile, the textures on the shower curtain, bath mat and towel rack (added a second towel rack just behind where the door would open). Changed the wood and marble used on the vanity. Changed the cabinetry next to the vanity and the toilet. Added some towels to the cabinetry next to the vanity. Changed the lighting. I think this room only looks dark because of the dark wood I used.
Image
User avatar
bdfd
Posts: 2614
Joined: Sat Mar 29, 2014 7:17 am
Country: LILLE, Les Hauts de France, Western Europa

Re: Tudor Castle version 2

Post by bdfd »

Famous ! [=D>]

Always lot of details in the rooms... [:)]

I LOVE that you watch on TV. [:))]

Long life and prosper.
Evil progresses when good people do nothing!
---
SH3D 7.1 and nothing else - W11 64b in 4K
User avatar
AeowynFraser
Posts: 557
Joined: Wed Oct 08, 2014 1:02 am
Country: Lancaster, CA, USA

Re: Tudor Castle version 2

Post by AeowynFraser »

That's one of my favorite shows growing up. [:)]

I realize it's been a while since I was last on; I apologize for the long time it took to reply to your comment.

After having to do some errands and chores away from the house I finally had a chance to come back to this design. Why? The layout of the closets, in Master Bedroom and Bedrooms 1 & 2, was bothering me. So, I changed them.

Image
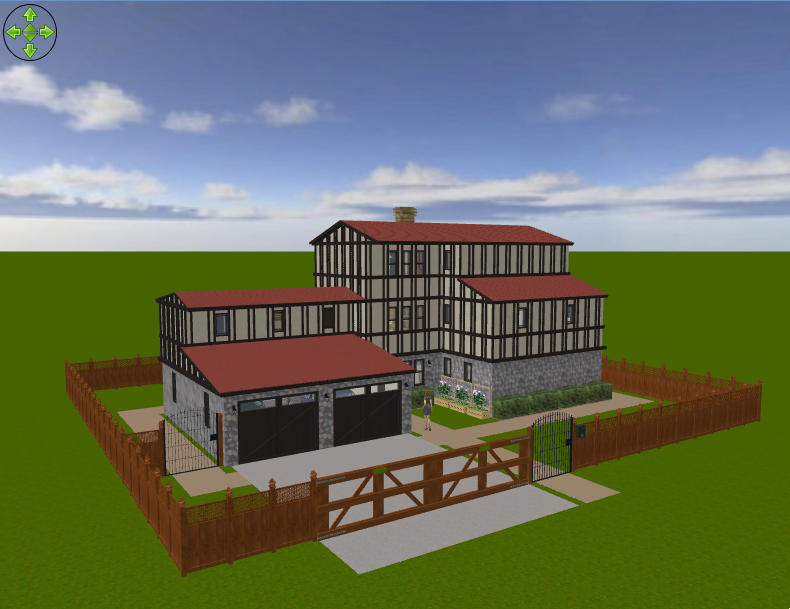
Front aerial view.

Image
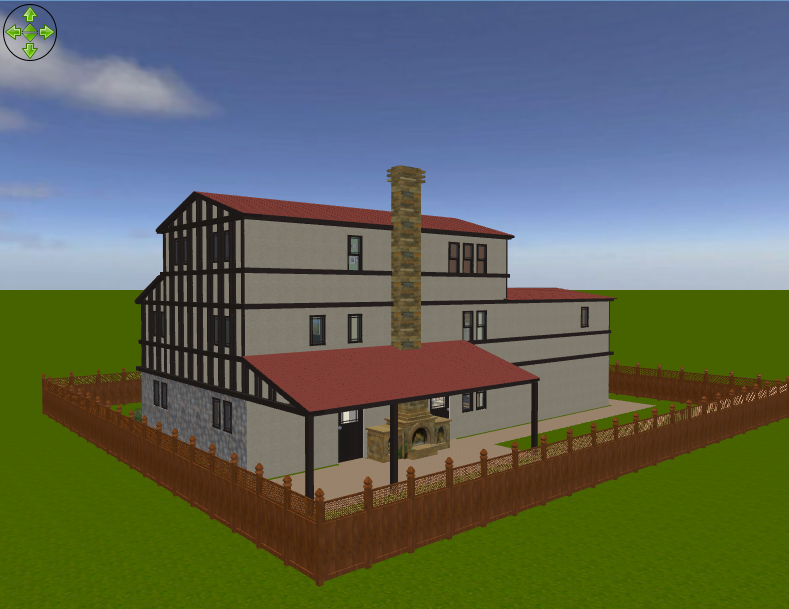
Back aerial view.

Image
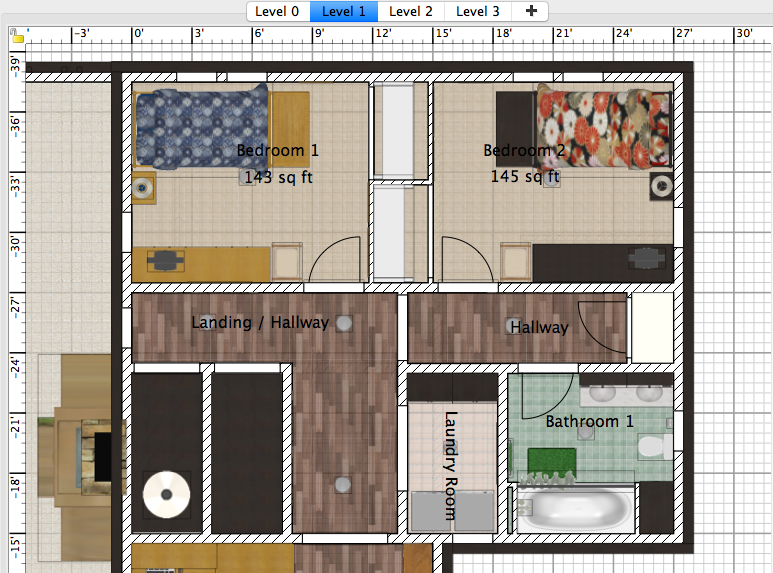
Middle floor floor plan showing changes.

Image
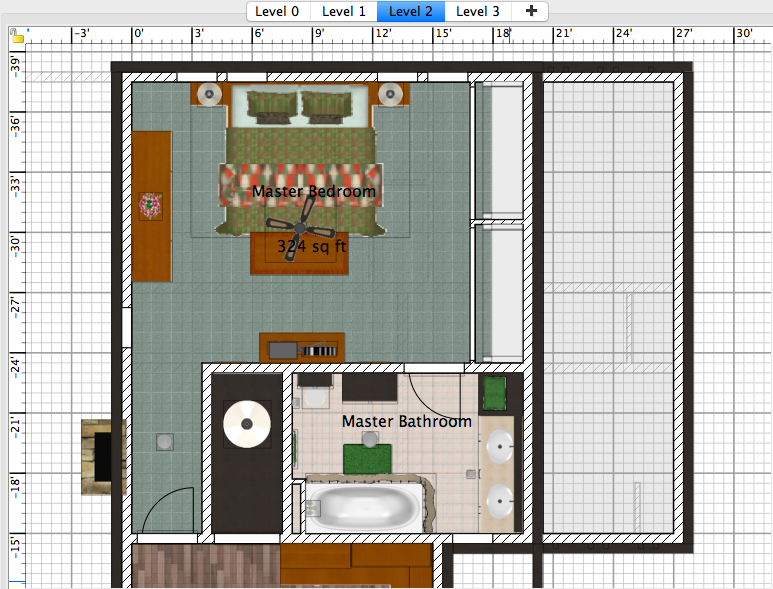
Top floor floor plan showing changes.

Image

Image
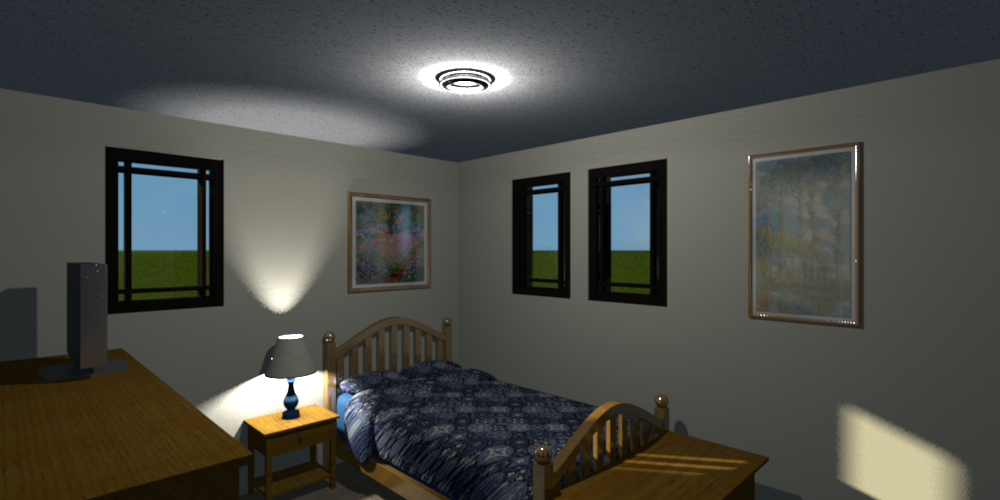
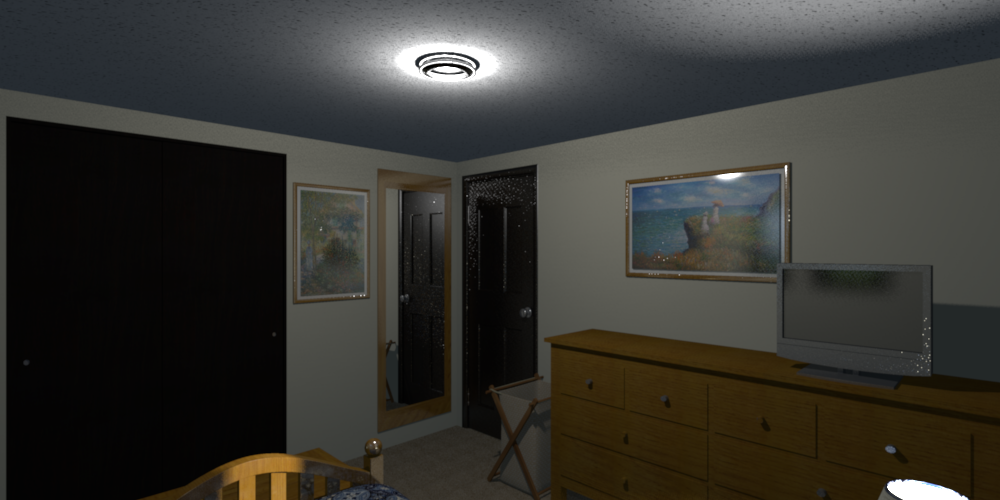
Bedroom 1, first taken from the door, second taken from the corner opposite.

Image

Image
Bedroom 2, first taken from the door, second taken from the corner opposite.

Image

Image

Image

Image

Image
Master Bedroom, pictures taken from the same points as previously taken. Because of moving the closets to the same wall, I had to move the door to the Master Bathroom, so had to change that.

Image
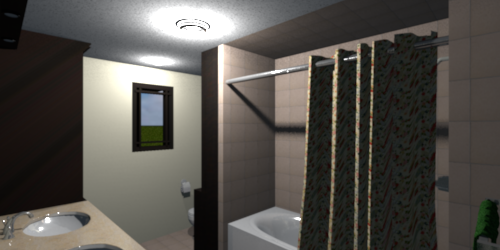
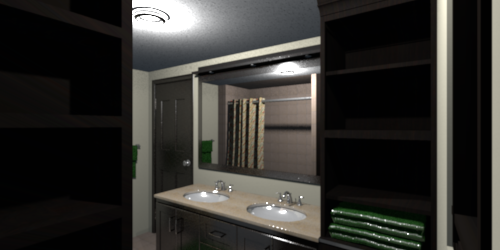
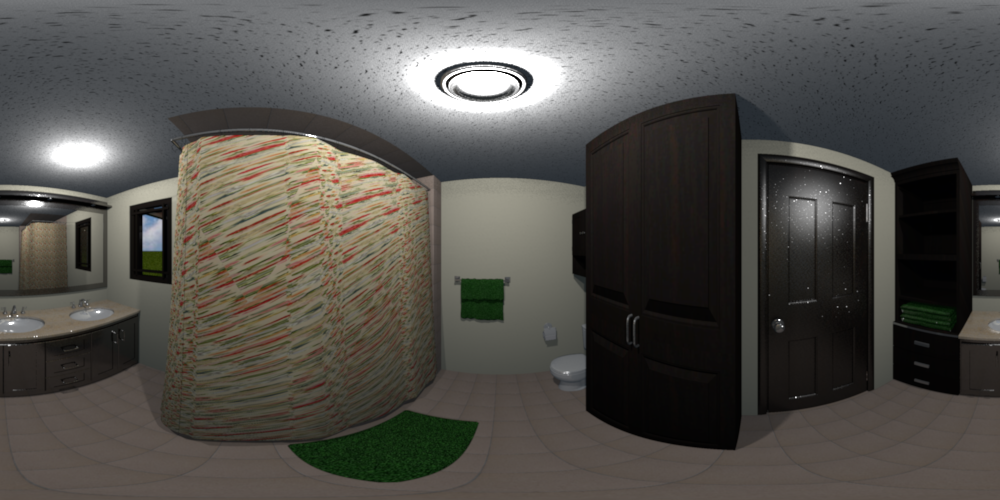
Master Bathroom, taken from the center of the room (or as close as I could come to the center). Because of the placement of the different items in this room I had to have it rendered "spherical" rather than the default. I had tried taking pictures like the others but it was quite difficult to see anything really.
Image
VenessaMartin
Posts: 3
Joined: Sat Feb 04, 2017 9:18 am
Country: United States

Re: Tudor Castle version 2

Post by VenessaMartin »

Beautiful Designs!
User avatar
AeowynFraser
Posts: 557
Joined: Wed Oct 08, 2014 1:02 am
Country: Lancaster, CA, USA

Re: Tudor Castle version 2

Post by AeowynFraser »

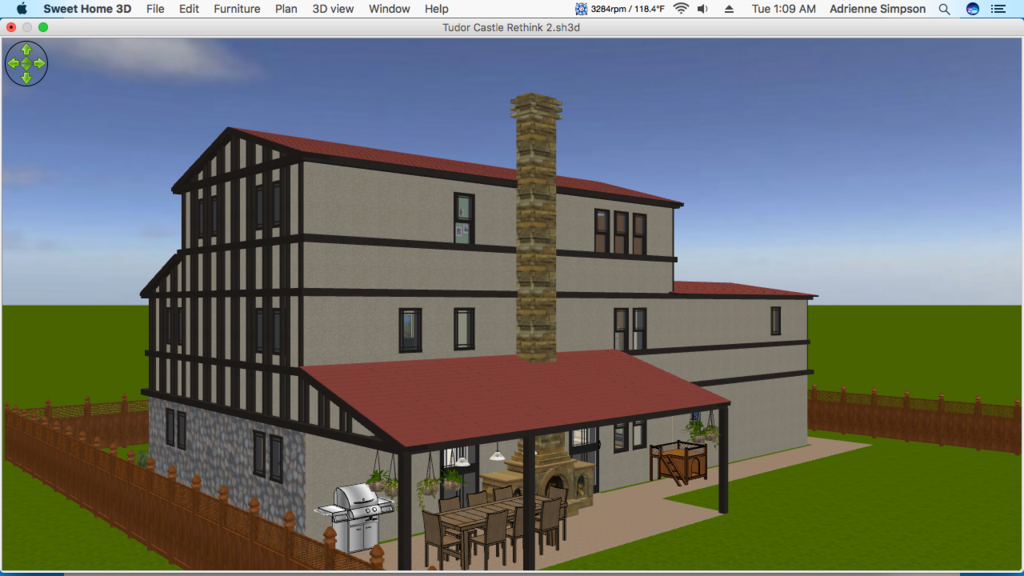
I worked a little on the backyard (can't do much more than "a little" since the file is SO HUGE - compressed it's at about 109.7MB and not compressed it's over 250!)

Image
Aerial screenshot... and after taking that the program is freezing up... I think this file has become a monster! [:))] [:((]

I added screen doors to the both back doors, a dog house, electrical panel (hard to really see through some of the hanging plants), hanging plants, a grill, a large 8-seat dining table and lighting over it. I took out the fencing along the back so now it's basically either an endless backyard or as long as you like.
Image
User avatar
bdfd
Posts: 2614
Joined: Sat Mar 29, 2014 7:17 am
Country: LILLE, Les Hauts de France, Western Europa

Re: Tudor Castle version 2

Post by bdfd »

I worked a little on the backyard (can't do much more than "a little" since the file is SO HUGE - compressed it's at about 109.7MB and not compressed it's over 250!)
Aerial screenshot... and after taking that the program is freezing up... I think this file has become a monster! [:))] [:((]
Welcome to the club !!! [=D>]

Many of my projects are in same case. [:(]
So, I cut them by scenery to be smaller. [:)]

[B-)]
Evil progresses when good people do nothing!
---
SH3D 7.1 and nothing else - W11 64b in 4K
User avatar
AeowynFraser
Posts: 557
Joined: Wed Oct 08, 2014 1:02 am
Country: Lancaster, CA, USA

Re: Tudor Castle version 2

Post by AeowynFraser »

I've been working on a 2-story version of this house. It has only a 1-car garage, I turned the Family room into the Master bedroom with the room above the garage is the Master bathroom. Unfortunately there is no loft space for my sewing room but the hallway upstairs is wider due to there's no staircase going any higher.

I can share aerial screenshots and floor plans (once I piece together the separate screenshots); I'm currently helping someone with something else.
Image
Post Reply New Topic

Who is online

Users browsing this forum: No registered users and 1 guest