New Build.

This topic has been viewed 48168 times and has 17 replies
Thread status: Active
Share your snapshots made with Sweet Home 3D here [img]http://www.sweethome3d.com/images/flags/en_small.gif[/img]
Mike53
Posts: 678
Joined: Sat Jan 06, 2018 1:02 am
Country: UK

New Build.

Post by Mike53 »

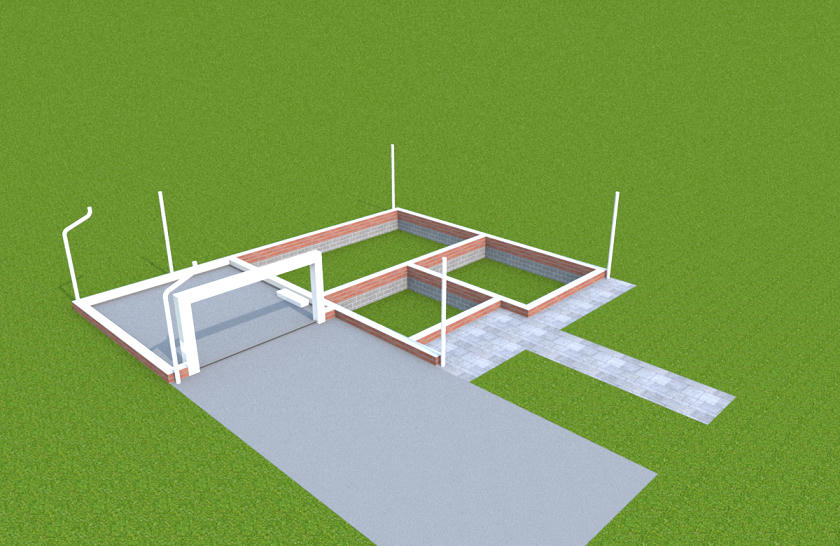
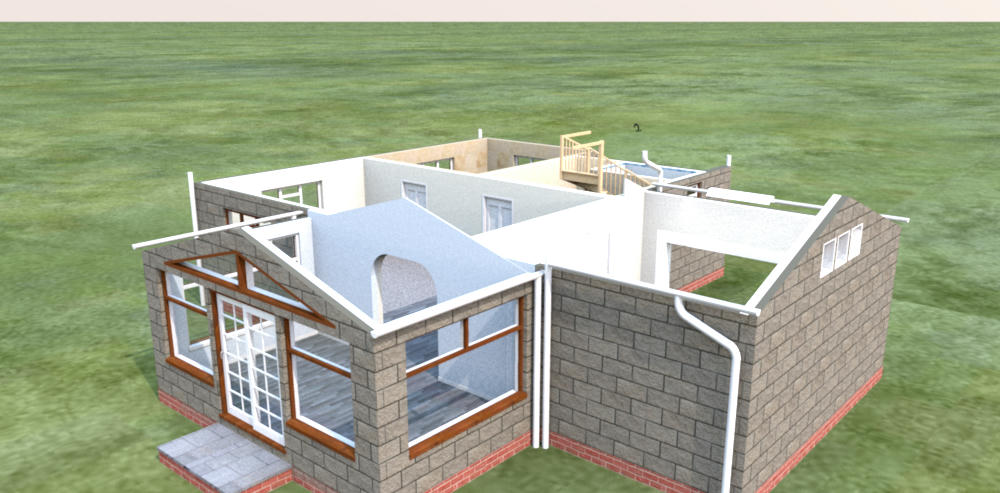
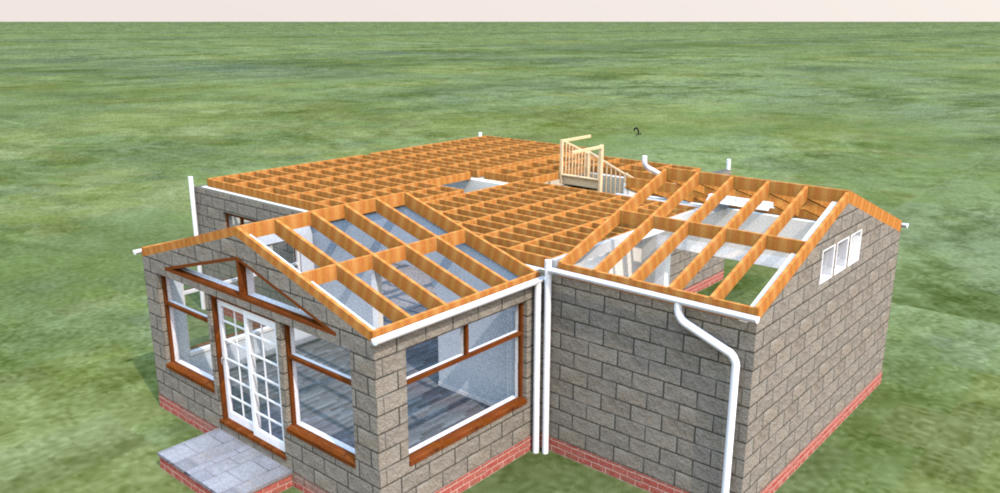
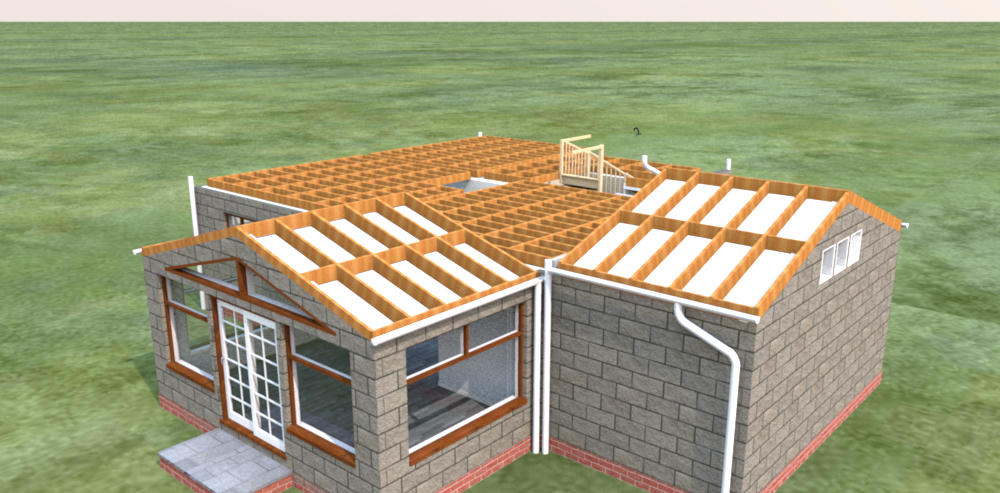
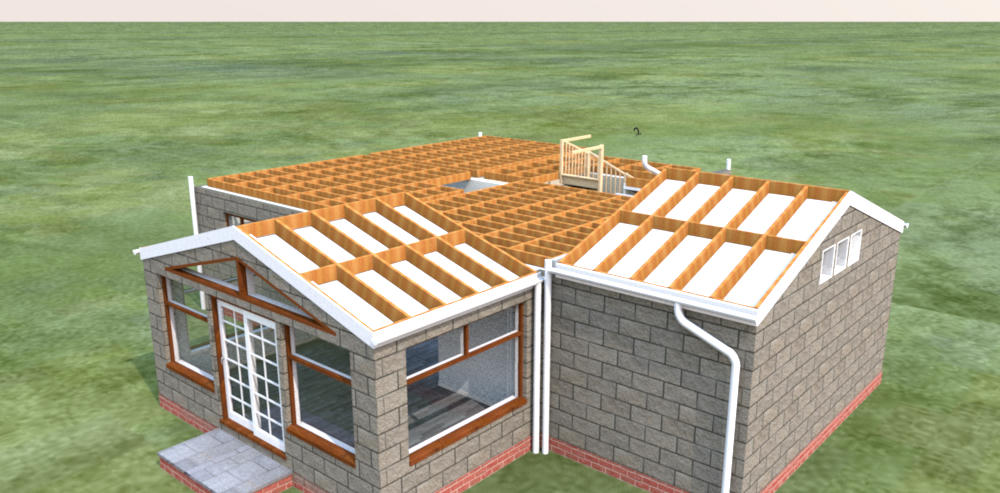
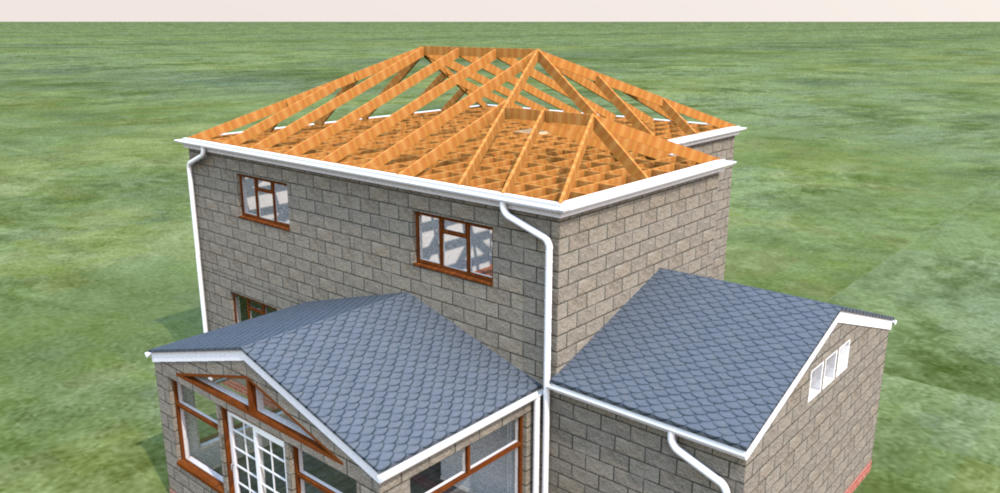
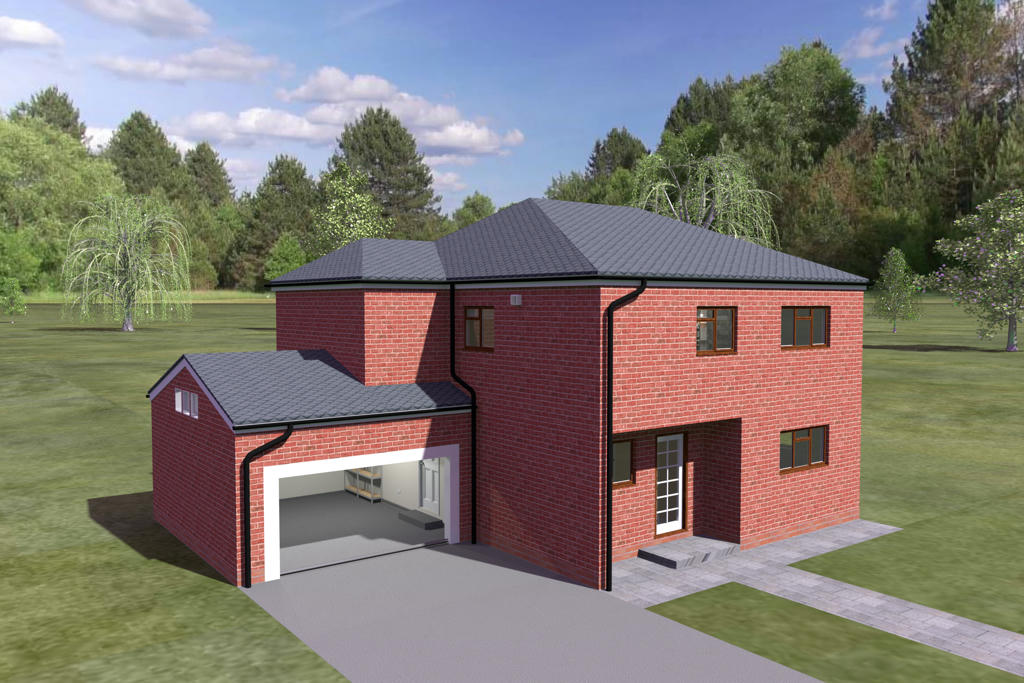
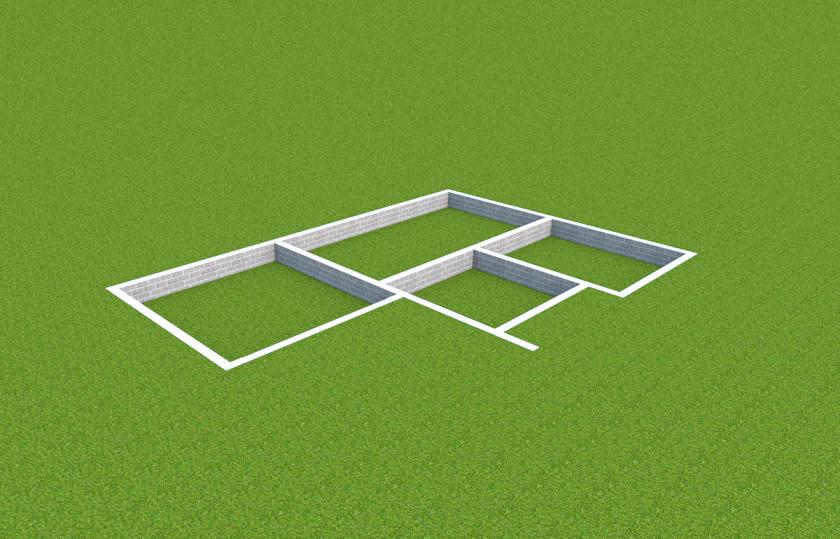
Here are some images of a new project. The inside is not done yet so this is the outside and some detailing.

Footings

Image

Damp Coarse

Image

Ground floor

Image

Timber framing

Image

Ceilings

Image

fascias and soffets

Image

Roofs

Image

Finally the front, following Cec's excellent tutorial

Image

I have made a few tweaks since some of these were made, they will show later.

Feel free to comment, advice is always welcome.

Mike
User avatar
AdeleAlli
Posts: 155
Joined: Wed Jul 18, 2018 10:13 am
Country: Italy

Re: New Build.

Post by AdeleAlli »

Hi Mike53,
I simply love and appreciate very much the images that show how the house is growing starting from the basement! Good work and hope to see the interiors soon!

Best Regards,
AdeleAlli
User avatar
Ceciliabr
Posts: 637
Joined: Sun Jul 07, 2013 3:41 pm
Country: Copenhagen, Denmark
Contact:

Re: New Build.

Post by Ceciliabr »

I love seeing how the detailed construction is being erected (and ! love the front-shot) [:)]

This is solid work, Mike!

Cec
Mike53
Posts: 678
Joined: Sat Jan 06, 2018 1:02 am
Country: UK

Re: New Build.

Post by Mike53 »

Thank you Cec
Thank you Adele, your build got me thinking about it.

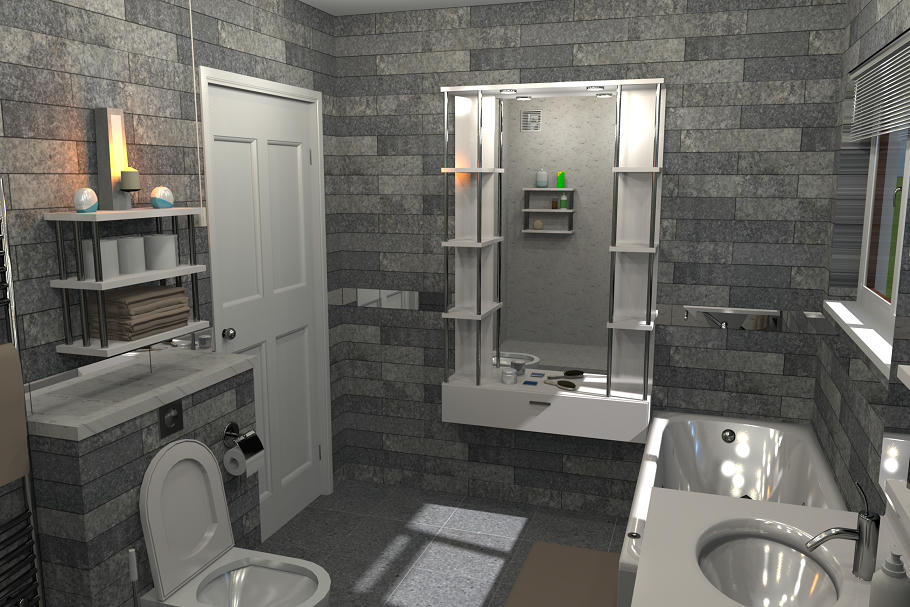
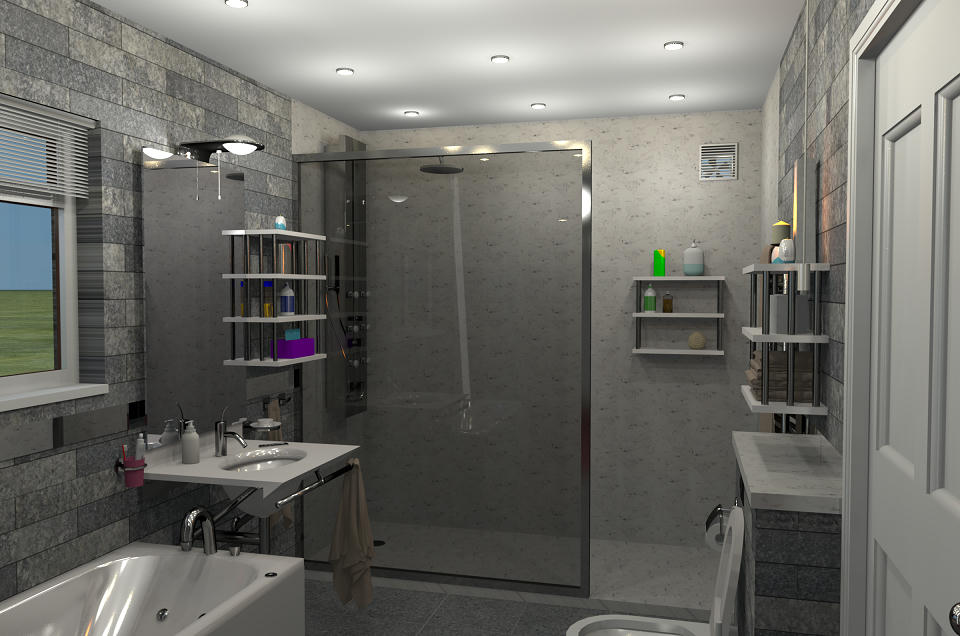
As for interior :- here are 2 of the bathroom.

I removed the shower screen for this render.
Image

and 1 had to remove a wall to get this shot
Image

Mike
VeroniQ
Posts: 886
Joined: Tue Mar 03, 2015 9:01 am
Country: France

Re: New Build.

Post by VeroniQ »

Yes, very interesting way of "building" and great result. How many bedrooms, at the end?
Mike53
Posts: 678
Joined: Sat Jan 06, 2018 1:02 am
Country: UK

Re: New Build.

Post by Mike53 »

Hi VeroniQ
Thank you for the comment.
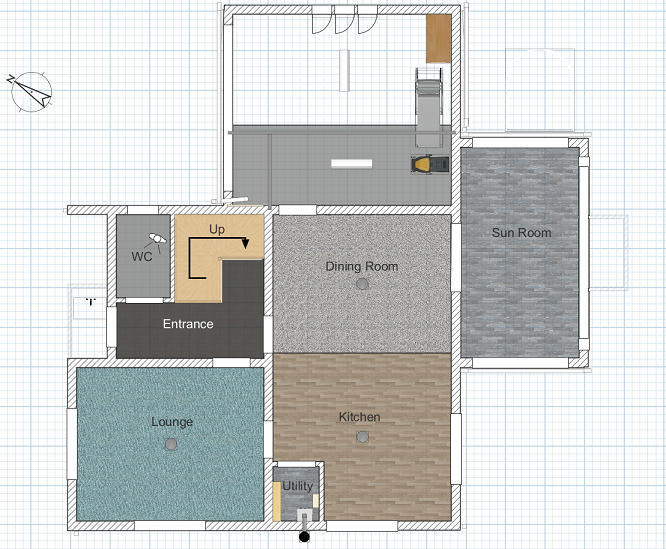
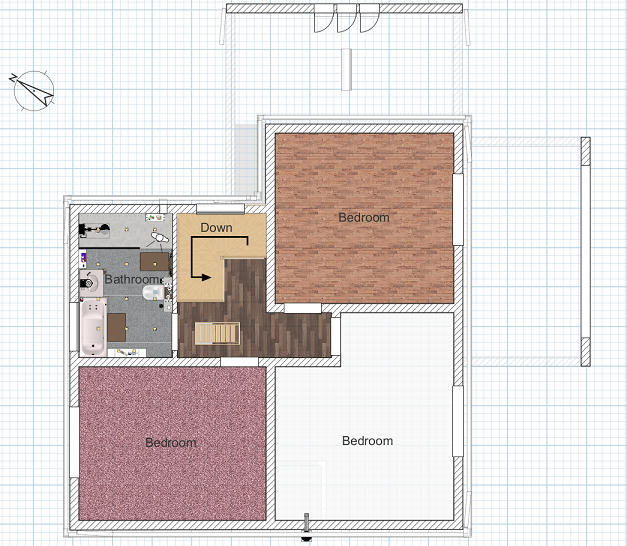
here are the floor plans.

Ground Floor
Image

1st floor
Image

Mike
Mike53
Posts: 678
Joined: Sat Jan 06, 2018 1:02 am
Country: UK

Re: New Build.

Post by Mike53 »

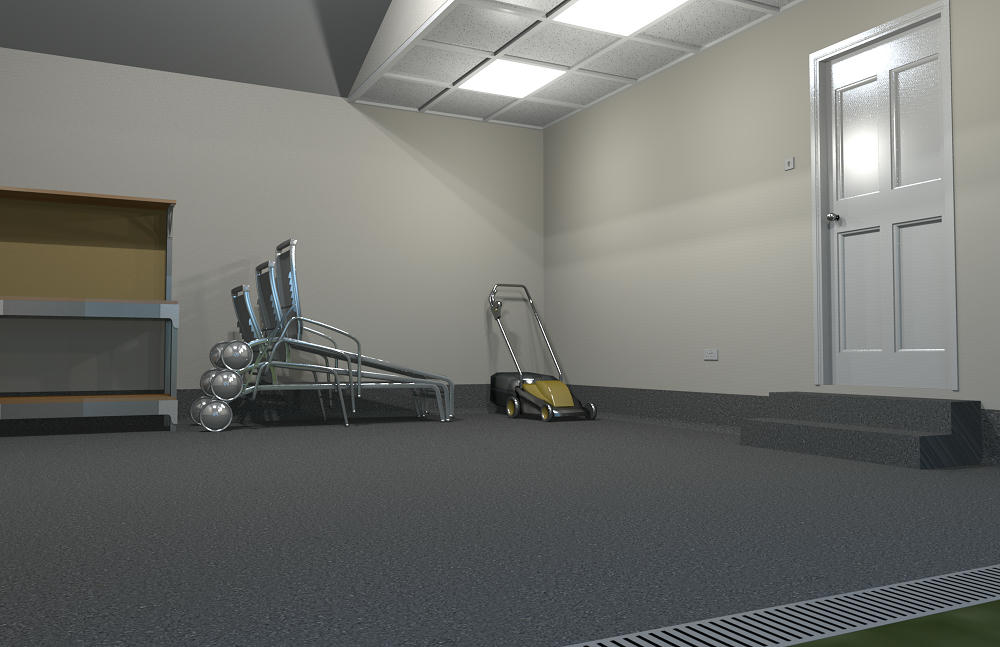
The garage floor is actually below the damp coarse level of the house. As you will see in the following image i have used a floor texture to represent a sealed/waterproof finish which curves and continues up the wall 300mm.

Image

Mike
Mike53
Posts: 678
Joined: Sat Jan 06, 2018 1:02 am
Country: UK

Re: New Build.

Post by Mike53 »

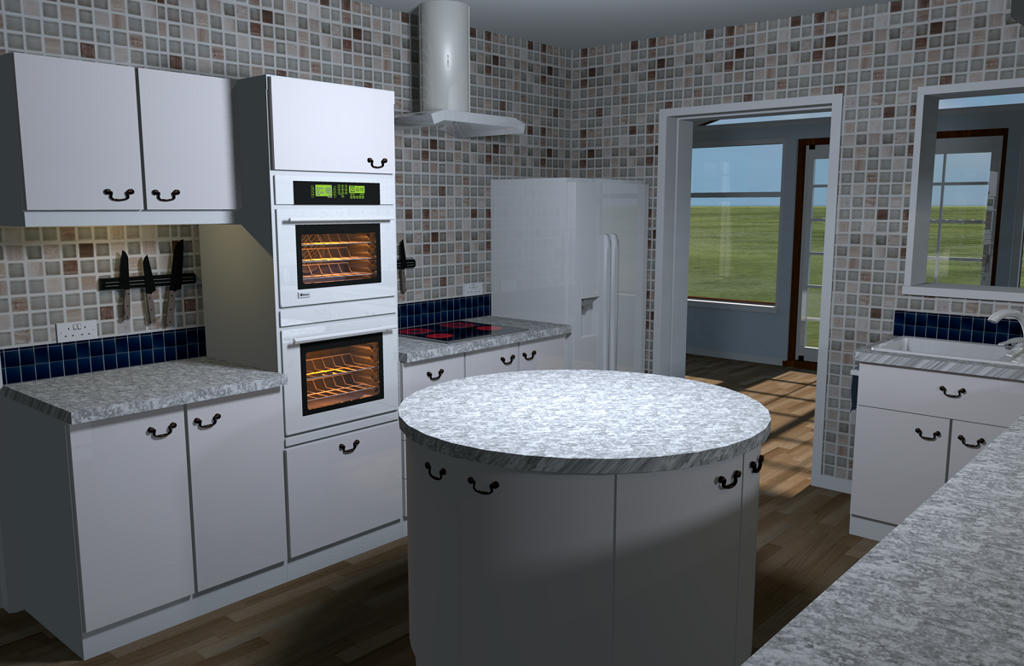
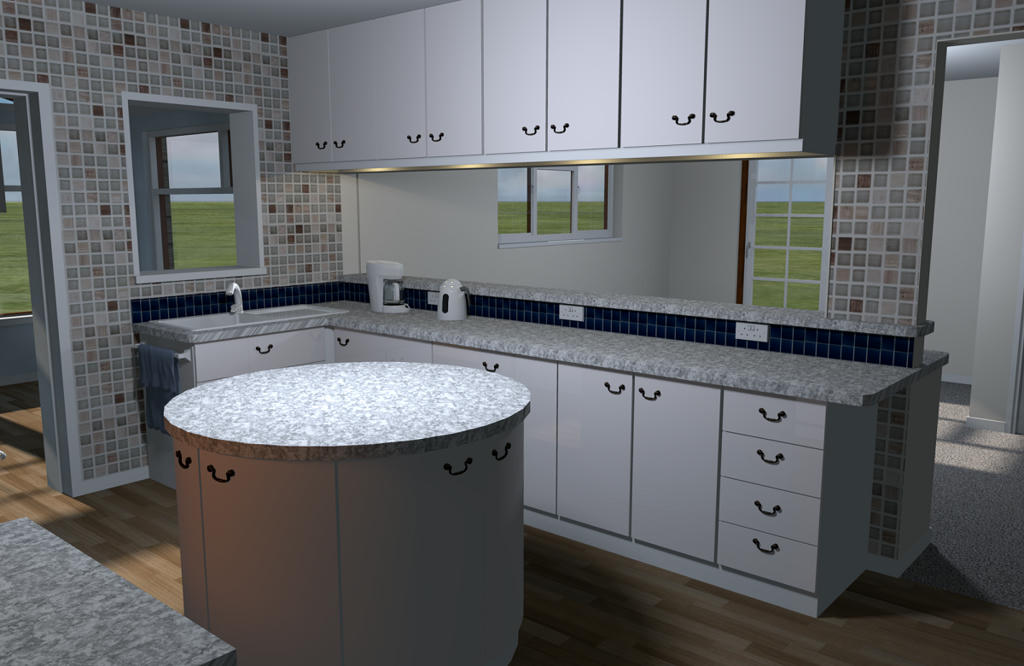
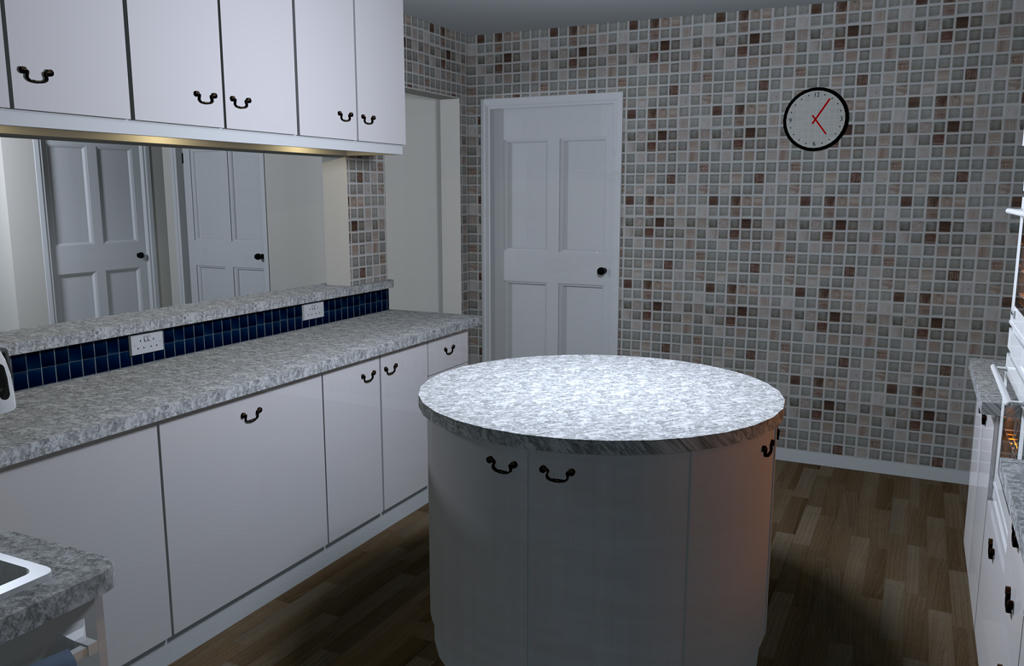
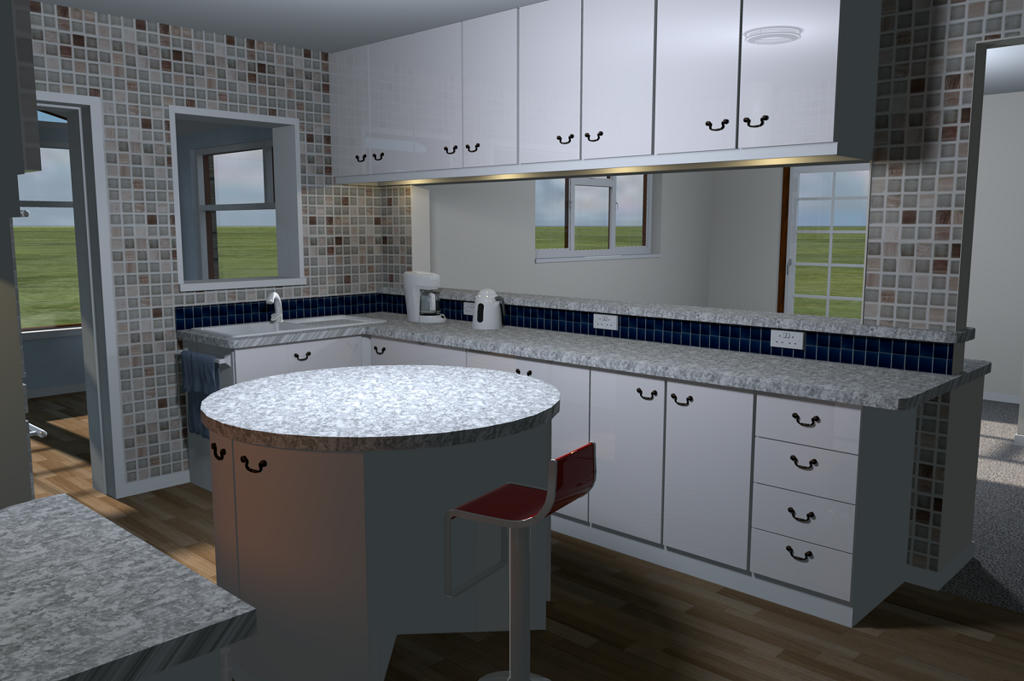
A few images of the kitchen now :-

Image

Image

Image

Image

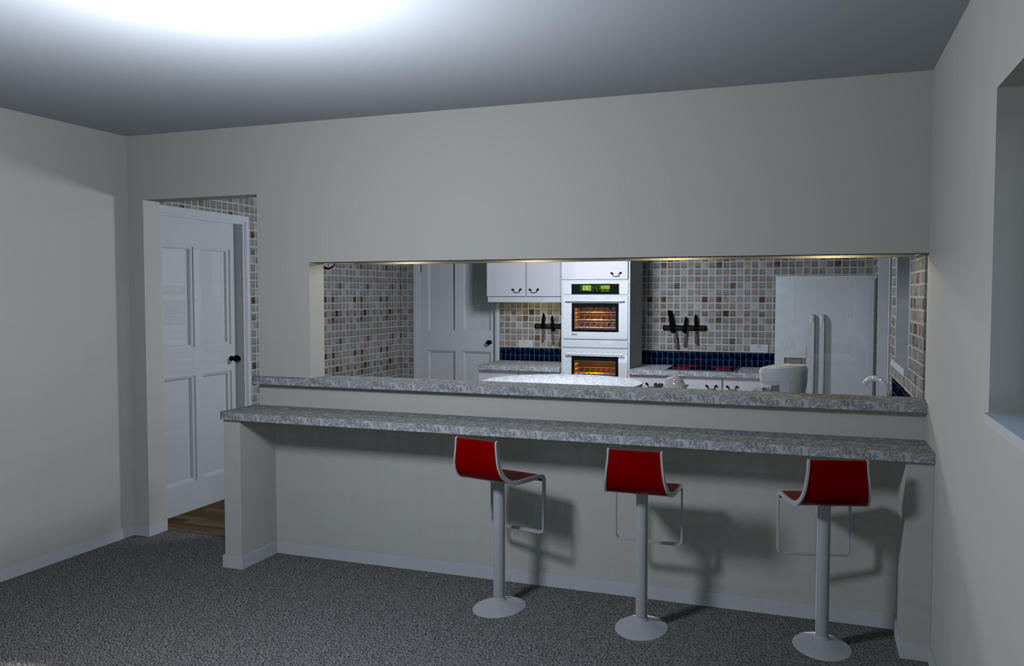
After seeing these i noticed a few little tweaks were needed, floating handles mainly, structurally i increased the amount of "return" on the wall with the large hatch, this is to give sufficient surface to support a lintel, changed the doors and drawer fronts to shiny and most importantly modified the island to incorporate a stool, now "she that shall be obeyed" has somewhere to sit whilst working hard - waiting for the dish washer to finish.
For this final image i changed the setting to Gloss and following Cec's and OK's very interesting discussion about settings you will see that this render was taken at 9 AM with the moonlight streaming through the north facing windows. It took nearly 8 hrs on my little PC, but i am quite pleased with it.


Image

Mike
User avatar
TommoLeo
Posts: 18
Joined: Fri Jul 15, 2016 8:16 pm
Country: Brasil

Re: New Build.

Post by TommoLeo »

It's so cool seeing this process of building the house, Mike! And the bathroom e and kitchen are very well done, how do you make this kind of spot lights in the bathroom ceiling? It seems to work pretty good for lighting a room :)
Mike53
Posts: 678
Joined: Sat Jan 06, 2018 1:02 am
Country: UK

Re: New Build.

Post by Mike53 »

Hi Tommo
The spotlight i use i got from a file that i think Cec shared some time ago in a bathroom file, i'll dig it out and post a link.
I usually set it to about 5% and position a light source approx 200mm dia. below it, height and power of the source varies with what i am trying to achieve.
As the lamp is a light source i cannot import it to the library, i just keep it in a file that's handy and copy/paste whenever i need it.
Mike
Post Reply New Topic

Who is online

Users browsing this forum: No registered users and 1 guest